As someone who loves a good manicure but doesn’t always have the time (or budget) for regular salon visits, I decided to try using builder gel at home. Builder gel, known for its strength and versatility, seemed like the perfect solution for achieving long-lasting, salon-quality nails. Here’s a recount of my first experience with it.
Getting Prepared
Before diving into the application, I did some research and watched a few tutorials to understand the process better. I purchased a starter kit that included builder gel, a UV/LED lamp, nail prep tools, and top and base coats. Ensuring I had everything I needed, I set up a small workspace with good lighting.
The Application Process
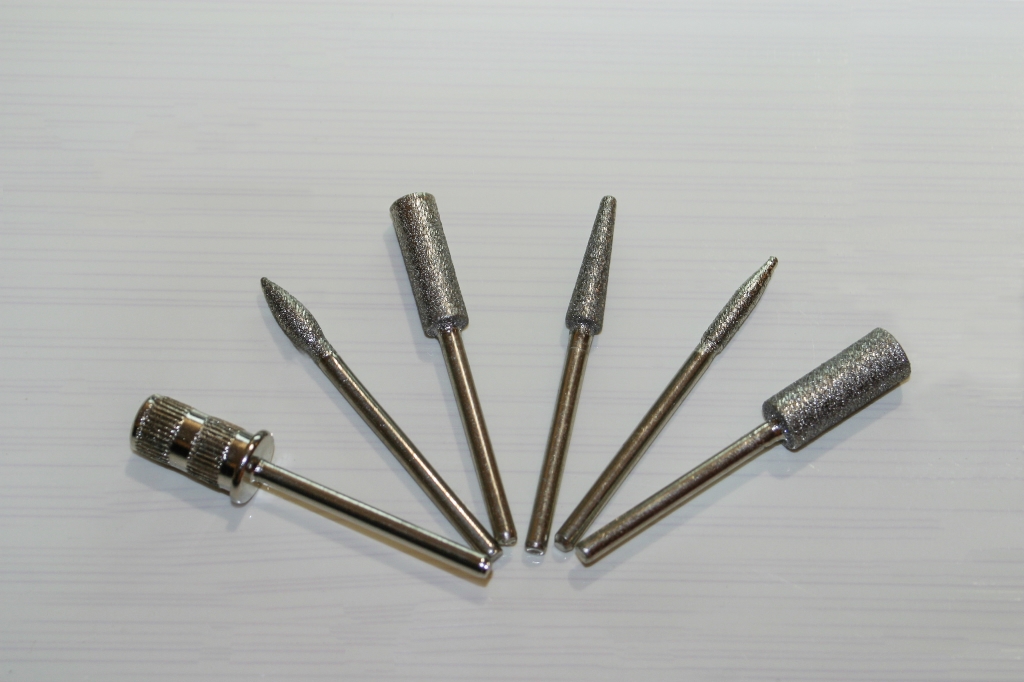
1. Nail Prep: I started by cleaning my nails thoroughly, pushing back my cuticles, and lightly buffing the nail surface to remove any shine. This step is crucial for the gel to adhere properly.
2. Base Coat: After prepping my nails, I applied a thin layer of base coat and cured it under the UV lamp for 60 seconds. The base coat provides a sticky surface for the builder gel to adhere to.
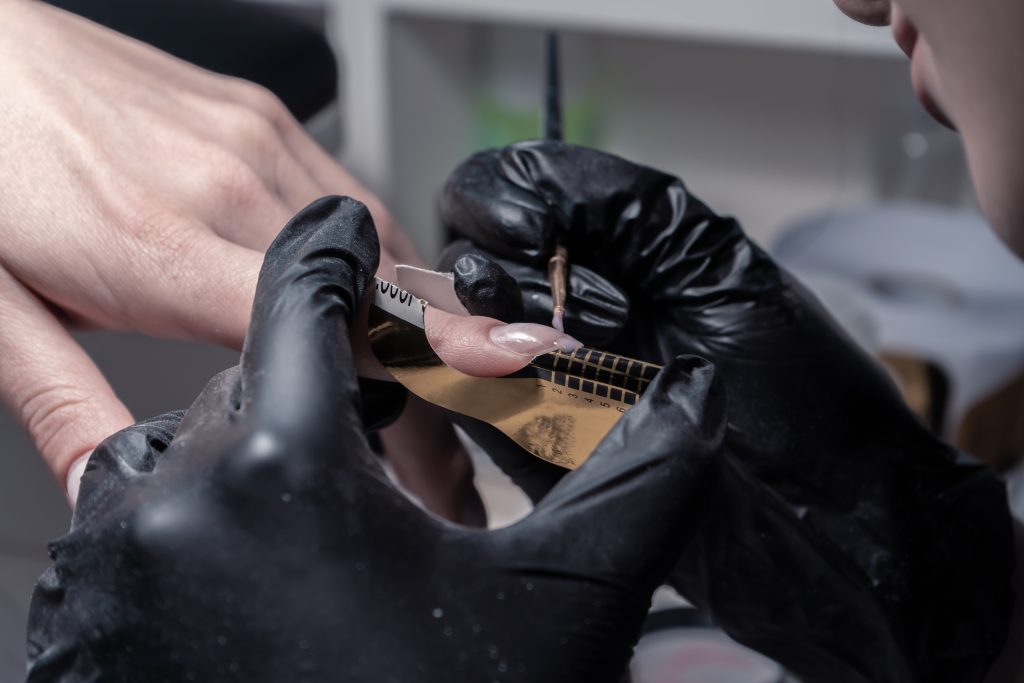
3. Applying Builder Gel: I was a bit nervous but excited. Using a brush, I applied a small amount of builder gel to the center of my nail, spreading it evenly towards the edges. I took care not to flood the cuticles. This step required patience and a steady hand. After shaping the gel, I cured it under the lamp for 60 seconds.
4. Building the Structure: For added strength and structure, I applied a second layer of builder gel, focusing on the apex (the highest point of the nail). This step is crucial for preventing breakage. Again, I cured it under the lamp.
5. Finishing Touches: Once satisfied with the thickness and shape, I filed and buffed my nails to smooth out any imperfections. Then, I applied a top coat for a glossy finish and cured it one final time.
The Result
After the final cure, I was thrilled with the results. My nails looked professional and felt incredibly strong. The builder gel added a beautiful, natural thickness to my nails, and the glossy top coat gave them a salon-like finish.
Lessons Learned
– Patience is Key: The application process requires patience, especially for beginners. Taking your time with each step ensures a better result.
– Less is More: It’s better to apply thin layers and build up the gel gradually to avoid a bulky appearance.
– Proper Tools Matter: Investing in good quality tools and products makes a significant difference in the final outcome.
Using builder gel at home for the first time was a rewarding experience. It gave me a sense of accomplishment and a set of gorgeous nails that lasted weeks without chipping. If you’re considering trying builder gel at home, I highly recommend it. With a little practice and patience, you can achieve salon-quality nails right from the comfort of your home.