3D nail art is a fantastic way to add dimension and flair to your manicure, and one of the most popular designs is the 3D rose. These elegant flowers can transform your nails into a work of art, perfect for special occasions or whenever you want to treat yourself to something extraordinary. Here’s how to create beautiful 3D roses for nail accents.
1. Gather Your Supplies
To create 3D roses, you’ll need the following:
- Acrylic powder and liquid
- Monomer
- Small nail art brush (size 2 or 3 is ideal)
- Dappen dish
- Base coat and top coat
- Nail polish in your chosen color
- Lint-free wipes
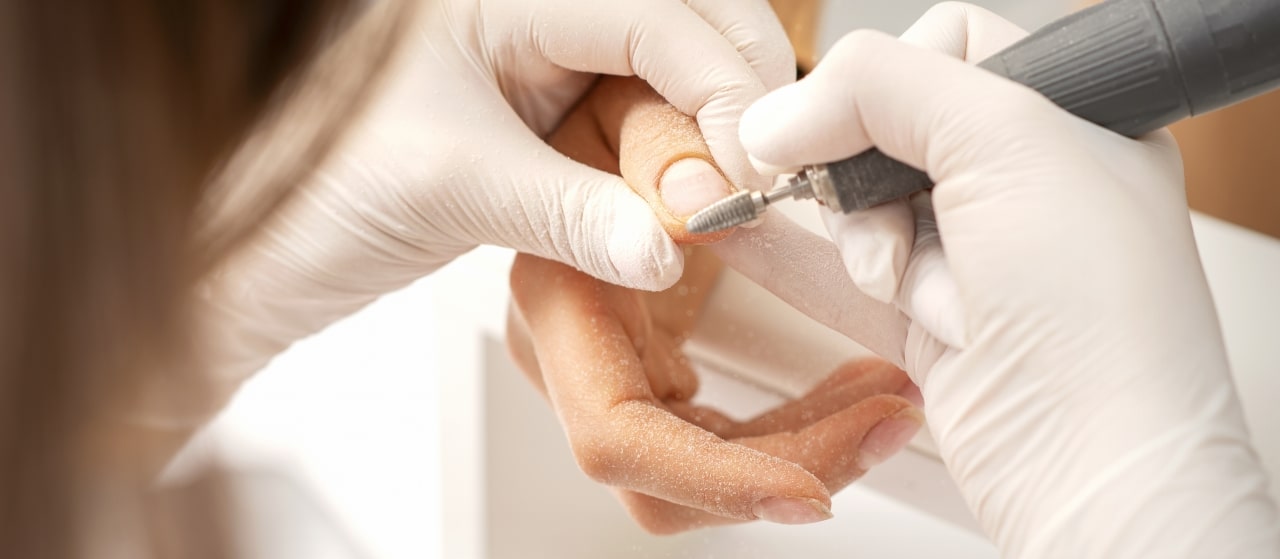
2. Prepare Your Nails
Start by prepping your nails. Shape and buff them to create a smooth surface. Apply a base coat to protect your nails and provide a solid foundation for your polish. Let the base coat dry completely.
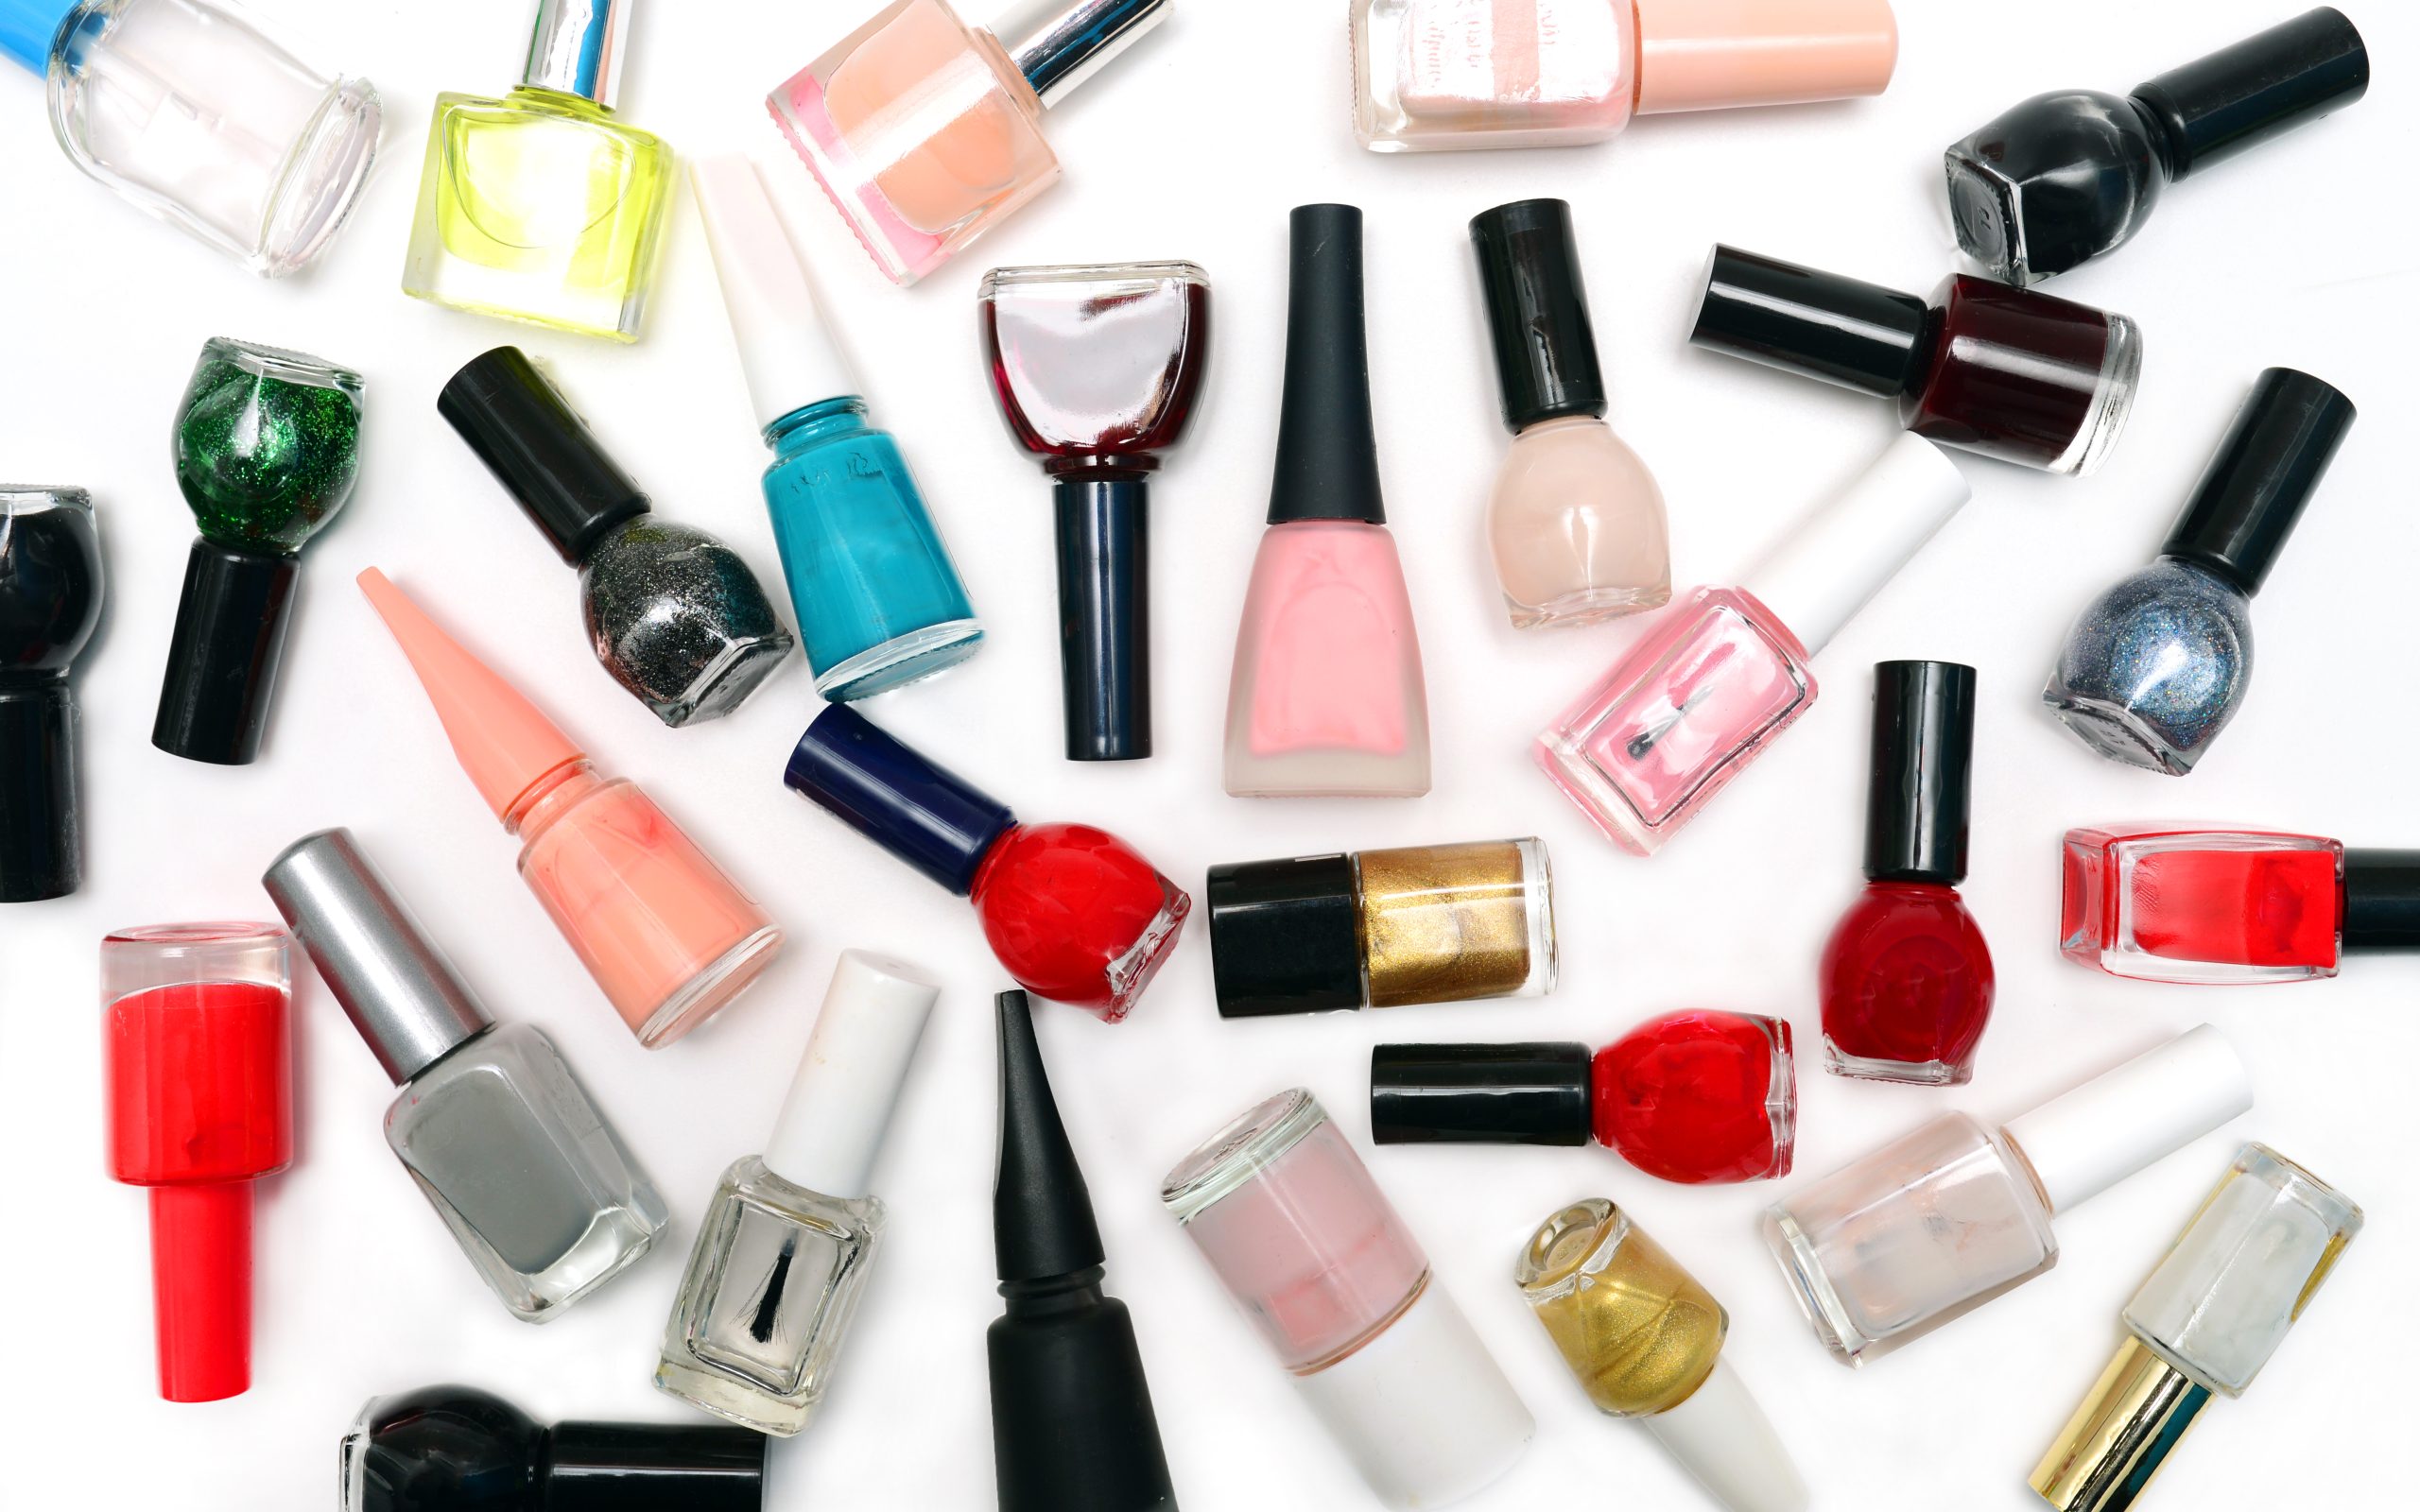
3. Apply Your Base Color
Choose a nail polish color that will complement your 3D roses. Apply one or two coats, allowing each coat to dry thoroughly.
4. Mix Your Acrylic
Pour a small amount of acrylic liquid (monomer) into your dappen dish. Dip your brush into the liquid and then into the acrylic powder to create a small bead of acrylic. The consistency should be like a firm dough – not too wet or dry.
5. Create the Rose Petals
- First Petal: Place the small bead of acrylic on your nail where you want the center of the rose. Use the tip of the brush to flatten the bead into a petal shape. Gently press and shape the edges to create a delicate petal. Let it set for a few seconds.
- Second Petal: Place another bead next to the first petal. Flatten and shape it, slightly overlapping the first petal. Continue this process, working your way around the center bead to create a full rose. Typically, 5-6 petals will create a realistic-looking rose.
6. Build the Layers
As you move outward, create larger beads for the outer petals. This will give your rose more depth and dimension. Gently press and shape each petal, ensuring they overlap slightly for a natural look.
7. Add Details
Once your rose is complete, you can add extra details such as leaves or smaller roses. Follow the same process, using smaller beads for these elements.
8. Seal and Protect
Allow the acrylic to dry completely. Once dry, apply a top coat to seal your design and add a glossy finish. Be careful not to apply too much pressure when brushing over the 3D elements to avoid flattening them.
9. Clean Up
Use a lint-free wipe and some nail cleanser to clean up any excess acrylic or polish around your cuticles and nail edges. This will give your manicure a neat and professional appearance.
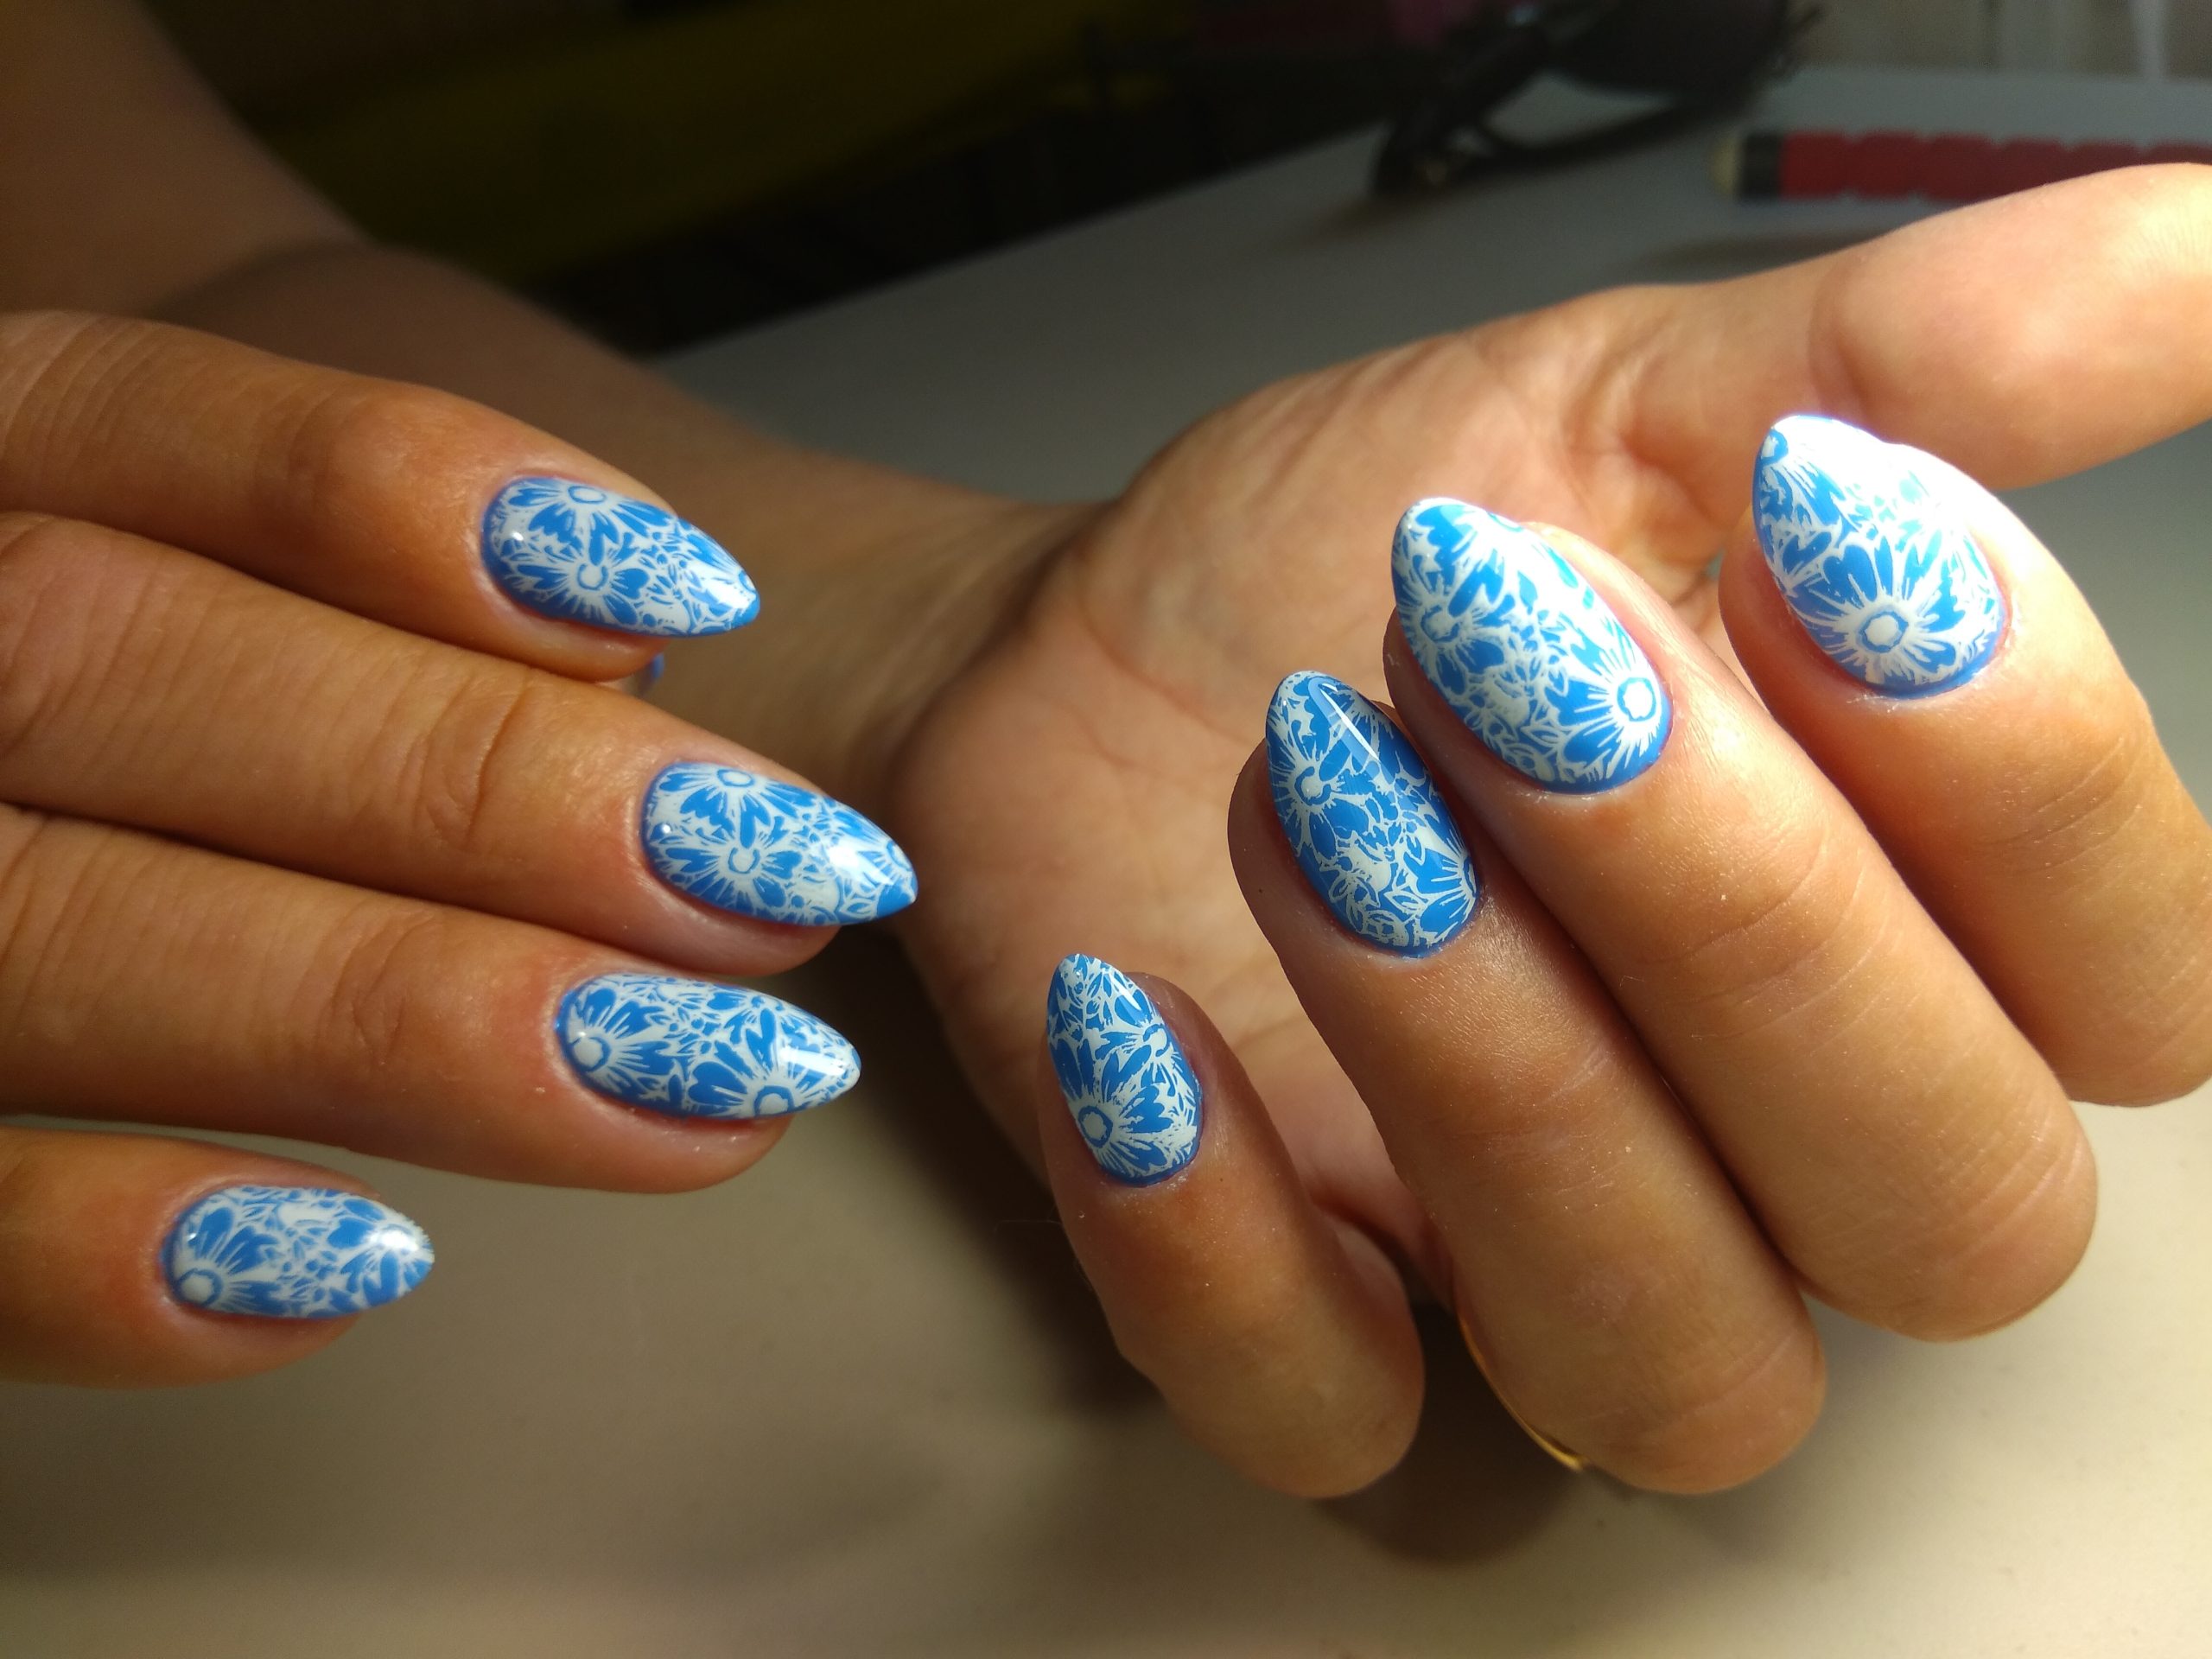
10. Enjoy Your Beautiful Nails
Admire your 3D roses! With a bit of practice, you can create stunning floral designs that will surely impress. Whether you’re heading to a special event or simply want to add a touch of elegance to your everyday look, 3D roses are a beautiful addition to any manicure.
Creating 3D roses for nail accents takes a bit of patience and practice, but the results are worth it. This technique allows you to add a unique and personal touch to your nails, making them stand out with a three-dimensional floral design. So, gather your supplies, follow these steps, and enjoy your gorgeous 3D rose nail art!