Whether you’re preparing for a special occasion or simply indulging in a little self-care, giving yourself a basic manicure at home is a wonderful way to pamper your nails and elevate your look. With the right tools and techniques, you can achieve salon-quality results without ever leaving the comfort of your own home. In this step-by-step guide, we’ll walk you through the process of giving yourself a basic manicure, from shaping your nails to applying polish like a pro.
Step 1: Gather Your Supplies
Before you begin, gather all the necessary supplies for your manicure:
– Nail polish remover, Non-Acetone Solution
– Cotton pads or balls
– Nail clippers and UV/LED Drying Lamp
– 180 & 100 Grit Nail files
– Cuticle pusher
– Cuticle trimmer (optional)
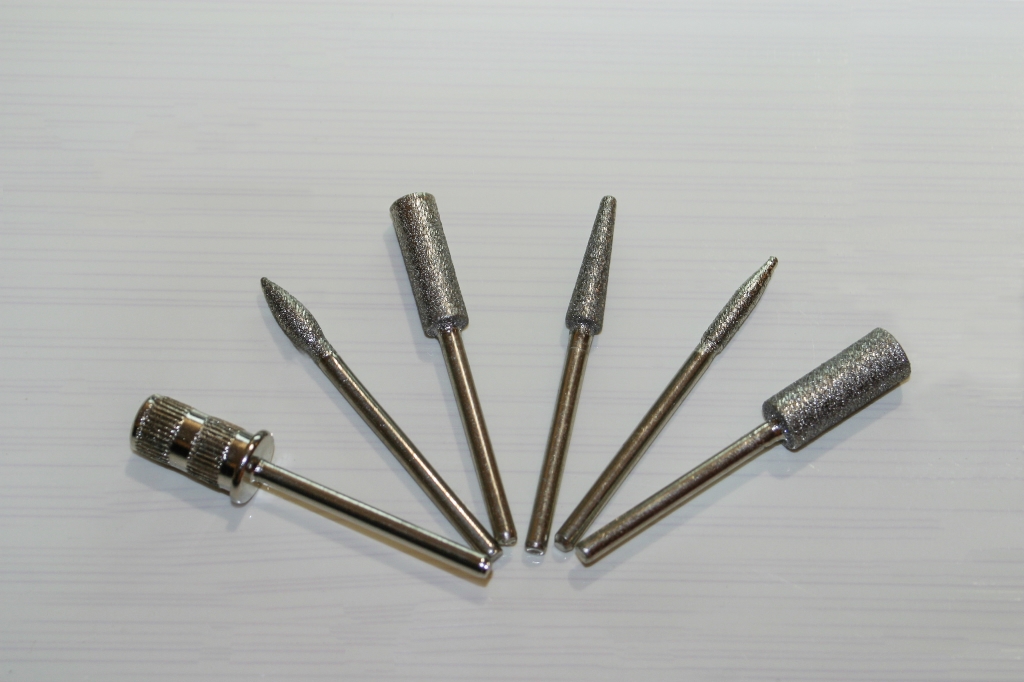
– Nail buffer and e-file
– Hand moisturizer
– Gel Base coat
– Gel Nail polish
– Gel Top coat
Having everything you need within reach will make the manicure process smoother and more enjoyable.
Step 2: Remove Old Polish
Start by removing any old nail polish using a gentle, acetone nail polish remover. gently file off the shiny layer with a hand file or your e-file (for faster removal). Soak a cotton pad or ball with the remover and gently wipe each nail until all traces of polish are gone. This will create a clean canvas for your new manicure.
Step 3: Shape Your Nails
Using a nail clipper, trim your nails to your desired length, being careful not to cut them too short. Then, use a nail file to shape your nails. File each nail in one direction to avoid splitting or damaging the nail. You can choose from various shapes, such as square, oval, or almond, depending on your preference.
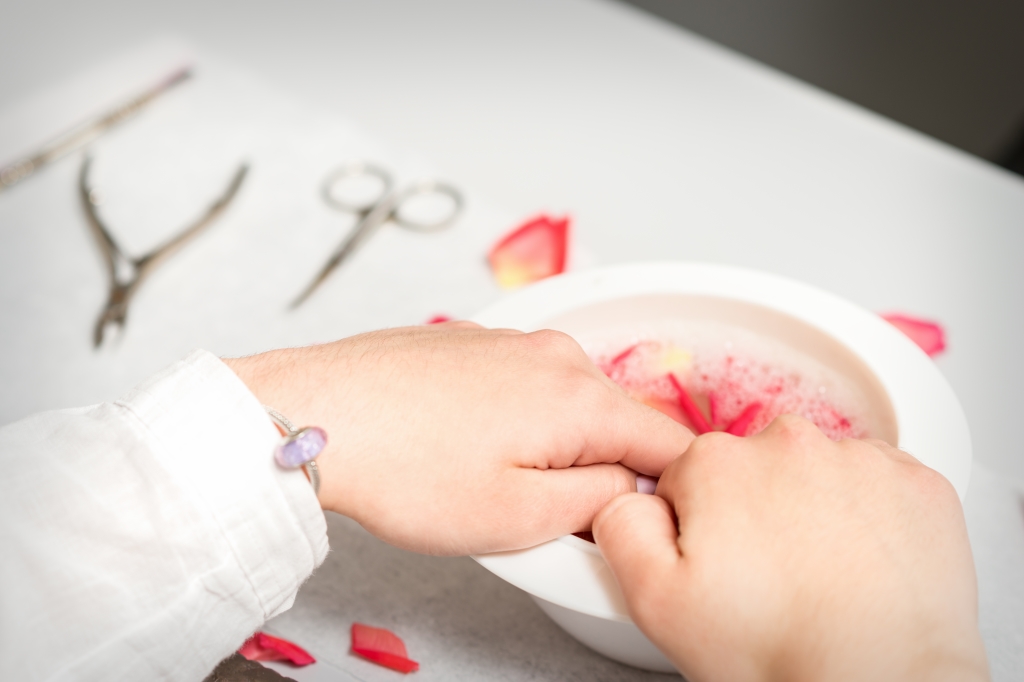
Step 4: Care for Your Cuticles
Next, it’s time to care for your cuticles. Soak your hands in warm, soapy water for a few minutes to soften the cuticles. Then, use a cuticle pusher to gently push back the cuticles, revealing more of the nail bed. If necessary, you can use a cuticle trimmer to carefully remove any excess cuticle growth, but be cautious not to cut too much or damage the cuticle.
Step 5: Buff and Smooth
Once your cuticles are pushed back, use a nail buffer to gently buff the surface of each nail. This will smooth out any ridges or imperfections, creating a sleek base for your polish. Be gentle and avoid over-buffing, as this can weaken the nails.
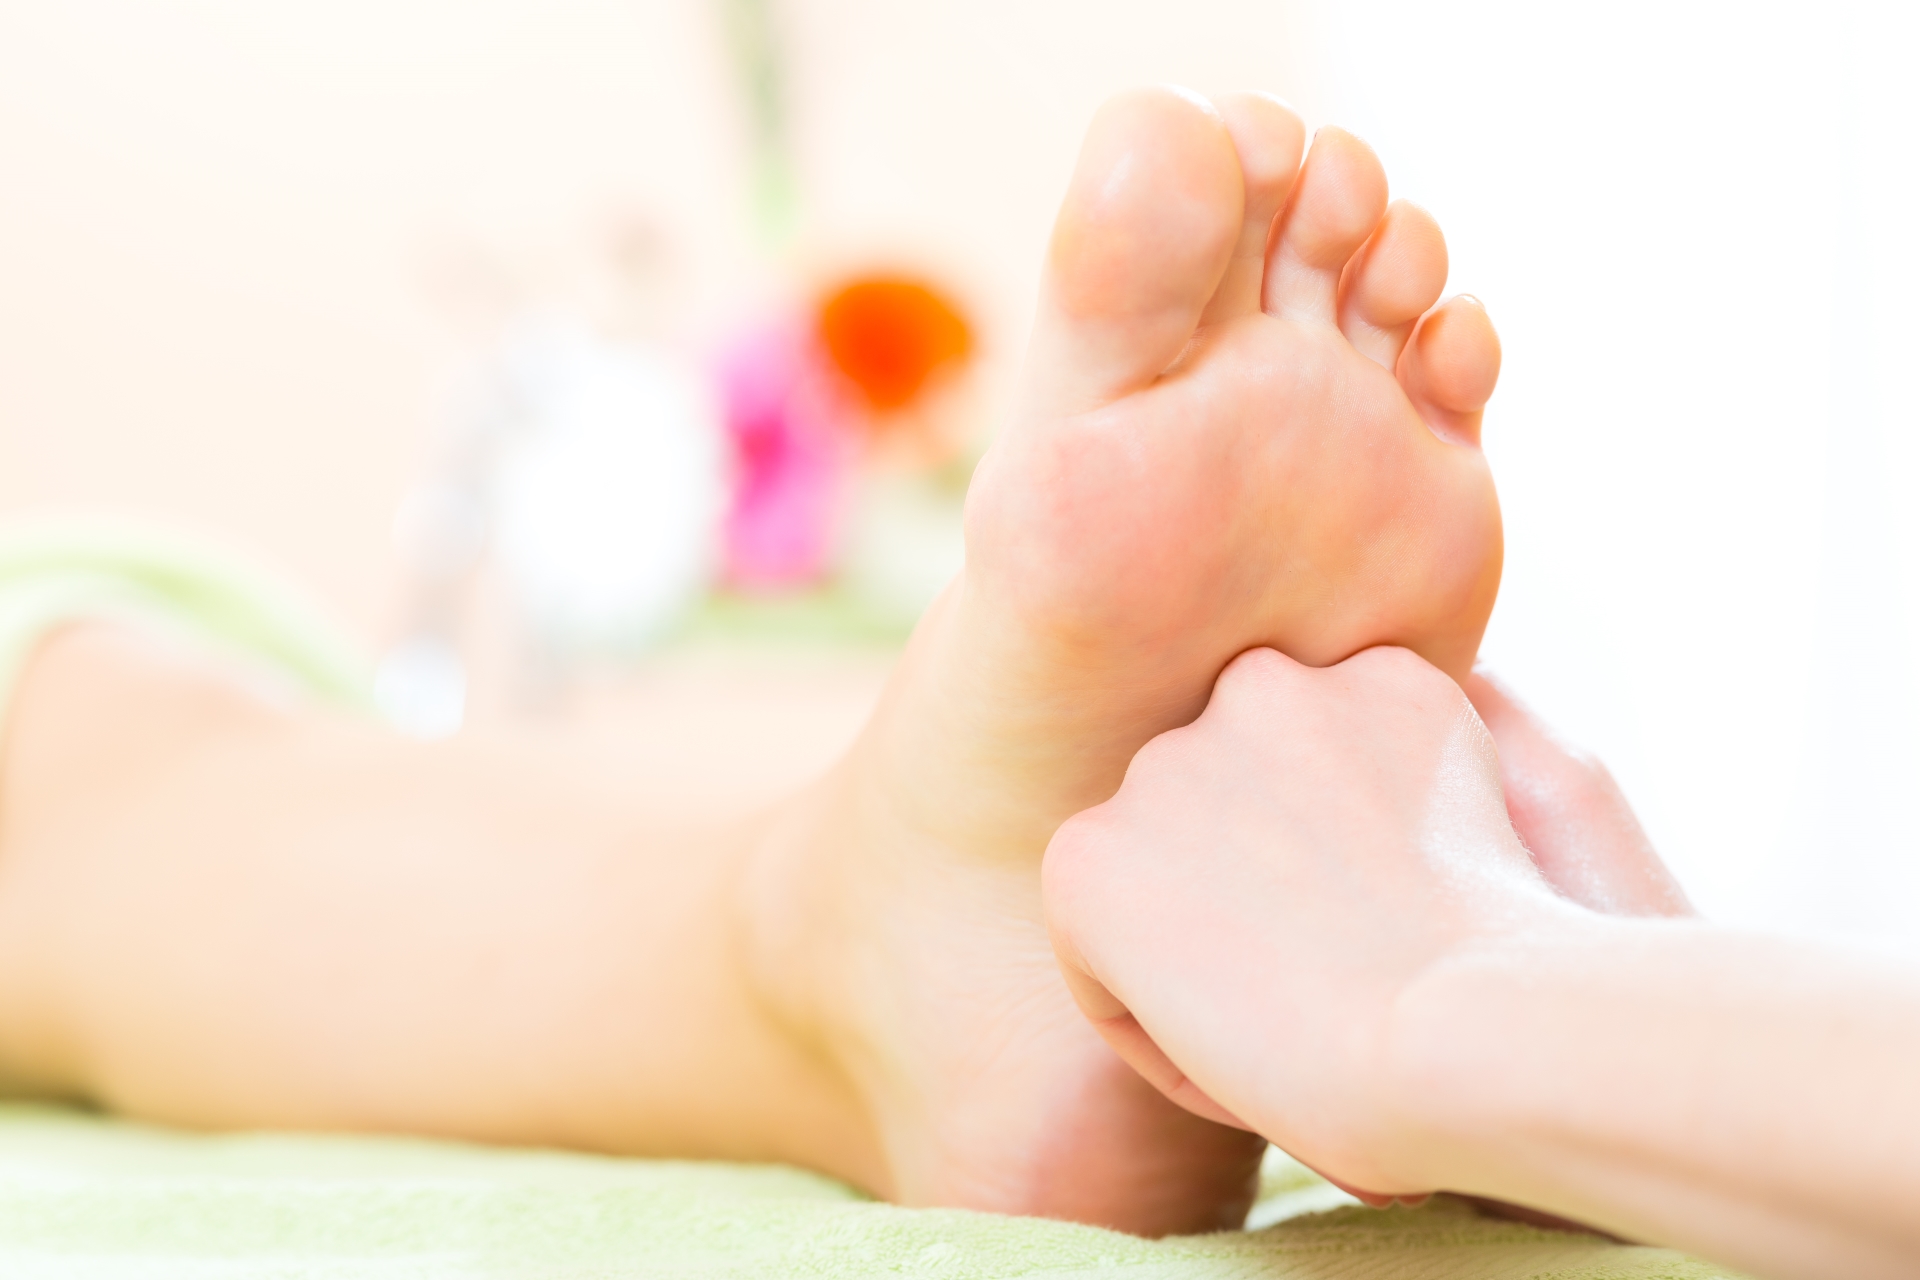
Step 6: Moisturize
After buffing, apply a generous amount of hand moisturizer to hydrate and nourish your skin. Massage the moisturizer into your hands and cuticles, paying special attention to any dry or rough areas. This will leave your hands feeling soft and supple.
Step 7: Apply Base Coat
Before applying polish, it’s essential to apply a base coat to protect your nails and help the polish adhere better. Brush on a thin layer of base coat, starting from the base of the nail and working your way to the tip. Allow the base coat to dry completely before moving on to the next step.
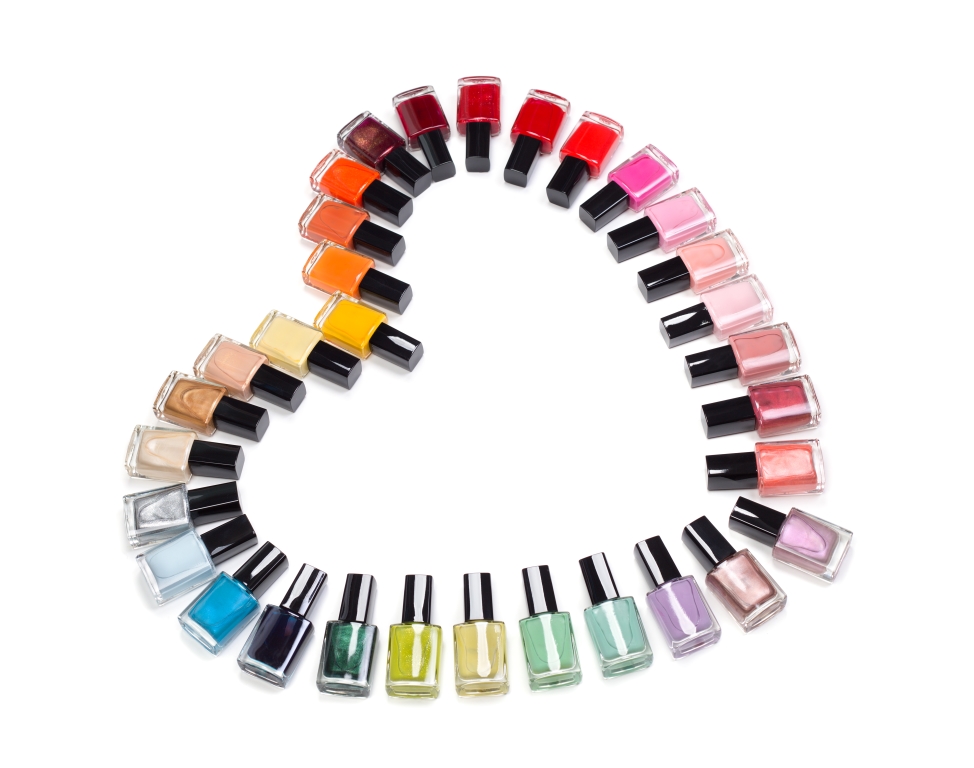
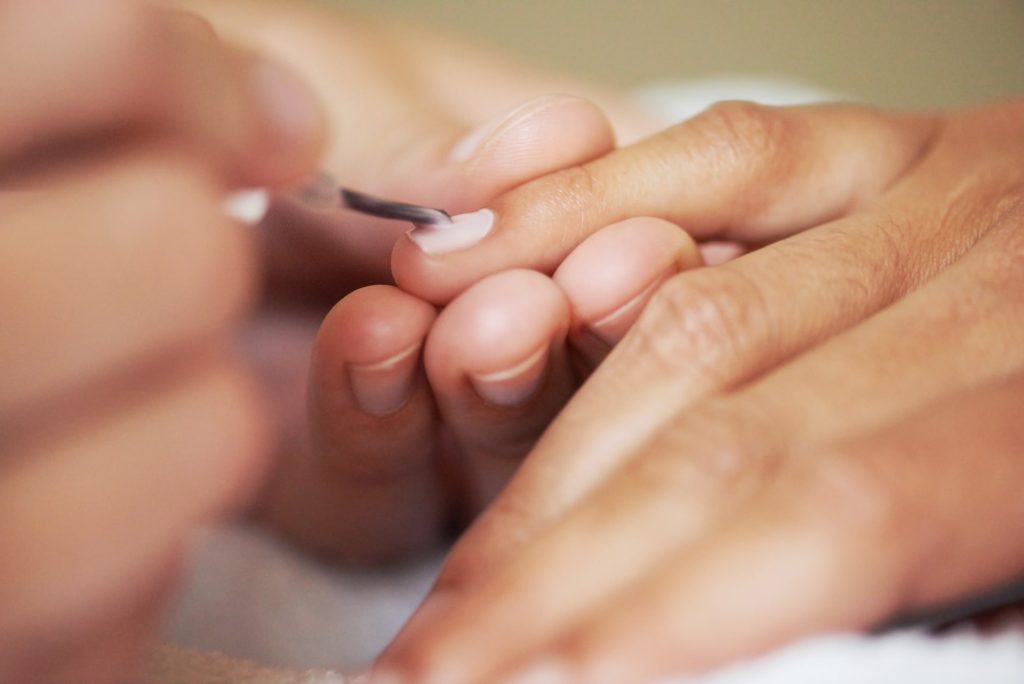
Step 8: Apply Nail Polish
Now it’s time for the fun part – applying nail polish! Choose your favorite shade and carefully apply it to each nail in thin, even strokes. Start from the base of the nail and brush towards the tip, leaving a small gap between the polish and the cuticle. Apply a second coat if necessary for full coverage, and allow the polish to dry completely between coats.
Step 9: Add Top Coat
Once your nail polish is dry, finish off your manicure with a top coat to seal in the color and add shine. Apply a thin layer of top coat to each nail, making sure to cap the edges for extra durability. Allow the top coat to dry completely before using your hands.
Step 10: Clean Up
Finally, clean up any stray polish or smudges using a small brush dipped in non-acetone solution. This will give your manicure a polished finish and ensure that your nails look flawless.
And there you have it – a perfect basic manicure right at home! With a little time and effort, you can treat yourself to beautifully manicured nails without ever stepping foot in a salon. So go ahead, pamper yourself and enjoy your gorgeous new manicure!