So, you’ve decided to start doing your nails at home—great choice! Whether you’re looking to save money, experiment with creativity, or enjoy some self-care, learning to do your nails can be a rewarding experience. But where do you begin? Here’s a step-by-step guide to help you get started.
Step 1: Gather Your Essentials

Before diving in, you’ll need to gather some basic nail tools and supplies. Here’s what you’ll need:
- Nail Clippers and Files
- A good pair of nail clippers for trimming and an emery board or glass file for shaping your nails.
- Cuticle Care Tools
- Cuticle pusher and cuticle nippers (optional) to clean up the nail bed area.
- Cuticle oil to keep your cuticles hydrated.
- Base Coat, Nail Polish, and Top Coat
- Start with basic, versatile shades like nude, pink, or red if you’re new to nail polish.
- A good base coat prevents staining and helps polish adhere better.
- A shiny or matte top coat seals your manicure and extends its life.
- Polish Remover and Cotton Pads
- Non-acetone remover is gentler on nails, but acetone works faster for stubborn polish.
- Nail Buffer
- Buffing smooths the surface of your nails and adds a natural shine.
- Optional Extras
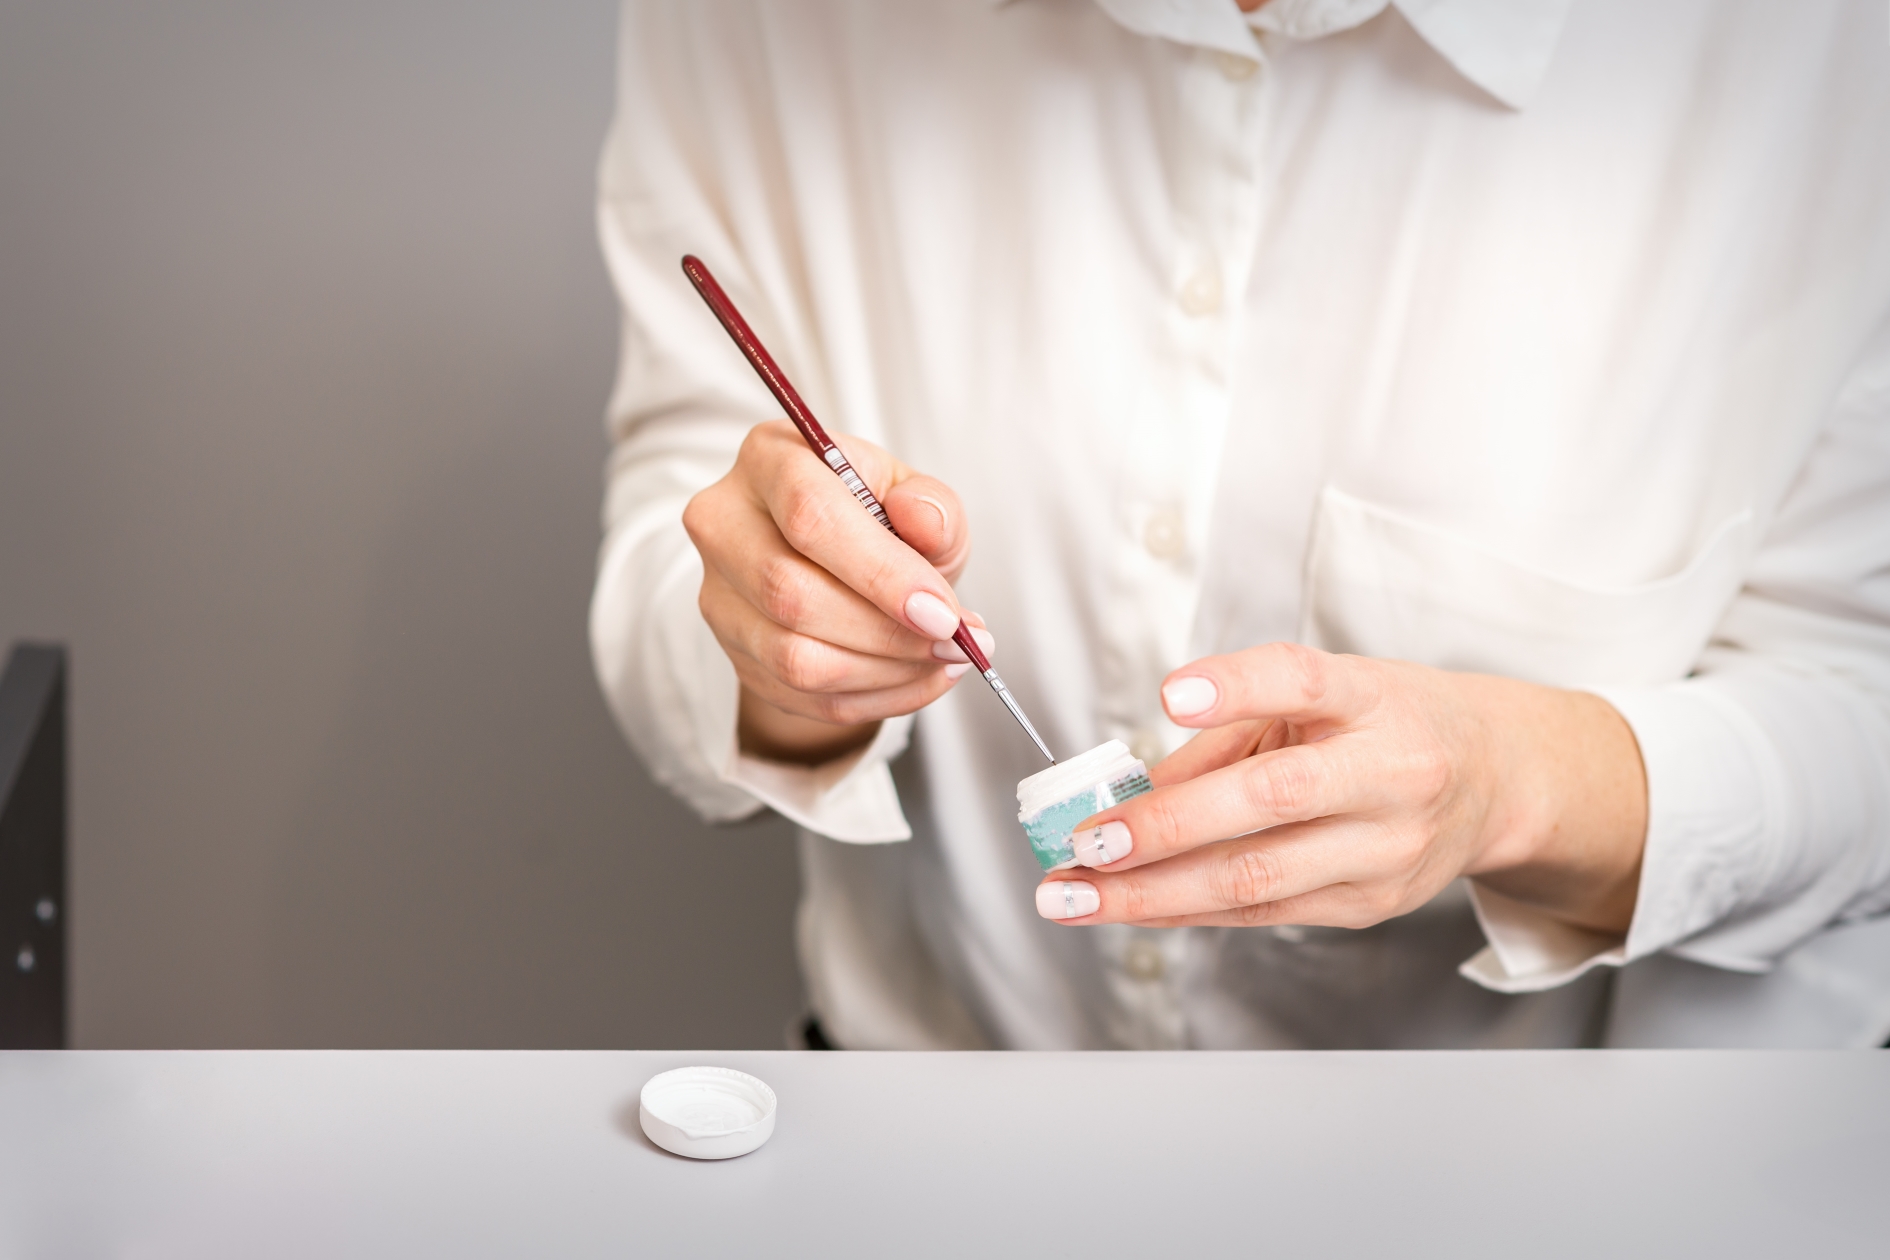
- Nail art tools, such as brushes, dotting tools, or stickers, if you’re feeling creative.
- A UV/LED lamp if you want to try gel polish.
Step 2: Prepare Your Nails
Proper preparation is the key to a professional-looking manicure. Follow these steps:
- Clean Your Nails
- Remove any old polish using remover and a cotton pad.
- Wash your hands thoroughly to remove dirt and oils.
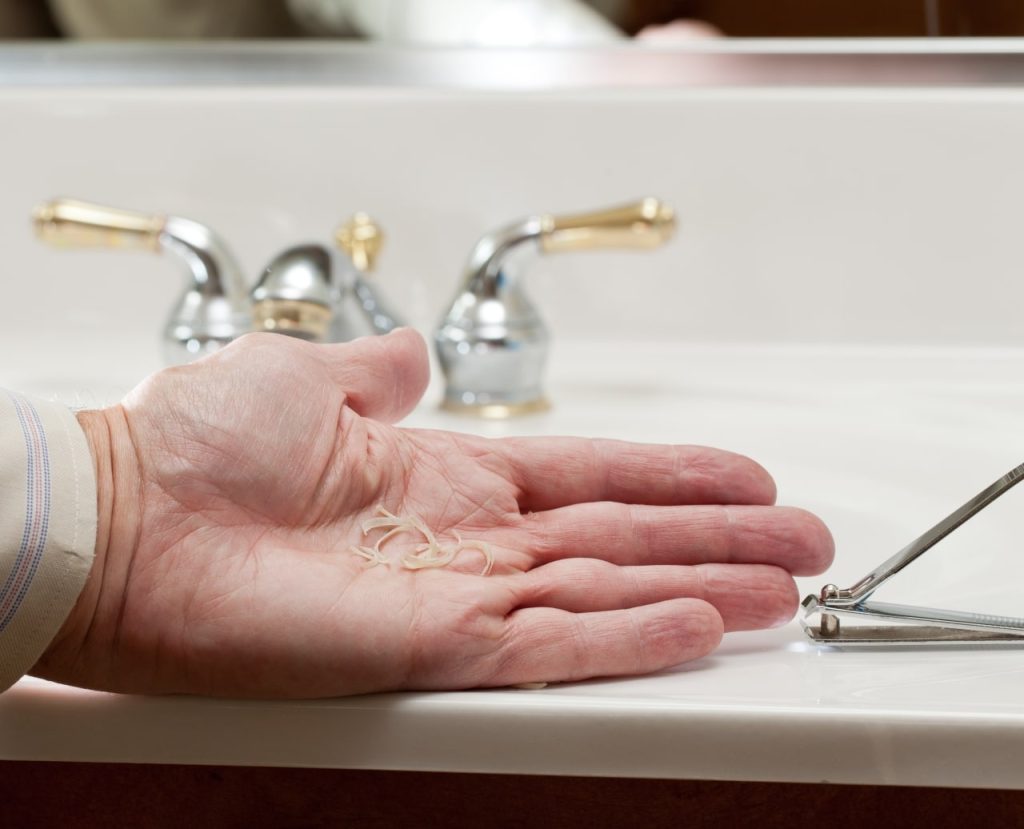
- Trim and Shape
- Use clippers to trim your nails to your desired length.
- File them into your preferred shape—square, round, oval, or almond.
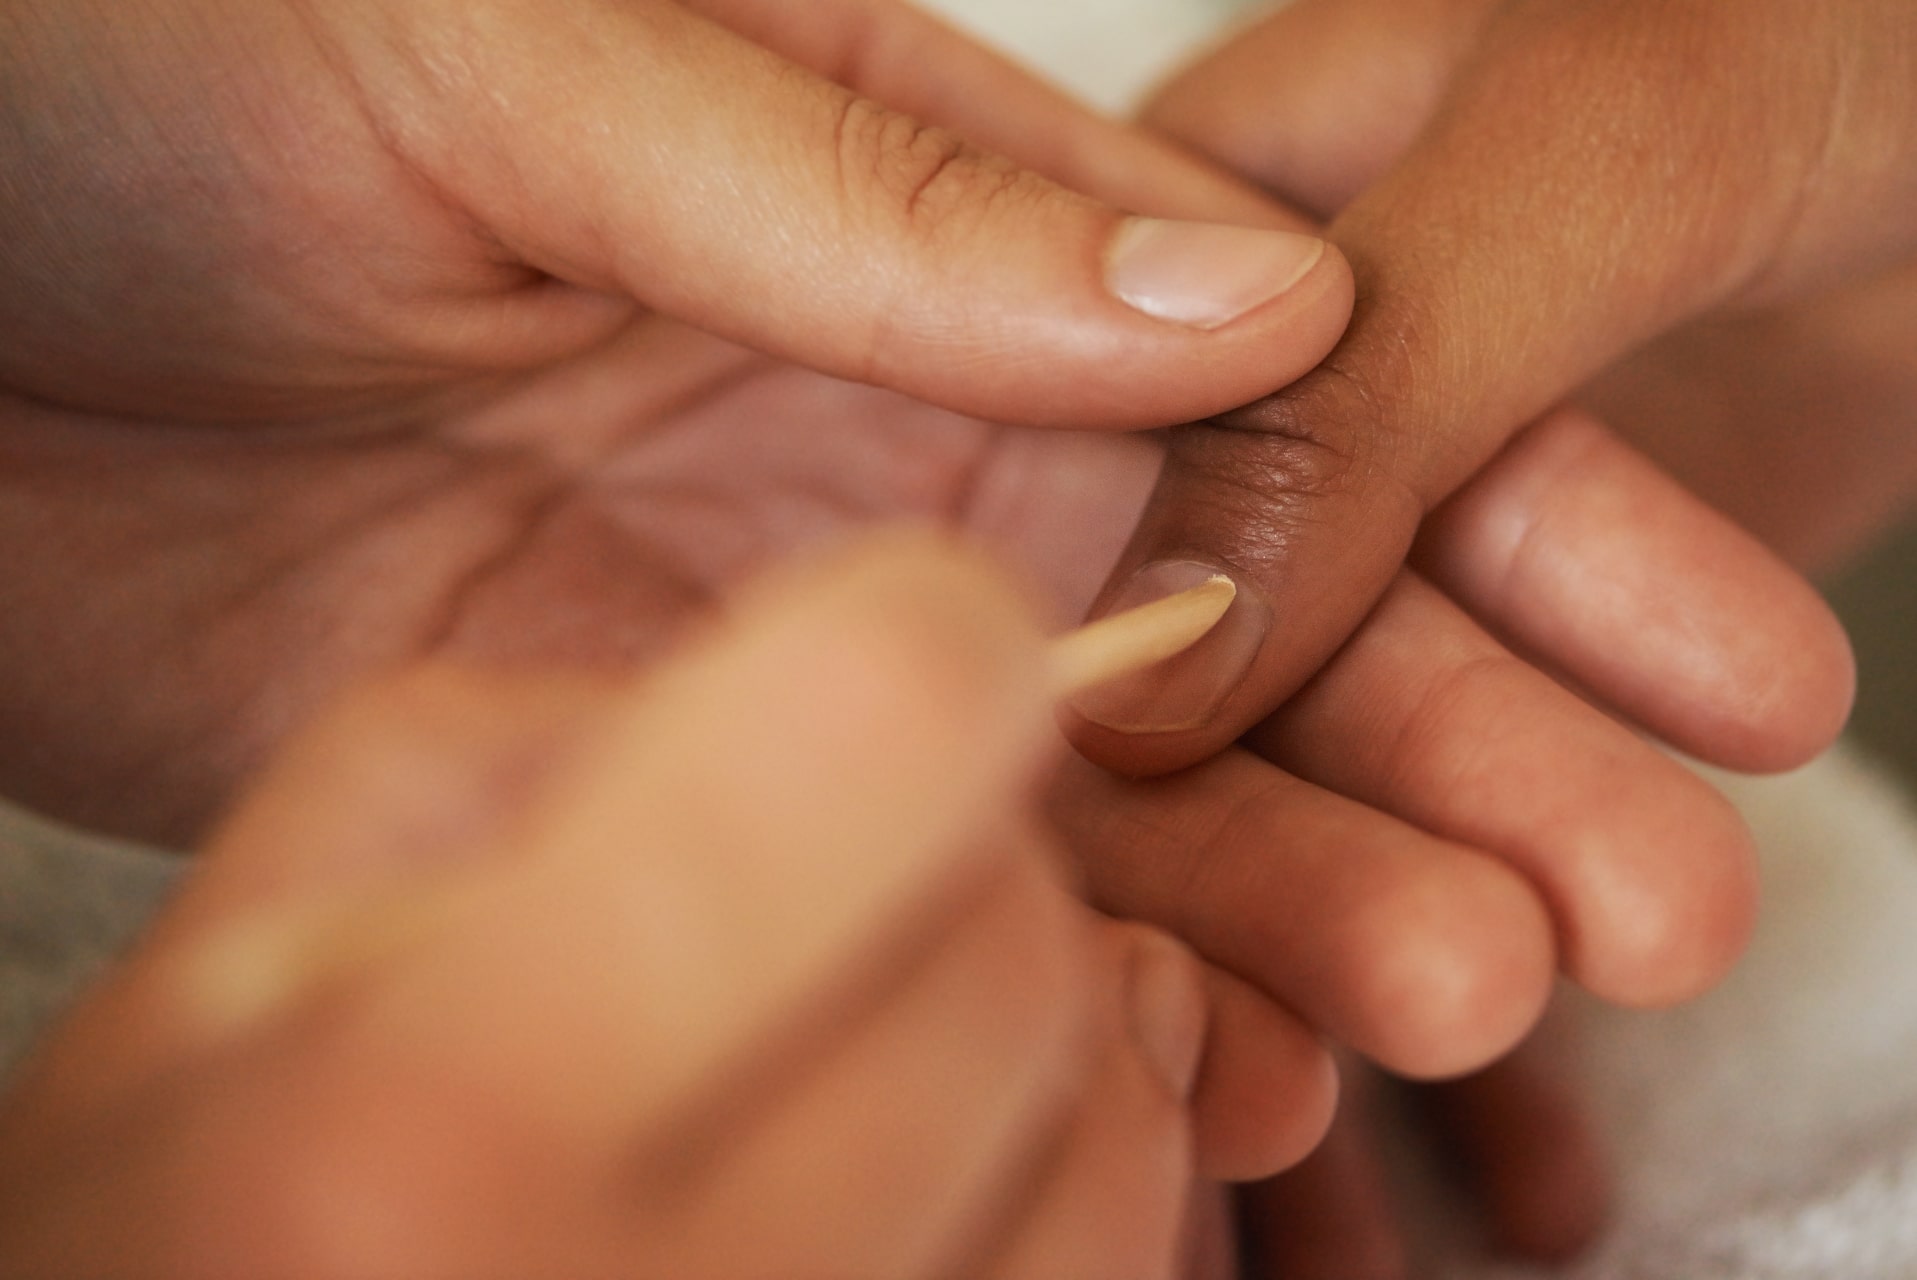
- Push Back Cuticles
- Soften cuticles by soaking your nails in warm water for a few minutes.
- Gently push them back with a cuticle pusher and trim any excess skin if needed.
- Buff the Nail Surface
- Use a buffer to smooth ridges and create an even surface for the polish to adhere to.
Step 3: Apply Nail Polish
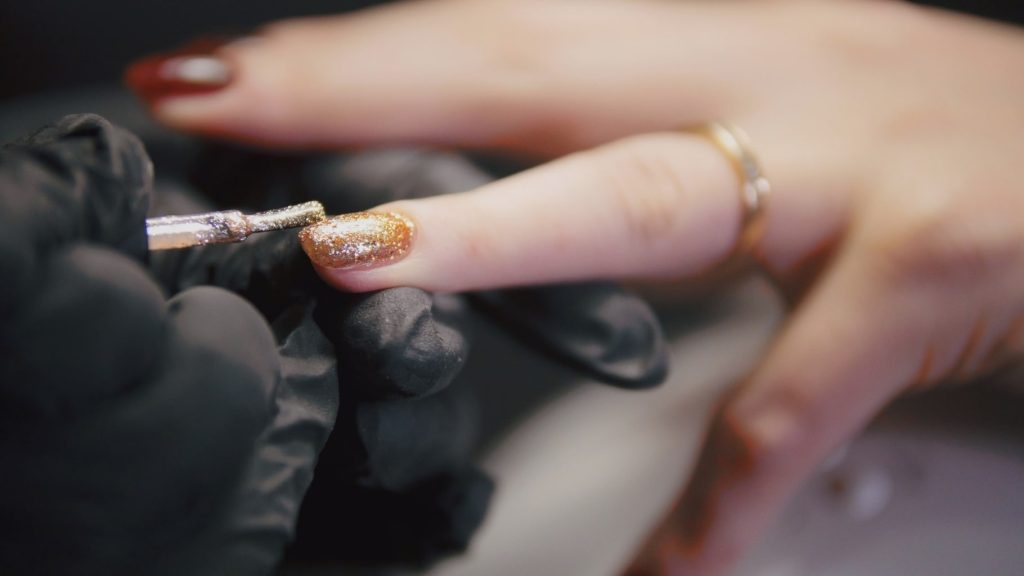
Once your nails are prepped, it’s time for the fun part—polishing! Here’s how:
- Start with a Base Coat
- Apply a thin layer of base coat to protect your nails and provide a smooth foundation.
- Let it dry completely before moving on.
- Apply Nail Polish
- Roll the polish bottle between your hands to mix (don’t shake to avoid bubbles).
- Apply 1-2 thin coats of polish, letting each coat dry before applying the next.
- Seal with a Top Coat
- Finish with a top coat to add shine and durability.
- Be sure to swipe the top coat along the free edge of your nail to prevent chipping.
Step 4: Maintain Your Manicure
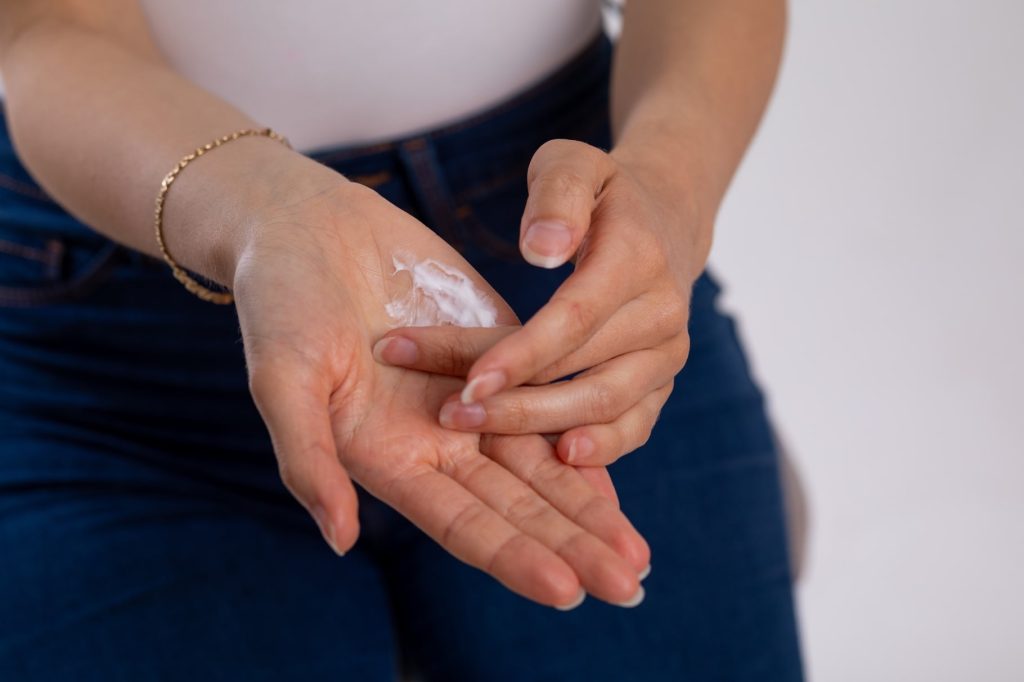
A beautiful manicure needs care to stay fresh. Here’s how to make it last:
- Moisturize Regularly
- Use cuticle oil and hand cream daily to keep your nails and skin hydrated.
- Protect Your Nails
- Wear gloves when cleaning or doing dishes to prevent chips and dryness.
- Avoid Picking or Biting
- Resist the urge to pick at your nails or bite them, as this can damage both the polish and your nails.
Tips for Beginners
- Practice Makes Perfect: Don’t be discouraged if your first attempts aren’t perfect. You’ll improve with time.
- Stick to Basics: Start with simple designs and solid colors before moving on to intricate nail art.
- Invest in Quality: Good tools and polishes make a big difference in the results.
- Watch Tutorials: Online tutorials can teach you new techniques and inspire creativity.
Doing your nails at home is a fun and rewarding skill that allows you to express yourself and enjoy some self-care. By starting with the basics and practicing regularly, you’ll soon be creating salon-worthy manicures in the comfort of your own home. So, gather your tools, pick your favorite polish, and let your nail journey begin!


