Water transfer decals are an easy and fun way to elevate your nail designs. They allow you to create intricate patterns or themed looks without the skill level required for freehand nail art. Whether you’re new to nail art or looking to try something different, here’s a step-by-step guide on how to apply water transfer decals to your nails.
What You’ll Need:
- Water transfer nail decals of your choice
- Scissors (for trimming decals)
- Small bowl of water
- Tweezers
- Base coat
- Nail polish (optional, for background color)
- Top coat
- Cotton swabs or a small brush
Step-by-Step Guide:

1. Prepare Your Nails
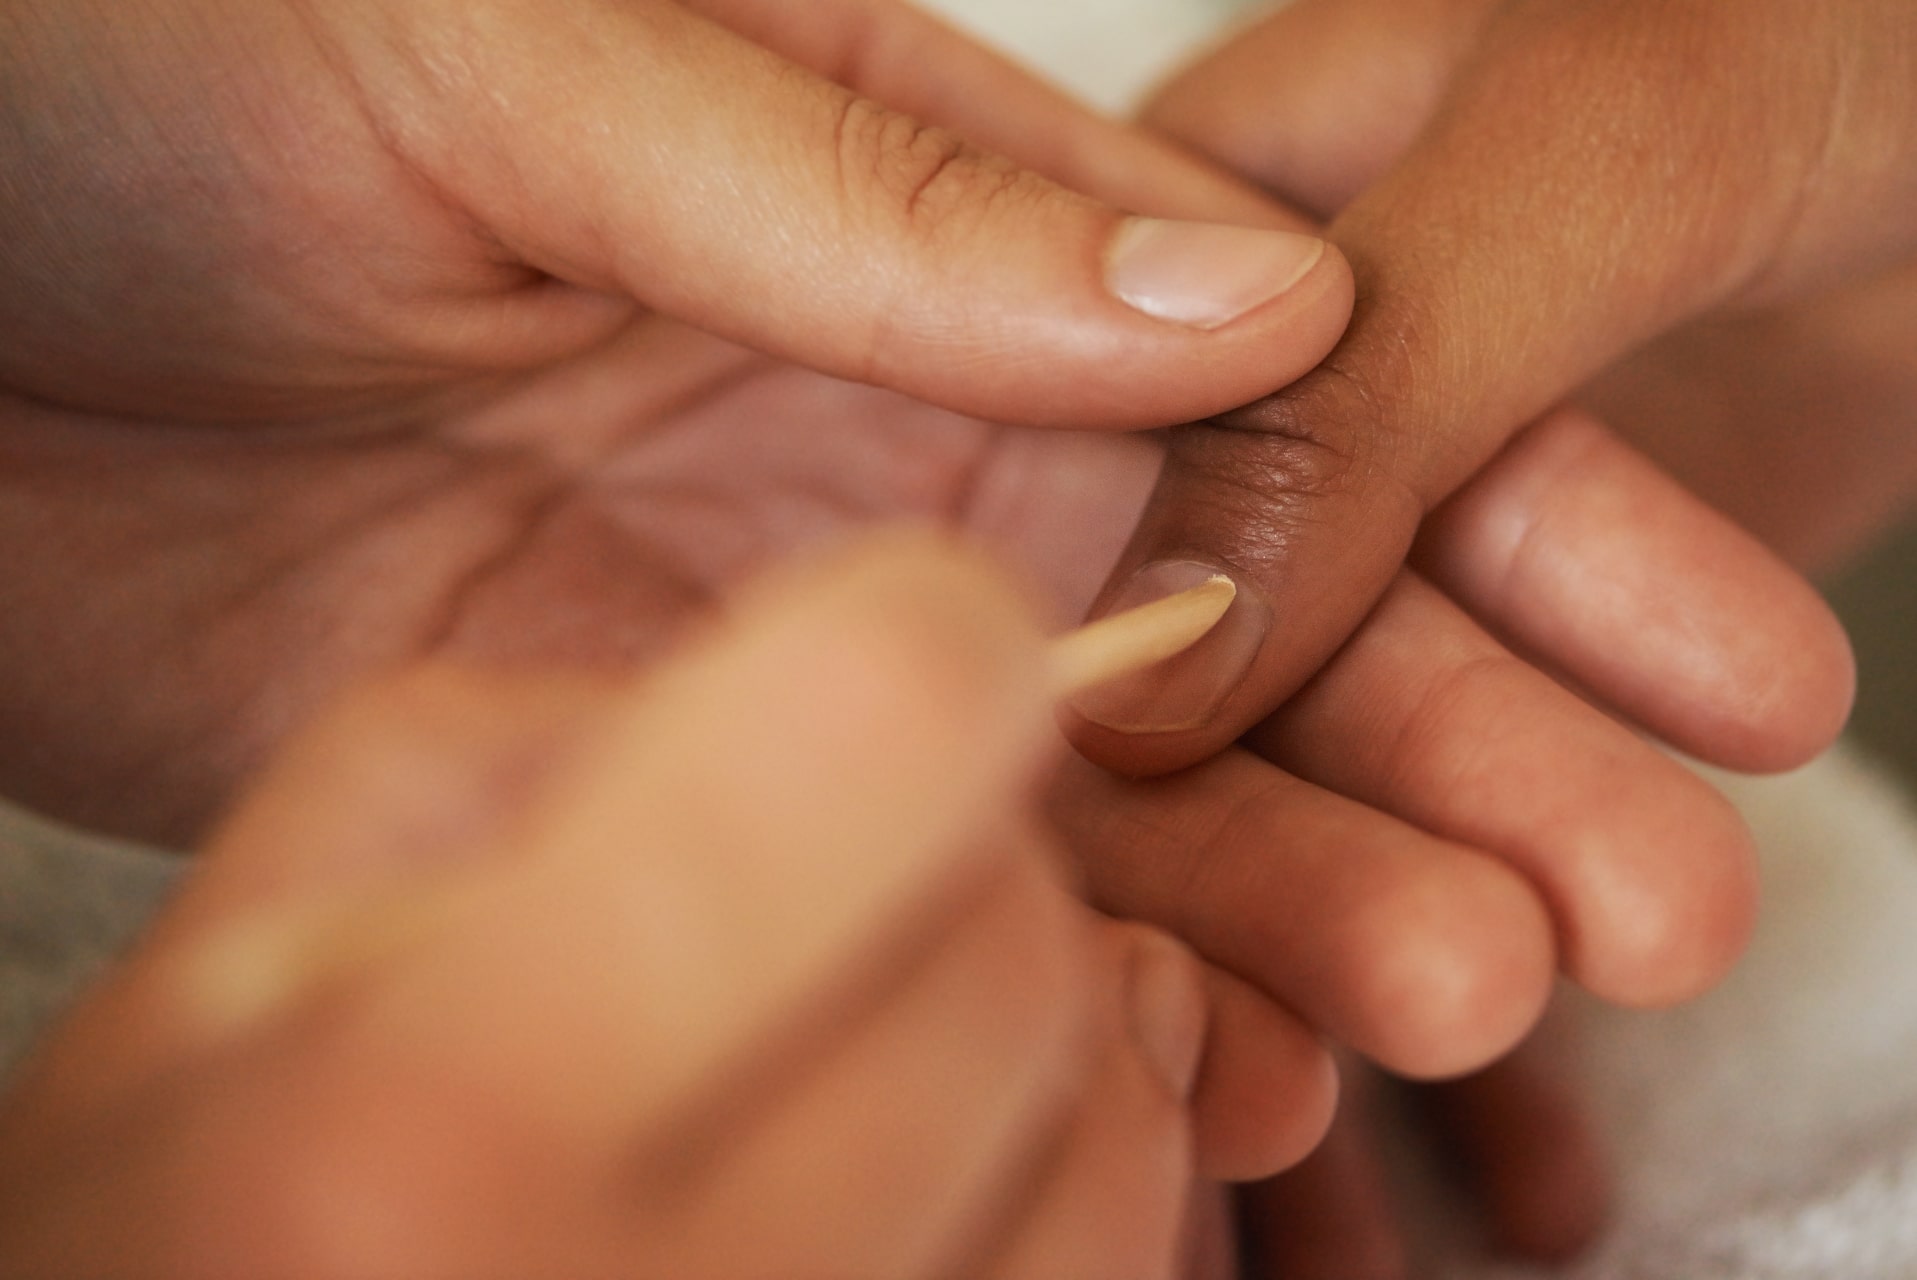
- Start with clean, dry nails. Remove any old polish and push back your cuticles.
- Apply a base coat to protect your natural nails and create a smooth surface for the decals.
- (Optional) Apply a background color of your choice and let it dry completely. Light or neutral shades often work well to make the decals stand out.
2. Cut Out the Decals
- Choose the decals you want to use and carefully cut them out. Try to trim as close to the design as possible for a seamless look.
3. Soak the Decals
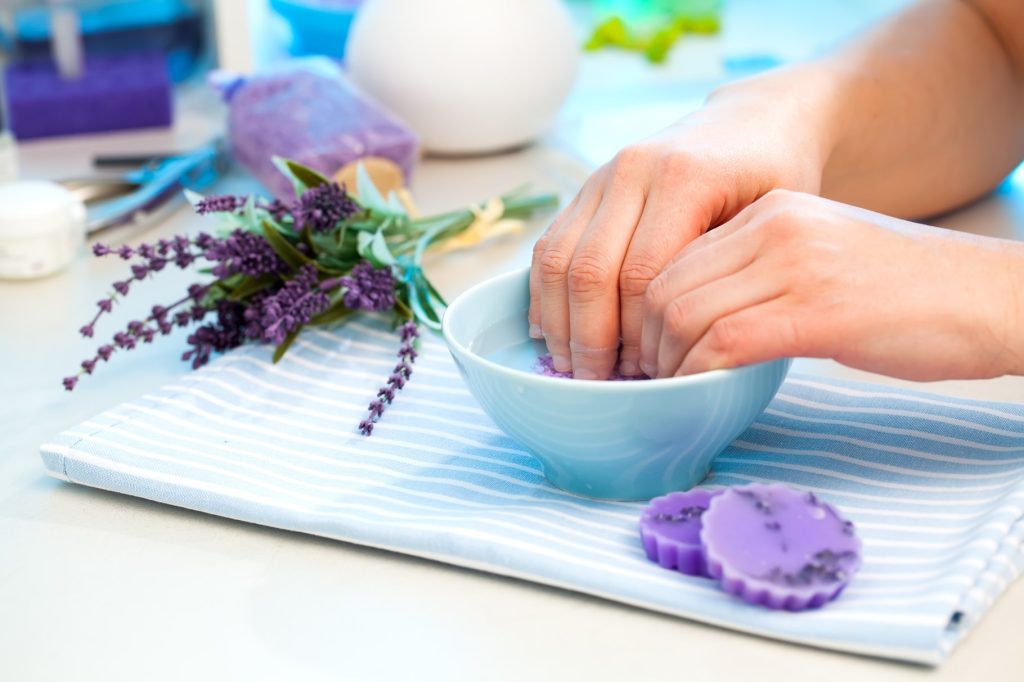
- Fill a small bowl with room-temperature water.
- Using tweezers, submerge the decal in the water for about 10-20 seconds. The backing paper will start to loosen as the decal becomes ready to transfer.
4. Apply the Decals
- Gently slide the decal off its backing paper using tweezers or your fingers.
- Place the decal onto your nail. Adjust its position carefully while it’s still wet.
- Use a cotton swab or a small brush to smooth out any bubbles or wrinkles, pressing the decal firmly onto your nail.
5. Seal the Design

- Allow the decal to dry for a minute or two.
- Apply a clear top coat over the decal to seal it in place and protect it from chipping. For best results, use two thin layers of top coat.
Tips for Perfect Results:
- Work One Nail at a Time: Decals dry quickly, so it’s best to apply and seal them one nail at a time.
- Experiment with Placement: Try layering decals or combining them with glitter or rhinestones for a unique look.
- Use Good Lighting: This helps you see any wrinkles or bubbles that need smoothing out.
- Practice Patience: Like any nail art, practice makes perfect. Take your time to ensure precise placement.
Water transfer decals are a simple yet impressive way to customize your nails. They’re perfect for special occasions or when you want a quick and professional-looking design. With a little practice and creativity, you can achieve salon-quality nail art right at home!


