Gel-X nails have become a popular choice for those looking to achieve salon-quality nails at home. This innovative nail enhancement technique combines the durability of hard gel with the natural look of press-on nails, offering a flawless, long-lasting manicure. If you’re ready to try your hand at Gel-X nails, here’s a comprehensive guide on how to apply them properly and what tools you’ll need to ensure a beautiful, long-lasting set.
What Are Gel-X Nails?
Gel-X nails are a type of soft gel nail extension that adheres directly to the natural nail using a special gel adhesive. Unlike traditional acrylics, Gel-X nails are pre-shaped tips made entirely of soft gel. This makes them more flexible, lightweight, and less damaging to the natural nail. They’re perfect for anyone looking to add length, strength, and style to their nails without the commitment of acrylics.
Tools You Will Need
Before you start, make sure you have all the necessary tools and supplies on hand. Here’s a list of what you’ll need to create a perfect set of Gel-X nails:
1. Gel-X Nail Tips: Choose tips that best match your natural nail shape and length preference. Gel-X tips come in various shapes such as almond, coffin, square, and stiletto.
2. Nail File and Buffer: A nail file (usually 180 grit) and buffer (240 grit or higher) are essential for shaping the natural nails and the Gel-X tips. Buffing helps the adhesive adhere better.
3. Cuticle Pusher and Nipper: A cuticle pusher helps gently push back the cuticles, while a nipper trims any excess cuticle for a clean application.
4. Dehydrator and Primer: These products help remove oils and moisture from the natural nail, ensuring the gel adhesive adheres properly and lasts longer.
5. Gel Adhesive: A special gel adhesive or builder gel is used to attach the Gel-X tips to the natural nails. It provides a strong bond and ensures the extensions stay in place.
6. UV/LED Lamp: A UV or LED lamp is required to cure the gel adhesive and harden the Gel-X tips. Make sure to use a lamp with enough power to properly cure the gel (usually 36W or higher).
7. Gel Polish and Top Coat: Finish off your Gel-X nails with your favorite gel polish and a high-quality top coat to seal and protect the manicure.
8. Lint-Free Wipes and Isopropyl Alcohol: Lint-free wipes soaked in isopropyl alcohol are used to remove the sticky residue left after curing the gel, leaving a smooth, glossy finish.
Step-by-Step Guide to Applying Gel-X Nails
Now that you have all your tools ready, follow these steps to apply your Gel-X nails and achieve a long-lasting, professional-looking set:
1. Prepare Your Natural Nails:
– Start by washing your hands thoroughly to remove any oils or dirt.
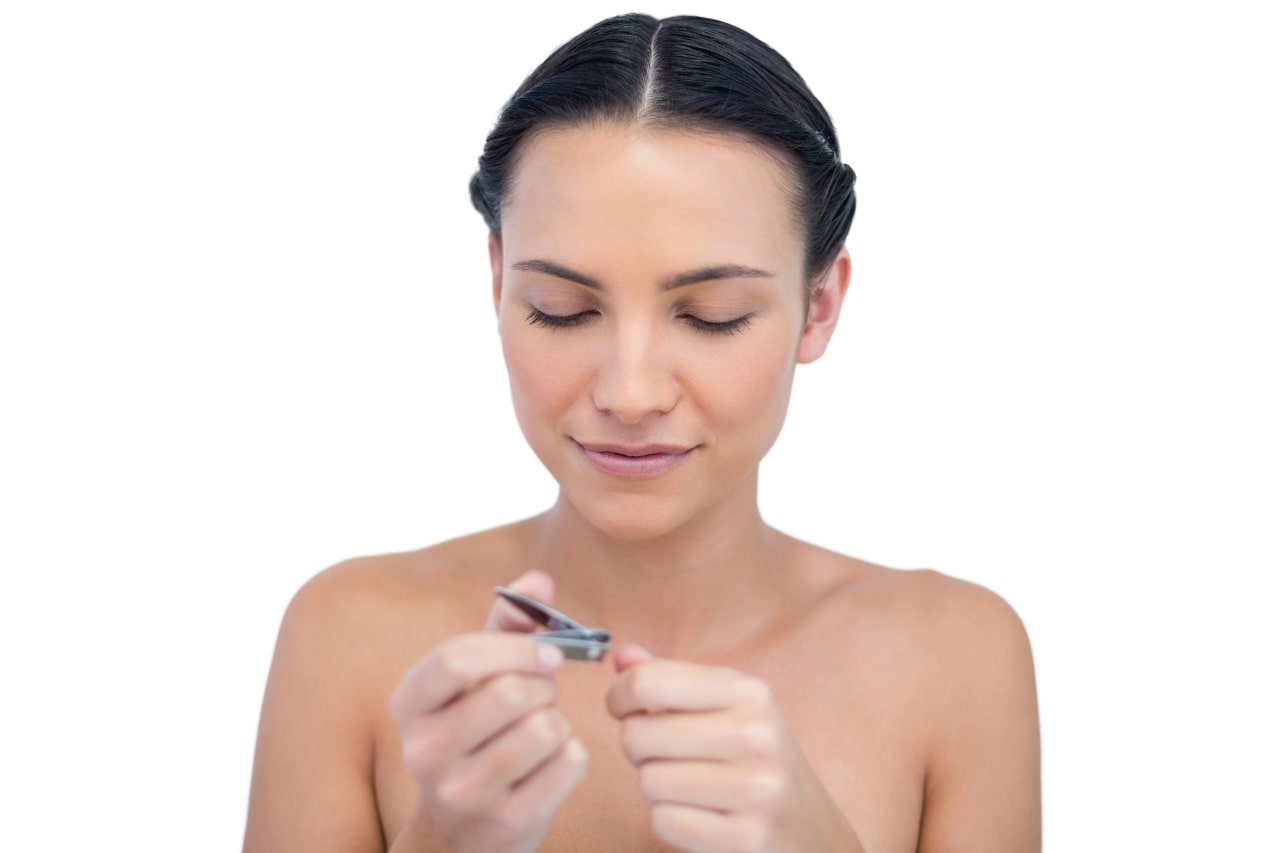
– Use a cuticle pusher to gently push back your cuticles and a nipper to trim any excess.
– File your natural nails to your desired shape and gently buff the surface to remove any shine. This helps the gel adhesive adhere better.
2. Clean and Dehydrate:
– Wipe your nails with a lint-free wipe soaked in isopropyl alcohol to clean them.
– Apply a dehydrator to your nails to remove any remaining oils and moisture.
– Apply a thin layer of primer to further prep the nails for the gel adhesive.
3. Select and Prepare Gel-X Tips:
– Choose the Gel-X tips that best match the width and shape of your natural nails.
– Use a nail file to gently buff the inside of the tips where they will adhere to your natural nails. This roughens the surface, ensuring a better bond.
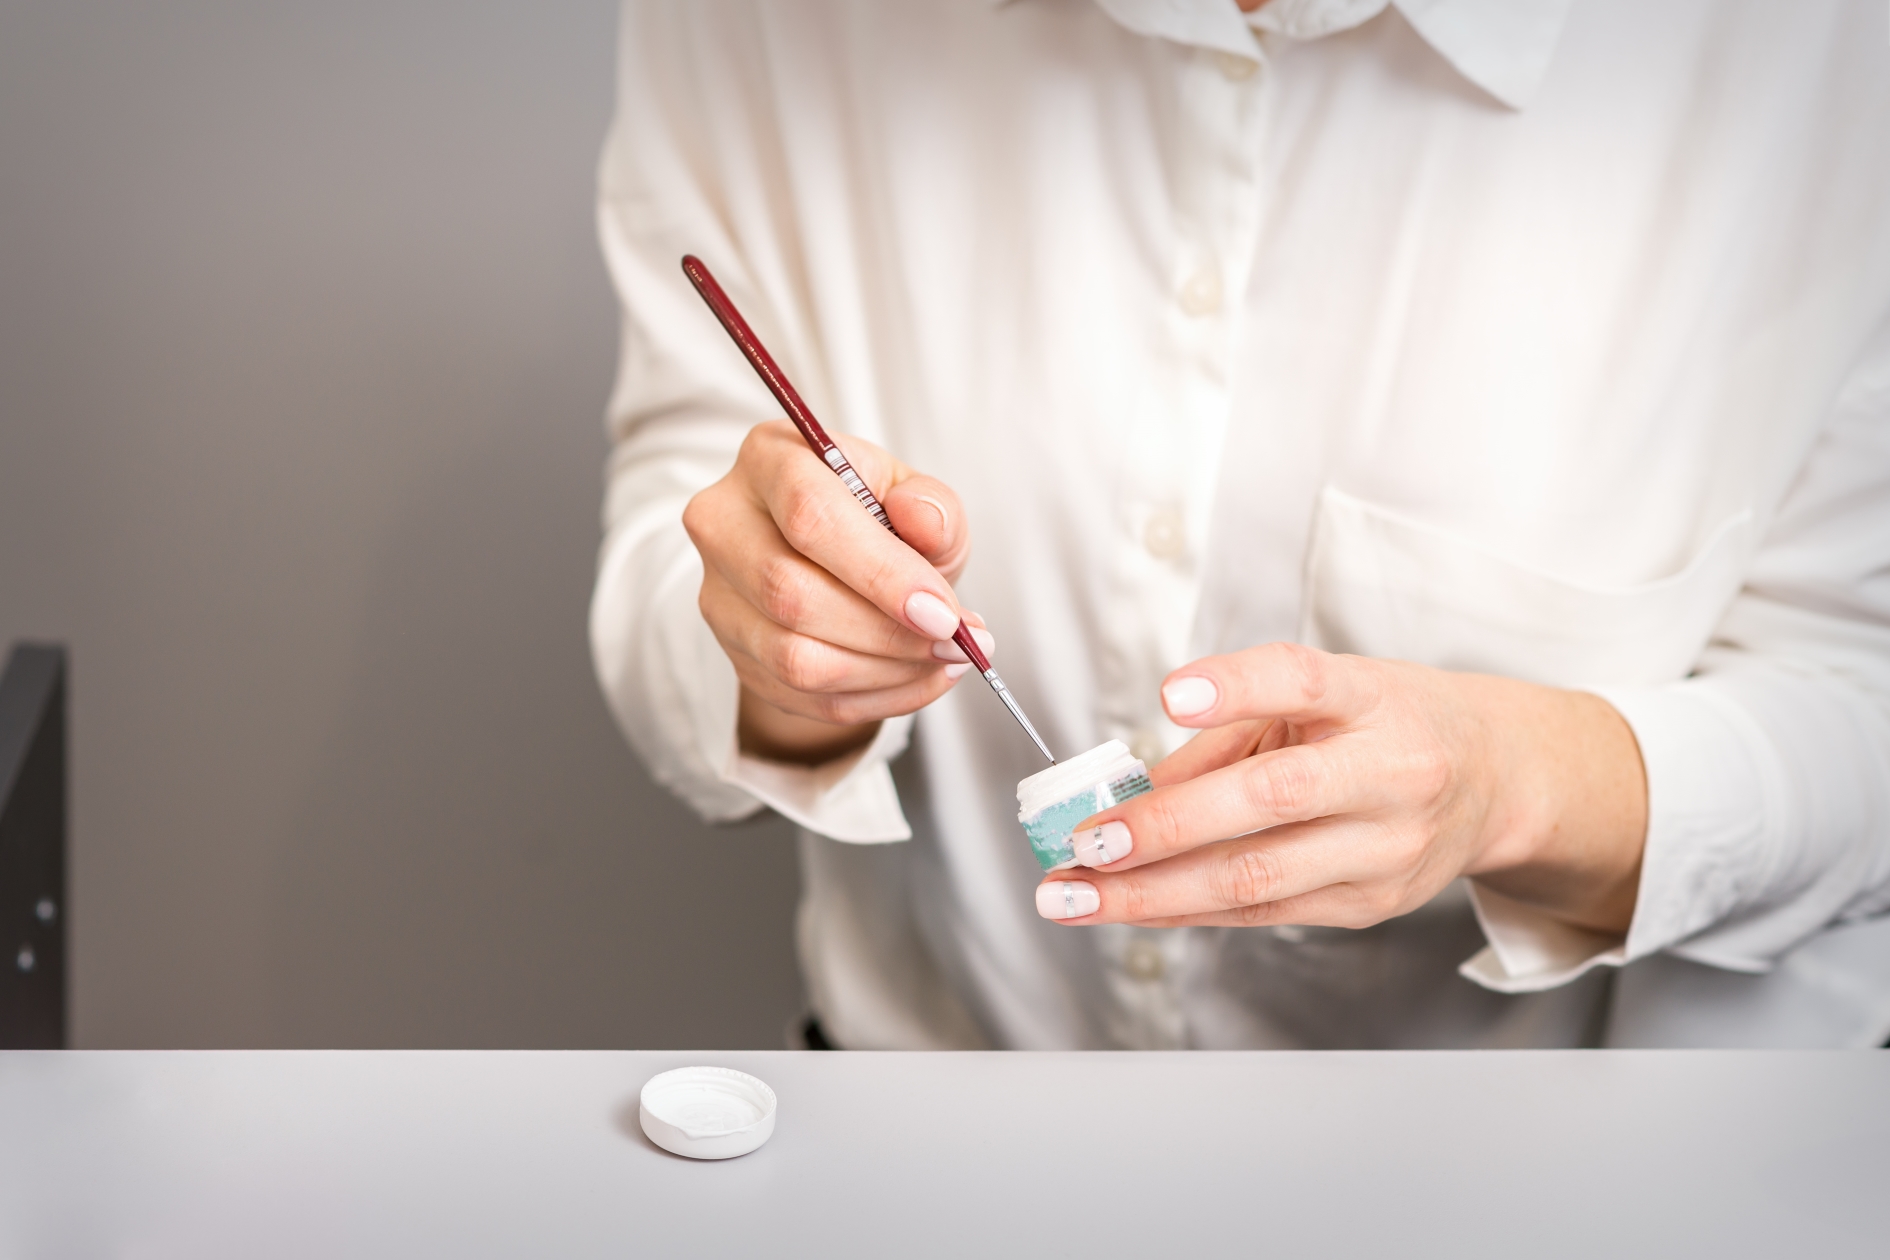
4. Apply the Gel Adhesive:
– Apply a thin layer of gel adhesive to your natural nails, avoiding the cuticle area.
– Cure the gel adhesive under a UV/LED lamp for the recommended time (usually 30-60 seconds).
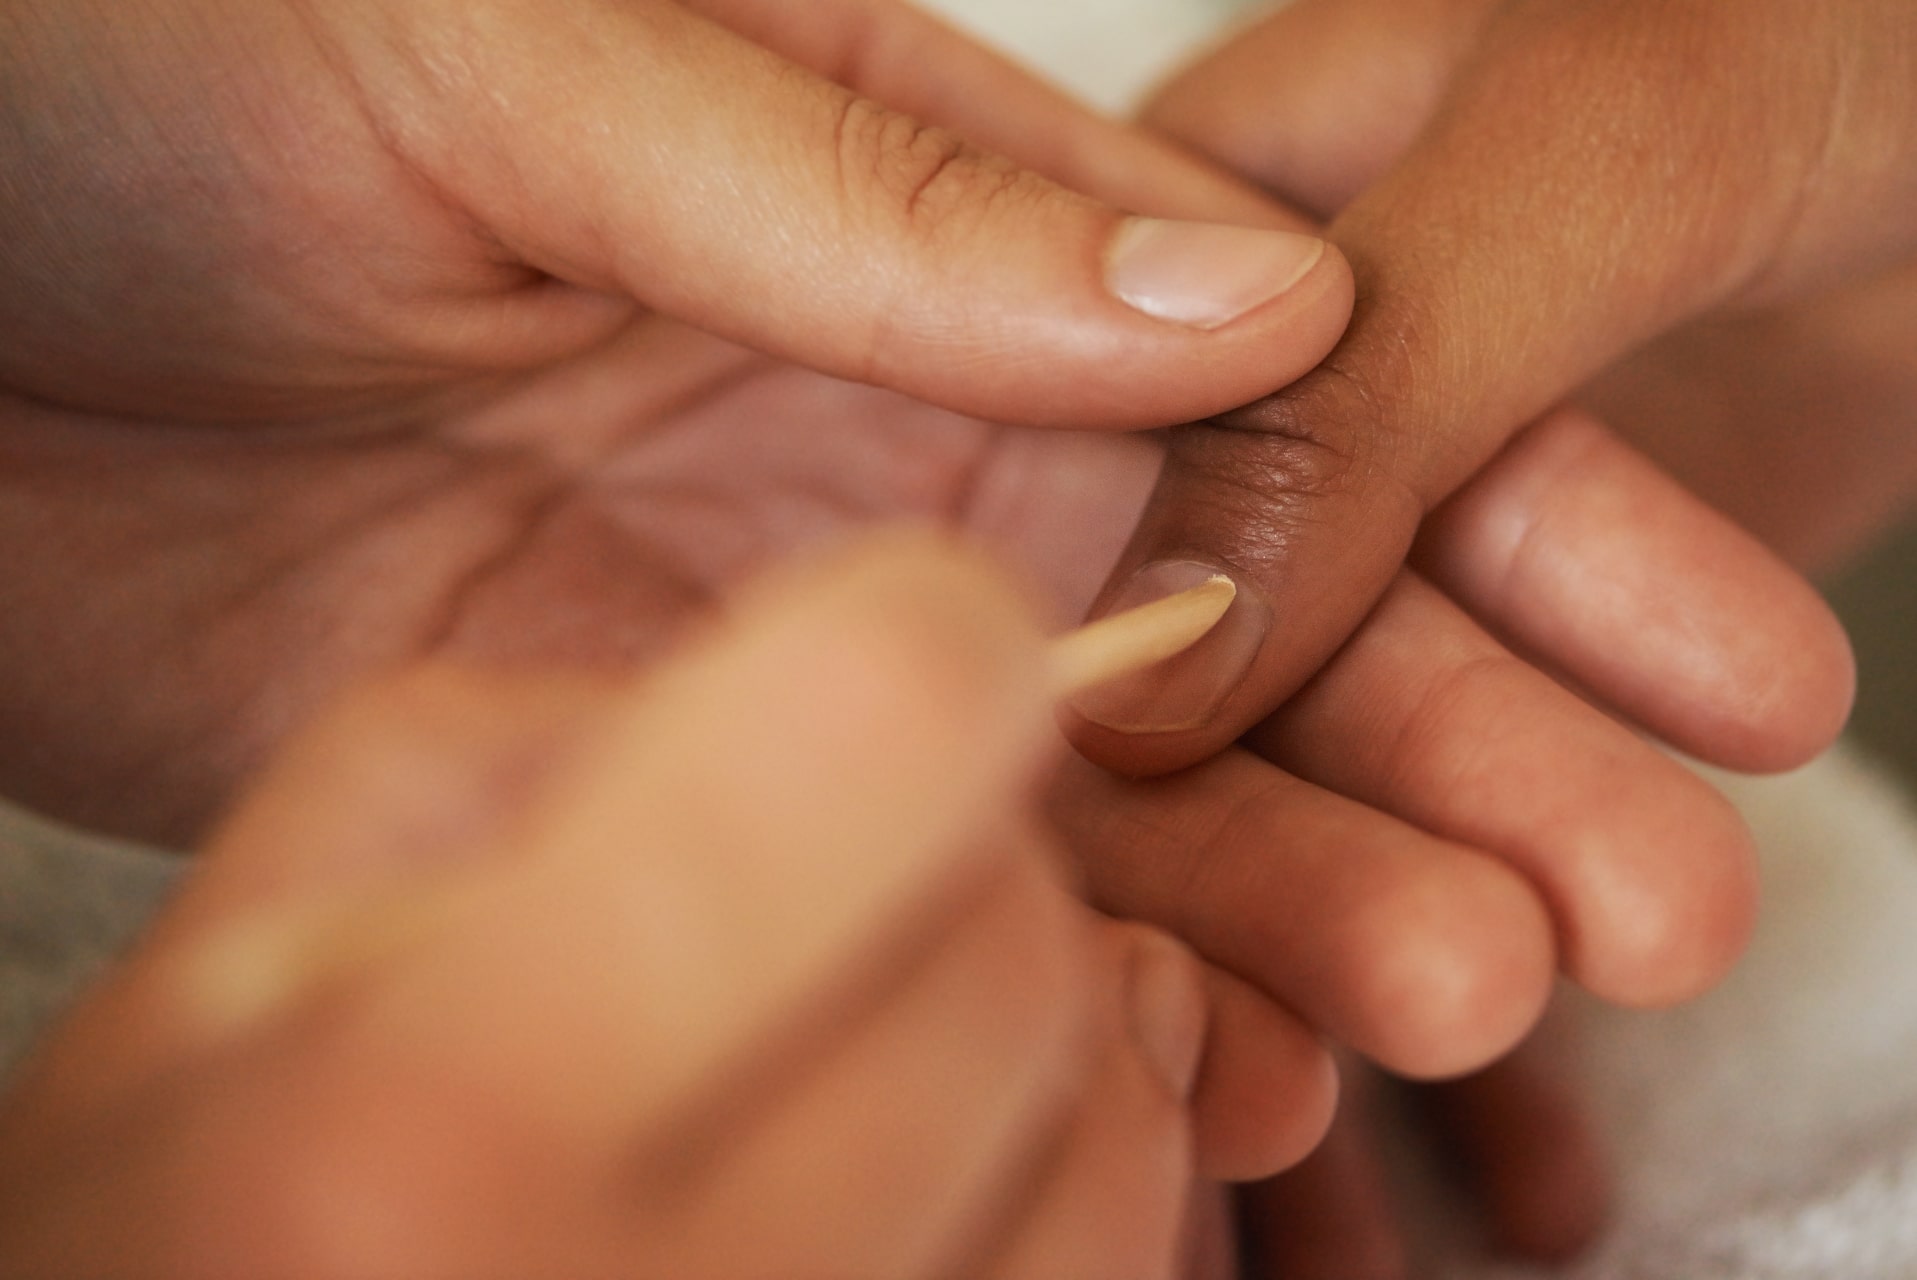
5. Attach the Gel-X Tips:
– Apply a small amount of gel adhesive to the underside of the Gel-X tip.
– Starting at the cuticle area, gently press the tip onto your natural nail, ensuring there are no air bubbles. Hold it in place.
– Flash cure the tip under the UV/LED lamp for about 10 seconds to set it in place. Repeat for all nails.
6. Final Curing:
– Once all the tips are attached, fully cure all nails under the UV/LED lamp for the recommended time (usually 60 seconds) to ensure they are completely hardened.
7. Shape and Buff:
– Use a nail file to shape the Gel-X tips to your desired length and style.
– Buff the surface of the tips to remove any shine and create a smooth base for the polish.
8. Apply Gel Polish and Top Coat:
– Apply your chosen gel polish color in thin layers, curing each layer under the UV/LED lamp.
– Finish with a high-quality gel top coat to seal and protect your manicure. Cure the top coat under the lamp.
9. Finish and Clean:
– Use a lint-free wipe soaked in isopropyl alcohol to remove the sticky residue left after curing the top coat.
– Apply cuticle oil to nourish your cuticles and hydrate the skin around your nails.
Tips for a Long-Lasting Set
– Avoid Over-Buffing: Over-buffing can weaken your natural nails and reduce the adhesion of the gel tips.
– Thin Layers: Apply gel adhesive and polish in thin layers to avoid lifting and bubbling.
– Proper Curing: Make sure to cure each layer of gel for the full recommended time to ensure it is fully hardened and durable.
– Maintenance: Keep your nails hydrated with cuticle oil and avoid using your nails as tools to extend the life of your Gel-X manicure.