Spider gel is a versatile and fun product that can take your nail art to the next level. Its unique formula allows you to create intricate, web-like designs with ease, adding a dynamic and eye-catching element to your manicure. Here’s a guide on how to use spider gel for stunning nail art.
1. Gather Your Supplies
Before you start, make sure you have all the necessary supplies. You’ll need:
- Spider gel in your chosen color
- A UV or LED lamp
- A fine nail art brush or a dotting tool
- A base coat and top coat
- Your favorite nail polish color for the base
2. Prepare Your Nails
Start with clean, dry nails. Apply a base coat to protect your nails and create a smooth surface for the polish. Once the base coat is dry, apply your chosen nail polish color and cure it under a UV or LED lamp if it’s a gel polish. Make sure the base color is fully dry before moving on to the next step.
3. Dip and Stretch
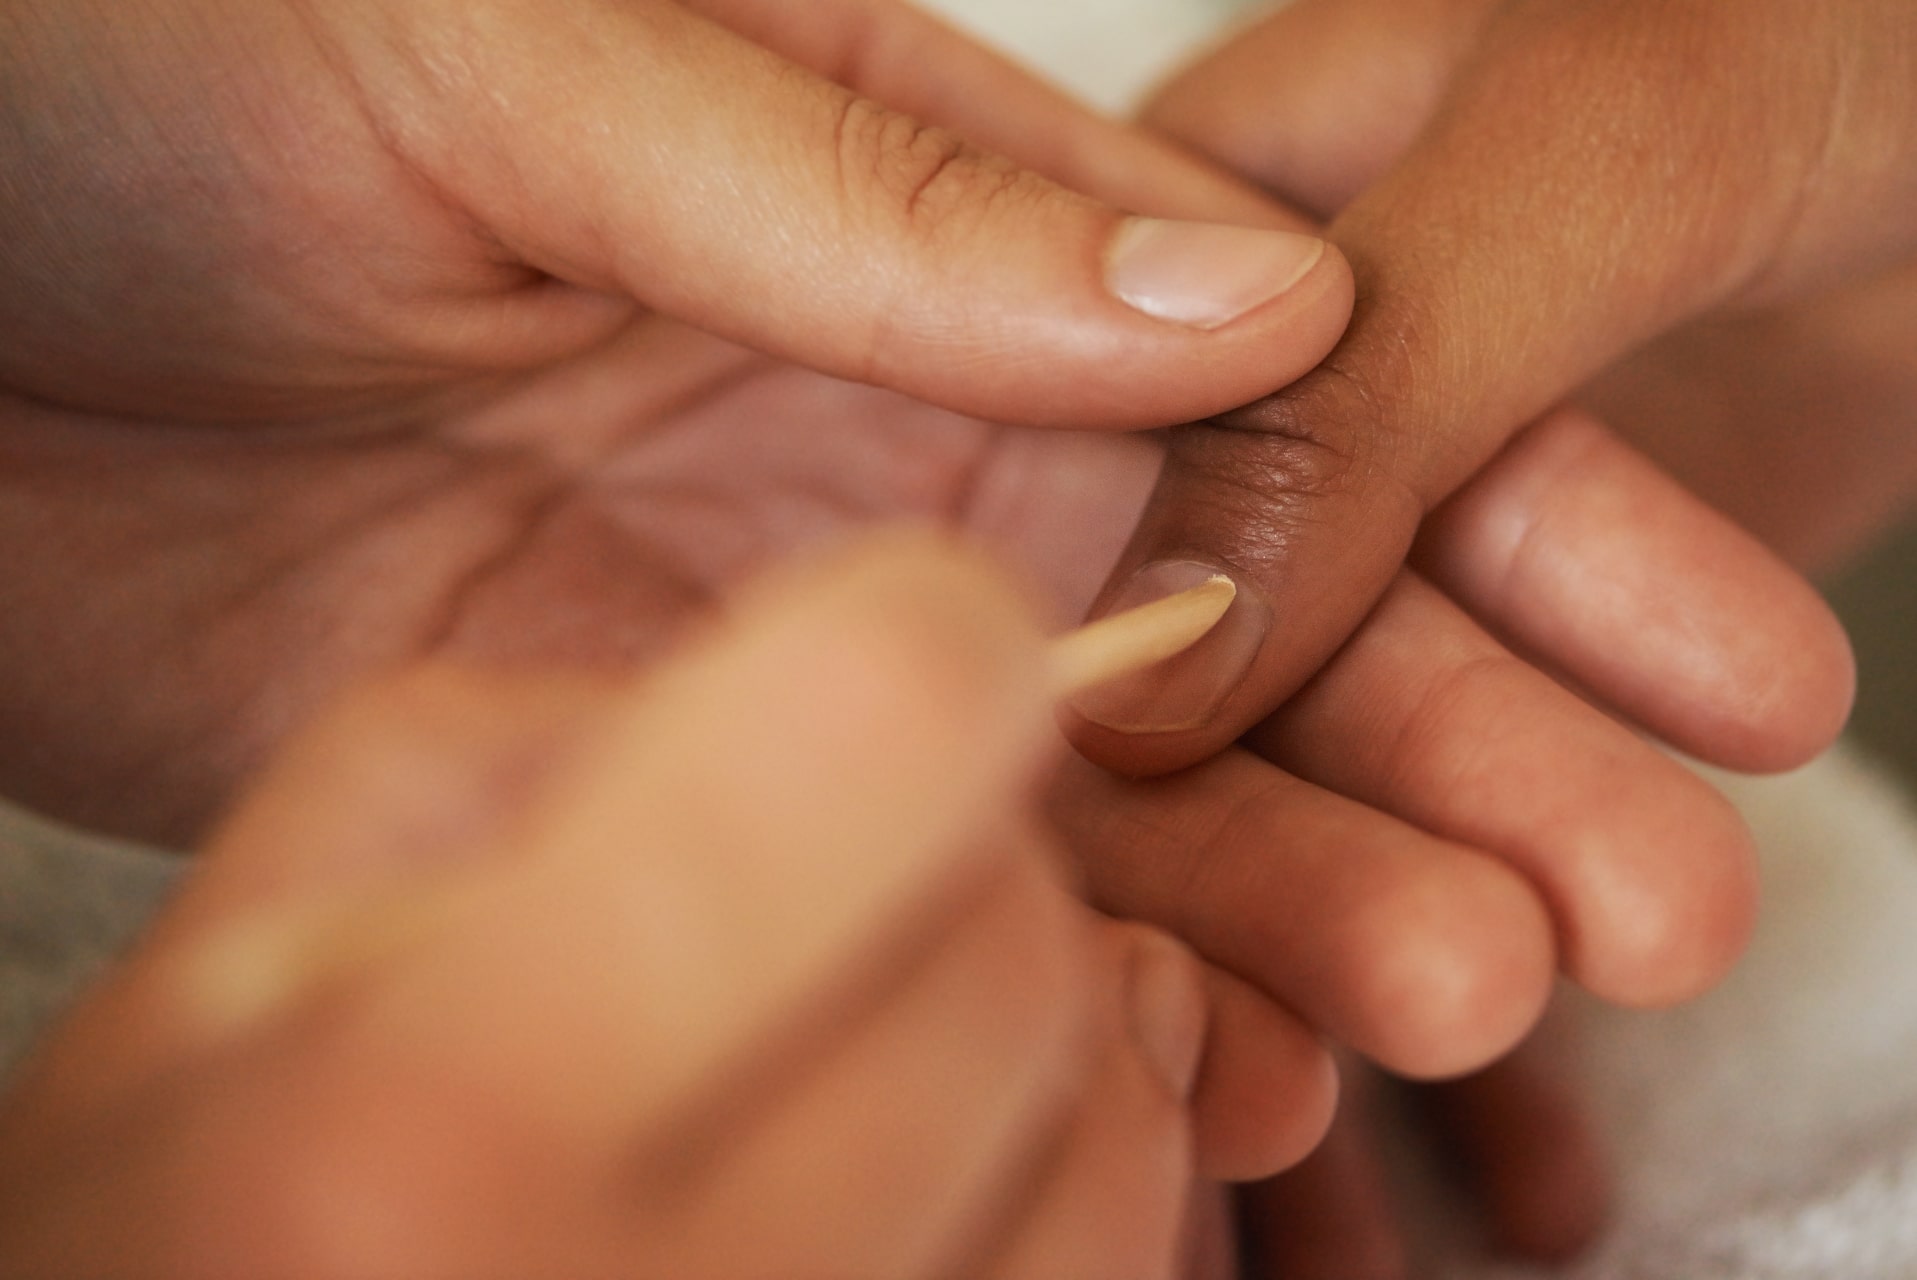
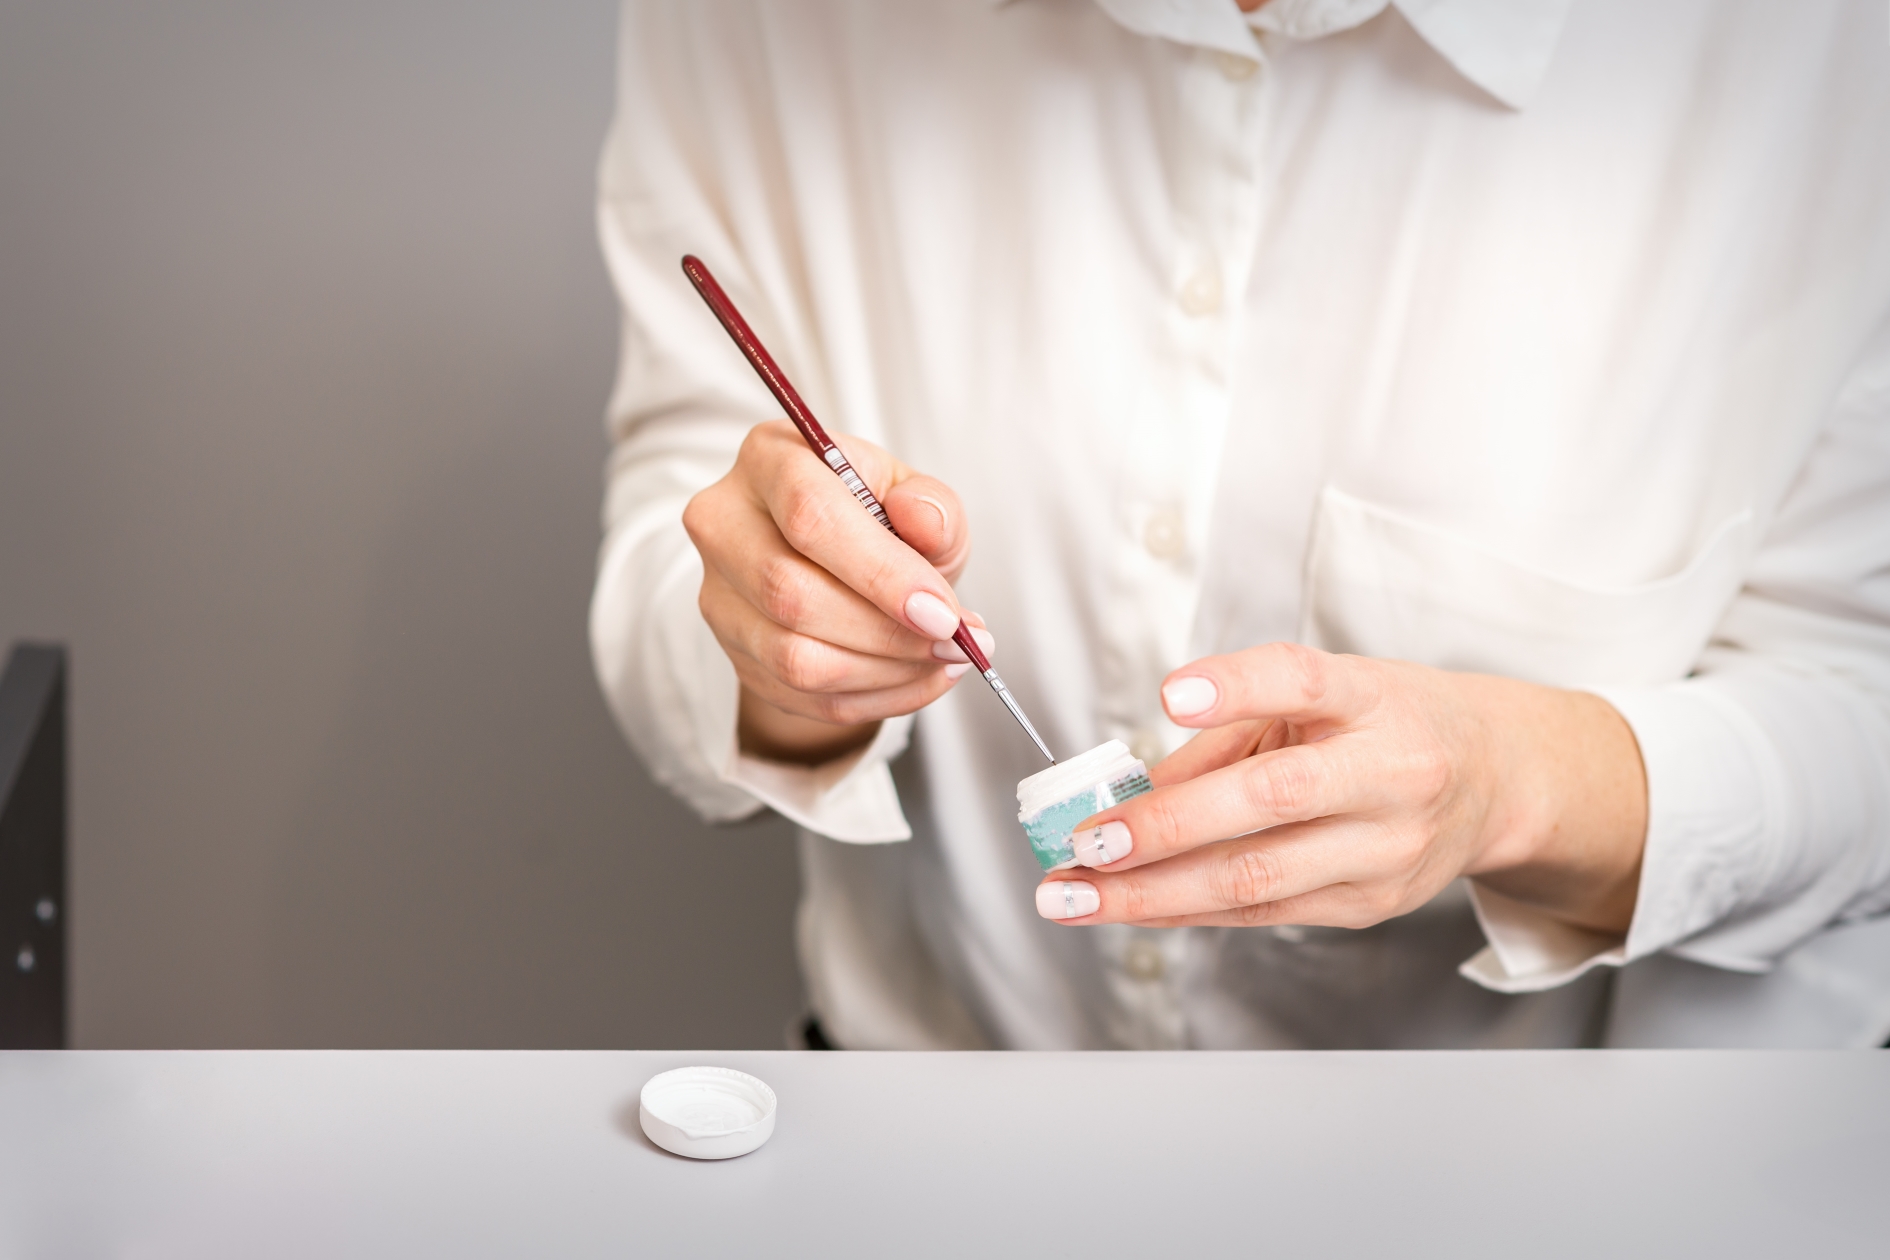
Open the spider gel container and dip your brush or dotting tool into the gel. The key to using spider gel is to stretch it to create thin, stringy lines. Gently lift the brush or tool from the gel and move it over your nail, stretching the gel to create web-like lines. You can create straight lines, zigzags, or random patterns depending on your desired look.
4. Create Your Design
Continue dipping and stretching the spider gel to create your design. You can layer multiple colors of spider gel for a more intricate look or stick to one color for a minimalist design. Be creative and experiment with different patterns and directions to achieve a unique effect.
5. Cure the Gel
Once you’re satisfied with your design, cure the spider gel under a UV or LED lamp. The curing time will depend on the specific gel you’re using, so follow the manufacturer’s instructions. Typically, it takes about 30-60 seconds to fully cure the gel.
6. Finish with a Top Coat
After curing, apply a top coat to seal your design and add a glossy finish. Cure the top coat under the lamp to ensure it’s fully set and your nail art is protected.
7. Clean Up
Clean up any excess gel around your cuticles and edges using a small brush dipped in nail polish remover. This step ensures your design looks neat and professional.
Tips for Using Spider Gel:
- Practice Makes Perfect: It may take a few tries to get the hang of stretching the gel and creating thin lines. Practice on a nail palette or a piece of paper before applying it to your nails.
- Less is More: Start with a small amount of gel on your brush or tool. You can always add more if needed.
- Mix and Match: Don’t be afraid to mix different colors of spider gel for a vibrant and dynamic design.
Spider gel is a fantastic tool for creating unique and intricate nail art. With a bit of practice and creativity, you can achieve stunning designs that are sure to impress. So, grab your spider gel and start experimenting with this fun and versatile nail art technique!