When it comes to applying GelX tips, one of the trickiest parts is figuring out how much nail glue to use. Too little, and the tips won’t stay on for long. Too much, and you’re left with a mess that’s hard to clean up. If you’re just starting out, stumbling through the learning process is totally normal. In this blog post, we’ll dive into the process of learning how to use the right amount of glue for GelX tips, and we’ll explore the pros and cons of different types of nail glue.
Stumbling Through the Glue Application Process: Finding the Right Balance
If you’ve ever applied GelX tips, you know that getting the perfect amount of glue is a skill that takes time to master. Here’s how to approach it:
- Start Small: When you’re first learning, it’s better to start with a small dot of glue in the center of the nail tip. You can always add more if needed. Too much glue can seep out the sides and cause a mess, but you can add more if the tip doesn’t adhere properly.
- Even Application: The key is to apply the glue evenly across the nail tip. If the glue is concentrated in one spot, the tip might not stick evenly, which can cause lifting later on. Spread the glue carefully to cover the entire tip area that will make contact with your natural nail.
- Press and Hold: After applying the GelX tip, press it firmly against your natural nail and hold it for about 10-15 seconds. This ensures the glue starts to bond properly and prevents air bubbles from forming.
- Check for Excess Glue: If you notice any glue spilling over the sides, quickly clean it up with a cotton swab dipped in acetone. Excess glue can harden and cause a rough, uncomfortable finish around the edges of the nail.
Types of Nail Glue: Pros and Cons
Not all nail glues are created equal. Choosing the right glue can make a huge difference in how well your GelX tips adhere and how long they last. Let’s break down the different types of glue and their pros and cons.
1. Brush-On Nail Glue
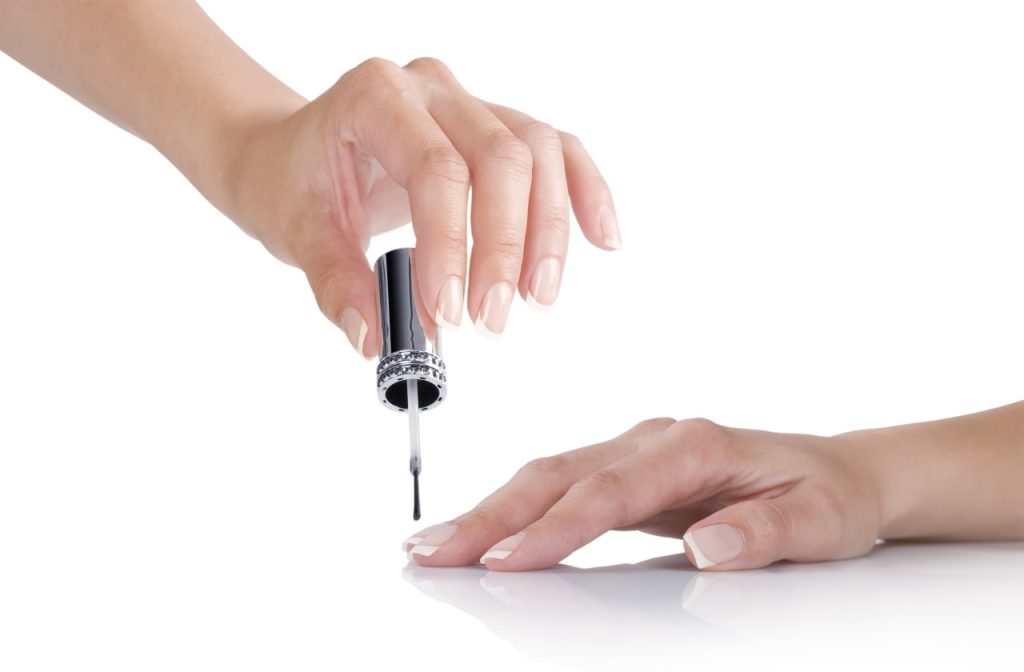
Pros:
- Easy Application: Brush-on glue allows for controlled, even application, similar to how you apply nail polish.
- Quick Drying: It dries relatively fast, which helps speed up the process when applying GelX tips.
Cons:
- Thin Formula: The thin consistency may require multiple layers for a strong bond, especially if you’re not used to the application process.
- May Not Last as Long: While convenient, some brush-on glues aren’t as strong as thicker gel glues and may not provide long-lasting hold for heavy-duty wear.
2. Squeeze Tube Nail Glue
Pros:
- Strong Hold: Typically thicker in consistency, squeeze tube glue offers a stronger bond and is great for longer-lasting nails.
- More Durable: This type of glue is ideal for ensuring your GelX tips stay put, even if you’re rough on your hands.
Cons:
- Harder to Control: Squeeze tube glue can be more challenging to apply evenly and can easily become messy if you’re heavy-handed with the tube.
- Slower Drying: Because the glue is thicker, it might take longer to dry, which can slow down the process.
3. Gel-Based Adhesive (Used with UV/LED Lamp)
Pros:
- Strongest Bond: Gel-based adhesives, cured under a UV/LED lamp, create an incredibly strong bond that can last weeks without lifting.
- No Air Bubbles: The curing process helps eliminate air bubbles, leading to a smoother application and longer-lasting results.
Cons:
- Requires a UV/LED Lamp: You’ll need to invest in a UV/LED lamp to cure the adhesive, which can be an extra cost.
- More Time-Consuming: Because you need to cure each nail under the lamp, it can take longer to apply GelX tips compared to traditional glue.
Finding the Right Glue for You
Every nail tech and DIY nail enthusiast has their own preference when it comes to nail glue. The key is to experiment with different types and find what works best for you. If you’re new to applying GelX tips, a brush-on glue might be the easiest way to start, as it provides more control. As you get more comfortable, you might want to switch to a stronger squeeze tube glue or even a gel-based adhesive for longer-lasting results.

Final Thoughts: Mastering Nail Glue Takes Time
Learning how to use the right amount of glue for GelX tips is a process that requires patience and practice. Start with a small amount of glue, focus on even application, and make sure to choose the glue that suits your needs and skill level. With time, you’ll find the perfect balance for long-lasting, flawless nails that stay in place for weeks.

