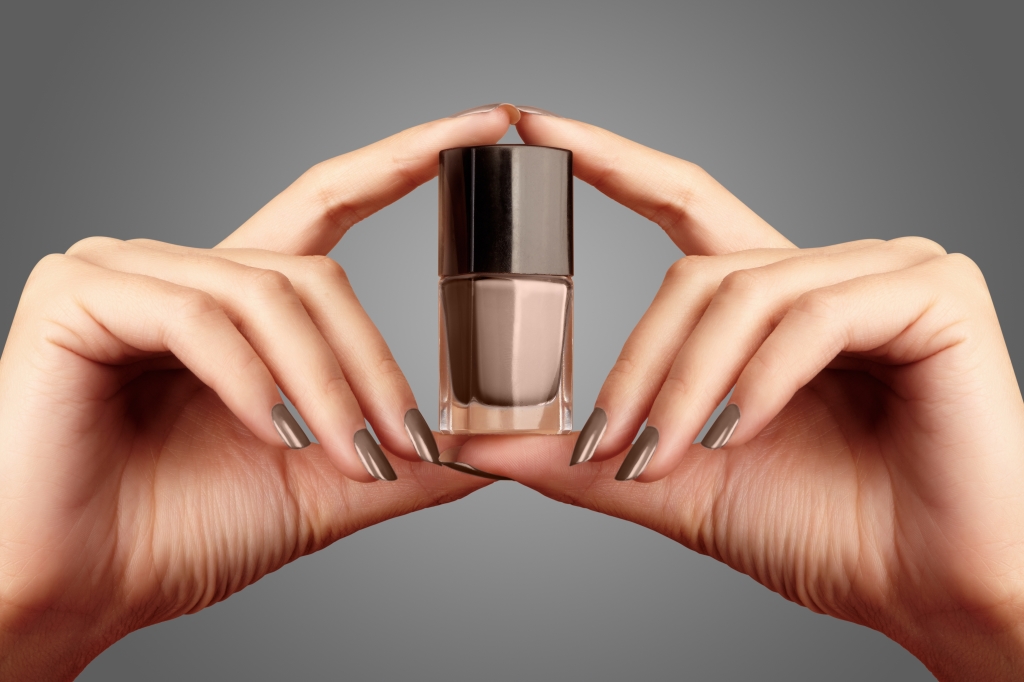
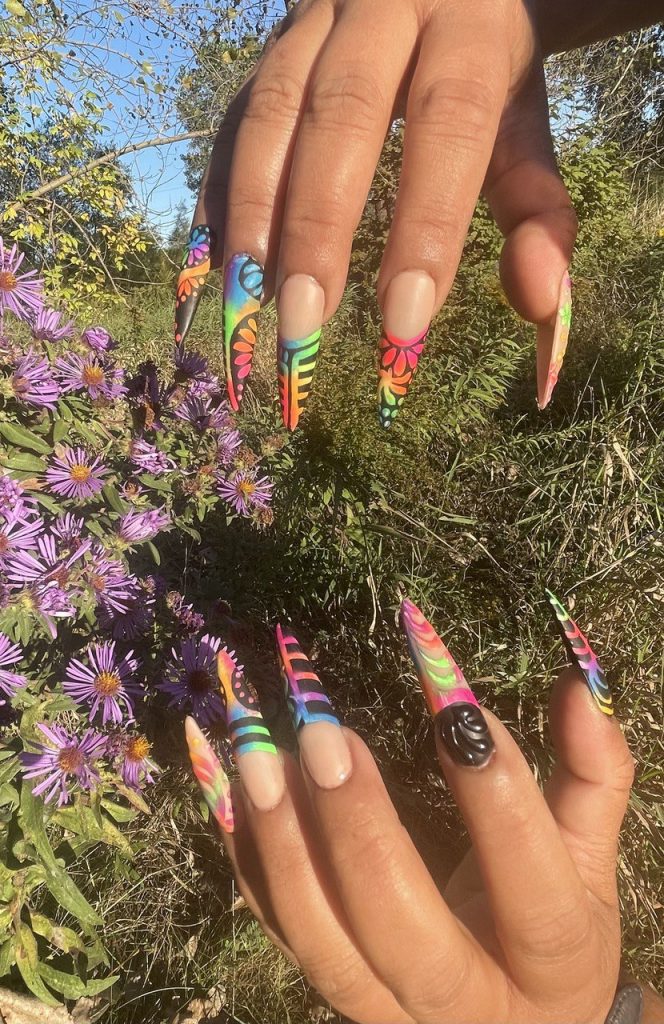
Designing beautiful nail art using pigments can be a creative and rewarding process. However, the last thing you want after spending time perfecting your design is to smudge it while sealing your work. Sealing pigment nail art without ruining it requires patience, proper technique, and the right tools. Here’s a step-by-step guide to help you protect your nail art and achieve a flawless, smudge-free finish.
1. Let Your Design Dry Completely
Before applying any topcoat, make sure that your pigment nail design is completely dry. This is especially important if you used nail polish, gel polish, or water-based pigments. Any lingering moisture can cause smudging when the topcoat is applied. If you’re working with gel polish, cure it under a UV or LED lamp for the recommended time to ensure it’s fully set.
2. Choose the Right Topcoat
Selecting the right topcoat is crucial. A water-based topcoat or a gel topcoat is usually best for pigment-based nail art because they prevent the pigments from smearing. If you’re using regular nail polish, look for a quick-dry topcoat that works well with pigments. Gel topcoats tend to seal the design more securely as they don’t disturb the pigments when applied correctly.
3. Apply Thin Layers
Instead of applying a thick layer of topcoat in one go, use multiple thin layers. This method reduces the risk of smudging because thinner coats dry faster and are less likely to disturb the pigment.
Tip: When applying the topcoat, lightly float the brush over the nail surface. This technique minimizes the pressure you put on the pigment design, further reducing the risk of smudging.
4. Use a Dabbing or Dotting Motion
For designs that are particularly delicate, like detailed art or loose pigment designs, you may want to avoid brushing the topcoat on. Instead, use a dabbing or dotting motion. Gently dab the topcoat onto the design with the brush, starting in the center and moving outward. This allows the topcoat to cover the pigment without disturbing it.
5. Cure If Necessary
If you are working with a gel topcoat, don’t forget to cure the nail under a UV or LED lamp after applying the topcoat. Make sure to cure each layer properly to avoid smudging between applications. If you’re using regular polish, give the topcoat plenty of time to dry before touching anything.
6. Consider Using a Pigment-Specific Sealant
Some topcoats are specifically designed for pigment nail art, and these products are formulated to prevent smudging. If you find that your pigments often smudge with standard topcoats, it might be worth investing in a pigment-specific sealant. These can provide extra protection and longevity for your design.
7. Avoid Excessive Handling
After sealing your design, it’s important to avoid any excessive handling of your nails for a while. Even with a quick-dry or gel topcoat, nails can be prone to smudging if you handle objects too soon. Allow your nails to dry or cure fully before touching anything.
8. Top it Off with a Matte or Glossy Finish
Once your topcoat is completely dry or cured, you can apply a final coat of either matte or glossy finish, depending on your desired look. Be sure to let each layer dry or cure fully before moving on to the next step. This final layer adds an extra layer of protection and shine (or a chic matte finish) that will keep your design looking fresh.
Bonus Tips:
- Avoid Overloading the Brush: Too much product on your brush can drag the pigment. Wipe off excess before applying.
- Be Patient: Rushing the process can cause smudging. Take your time with each step for the best results.
- Test Your Products: Not all topcoats work well with all pigments, so test your products together on a practice nail to see how they interact before applying to your nails.
Sealing your pigment nail design without smudging it can be tricky, but with the right tools and techniques, you can achieve a flawless, long-lasting finish. By letting your design dry fully, using thin layers of topcoat, and being gentle with your application, your nail art will stay intact and beautiful. Happy designing!