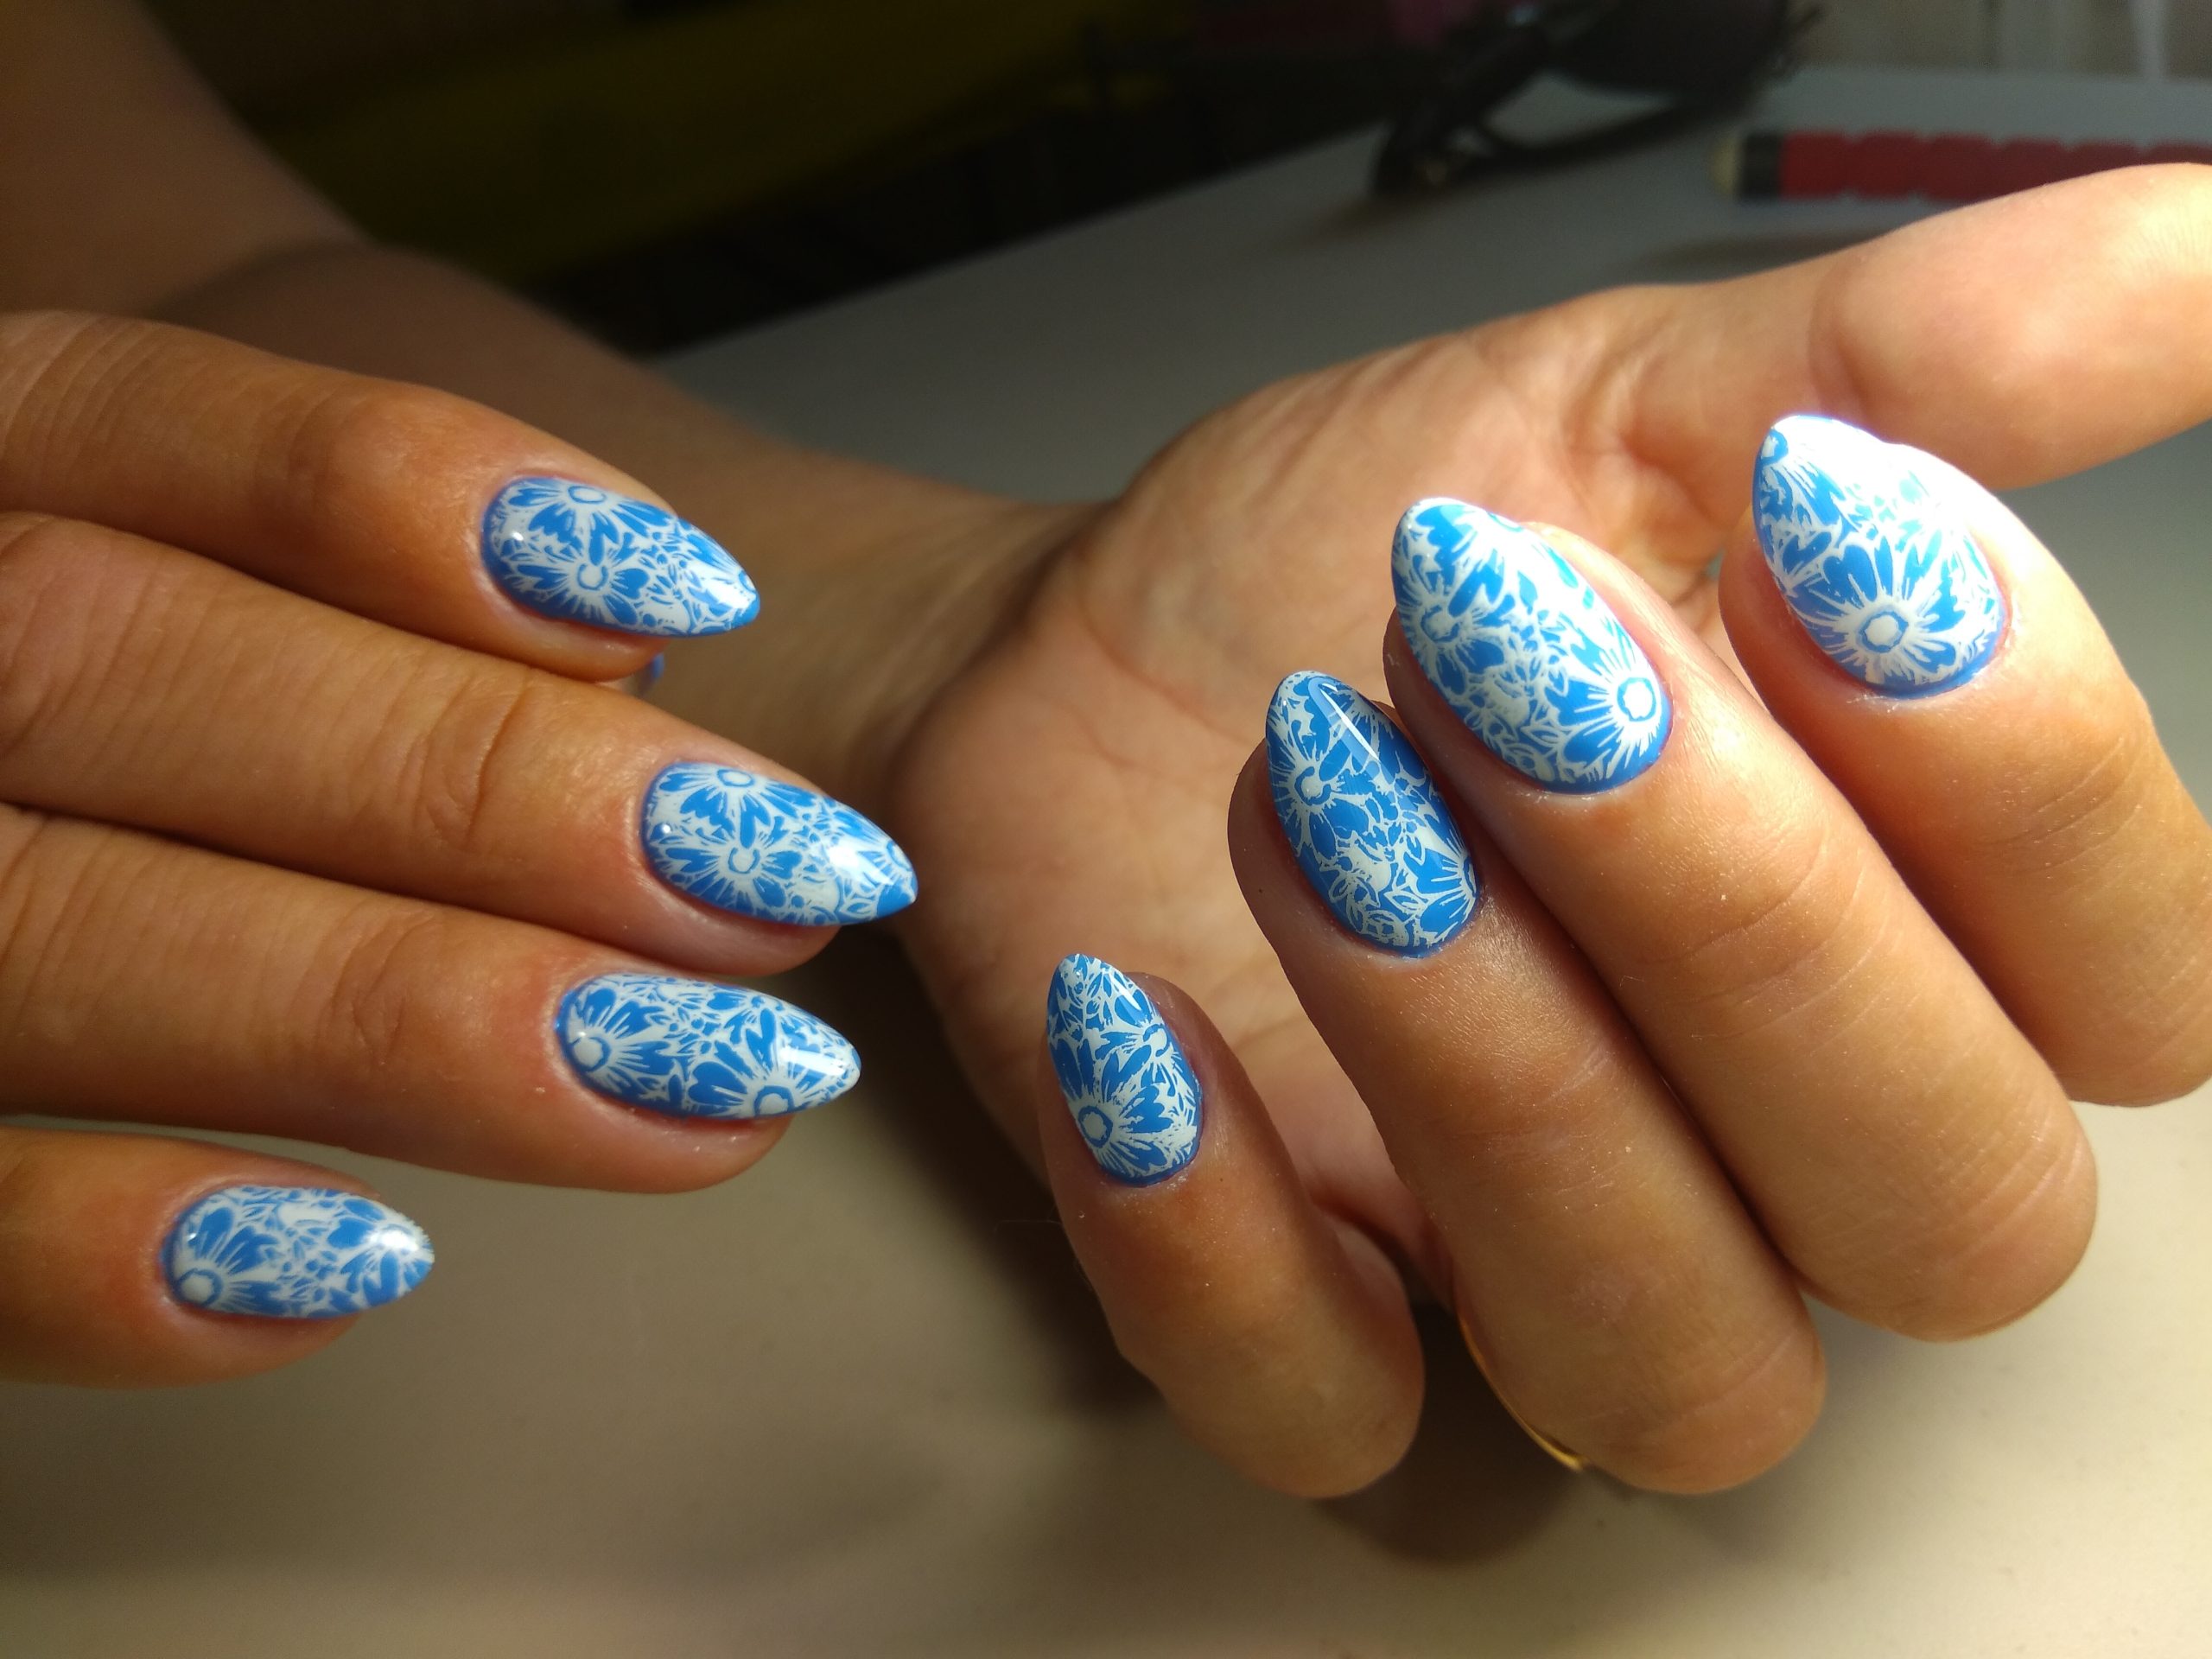
The ombre nail trend has taken the nail art world by storm, and for good reason! The soft gradient effect where two or more colors seamlessly blend together offers a chic, sophisticated, and versatile look. While achieving the perfect ombre effect with gel polish might seem tricky, it’s entirely doable with the right techniques, tools, and a little patience.
In this blog post, we’ll walk you through everything you need to know to create the perfect ombre effect using gel polish—from choosing the right colors to mastering the blending process. Let’s dive in!
What You’ll Need
Before starting, gather the necessary tools to ensure a smooth ombre application:
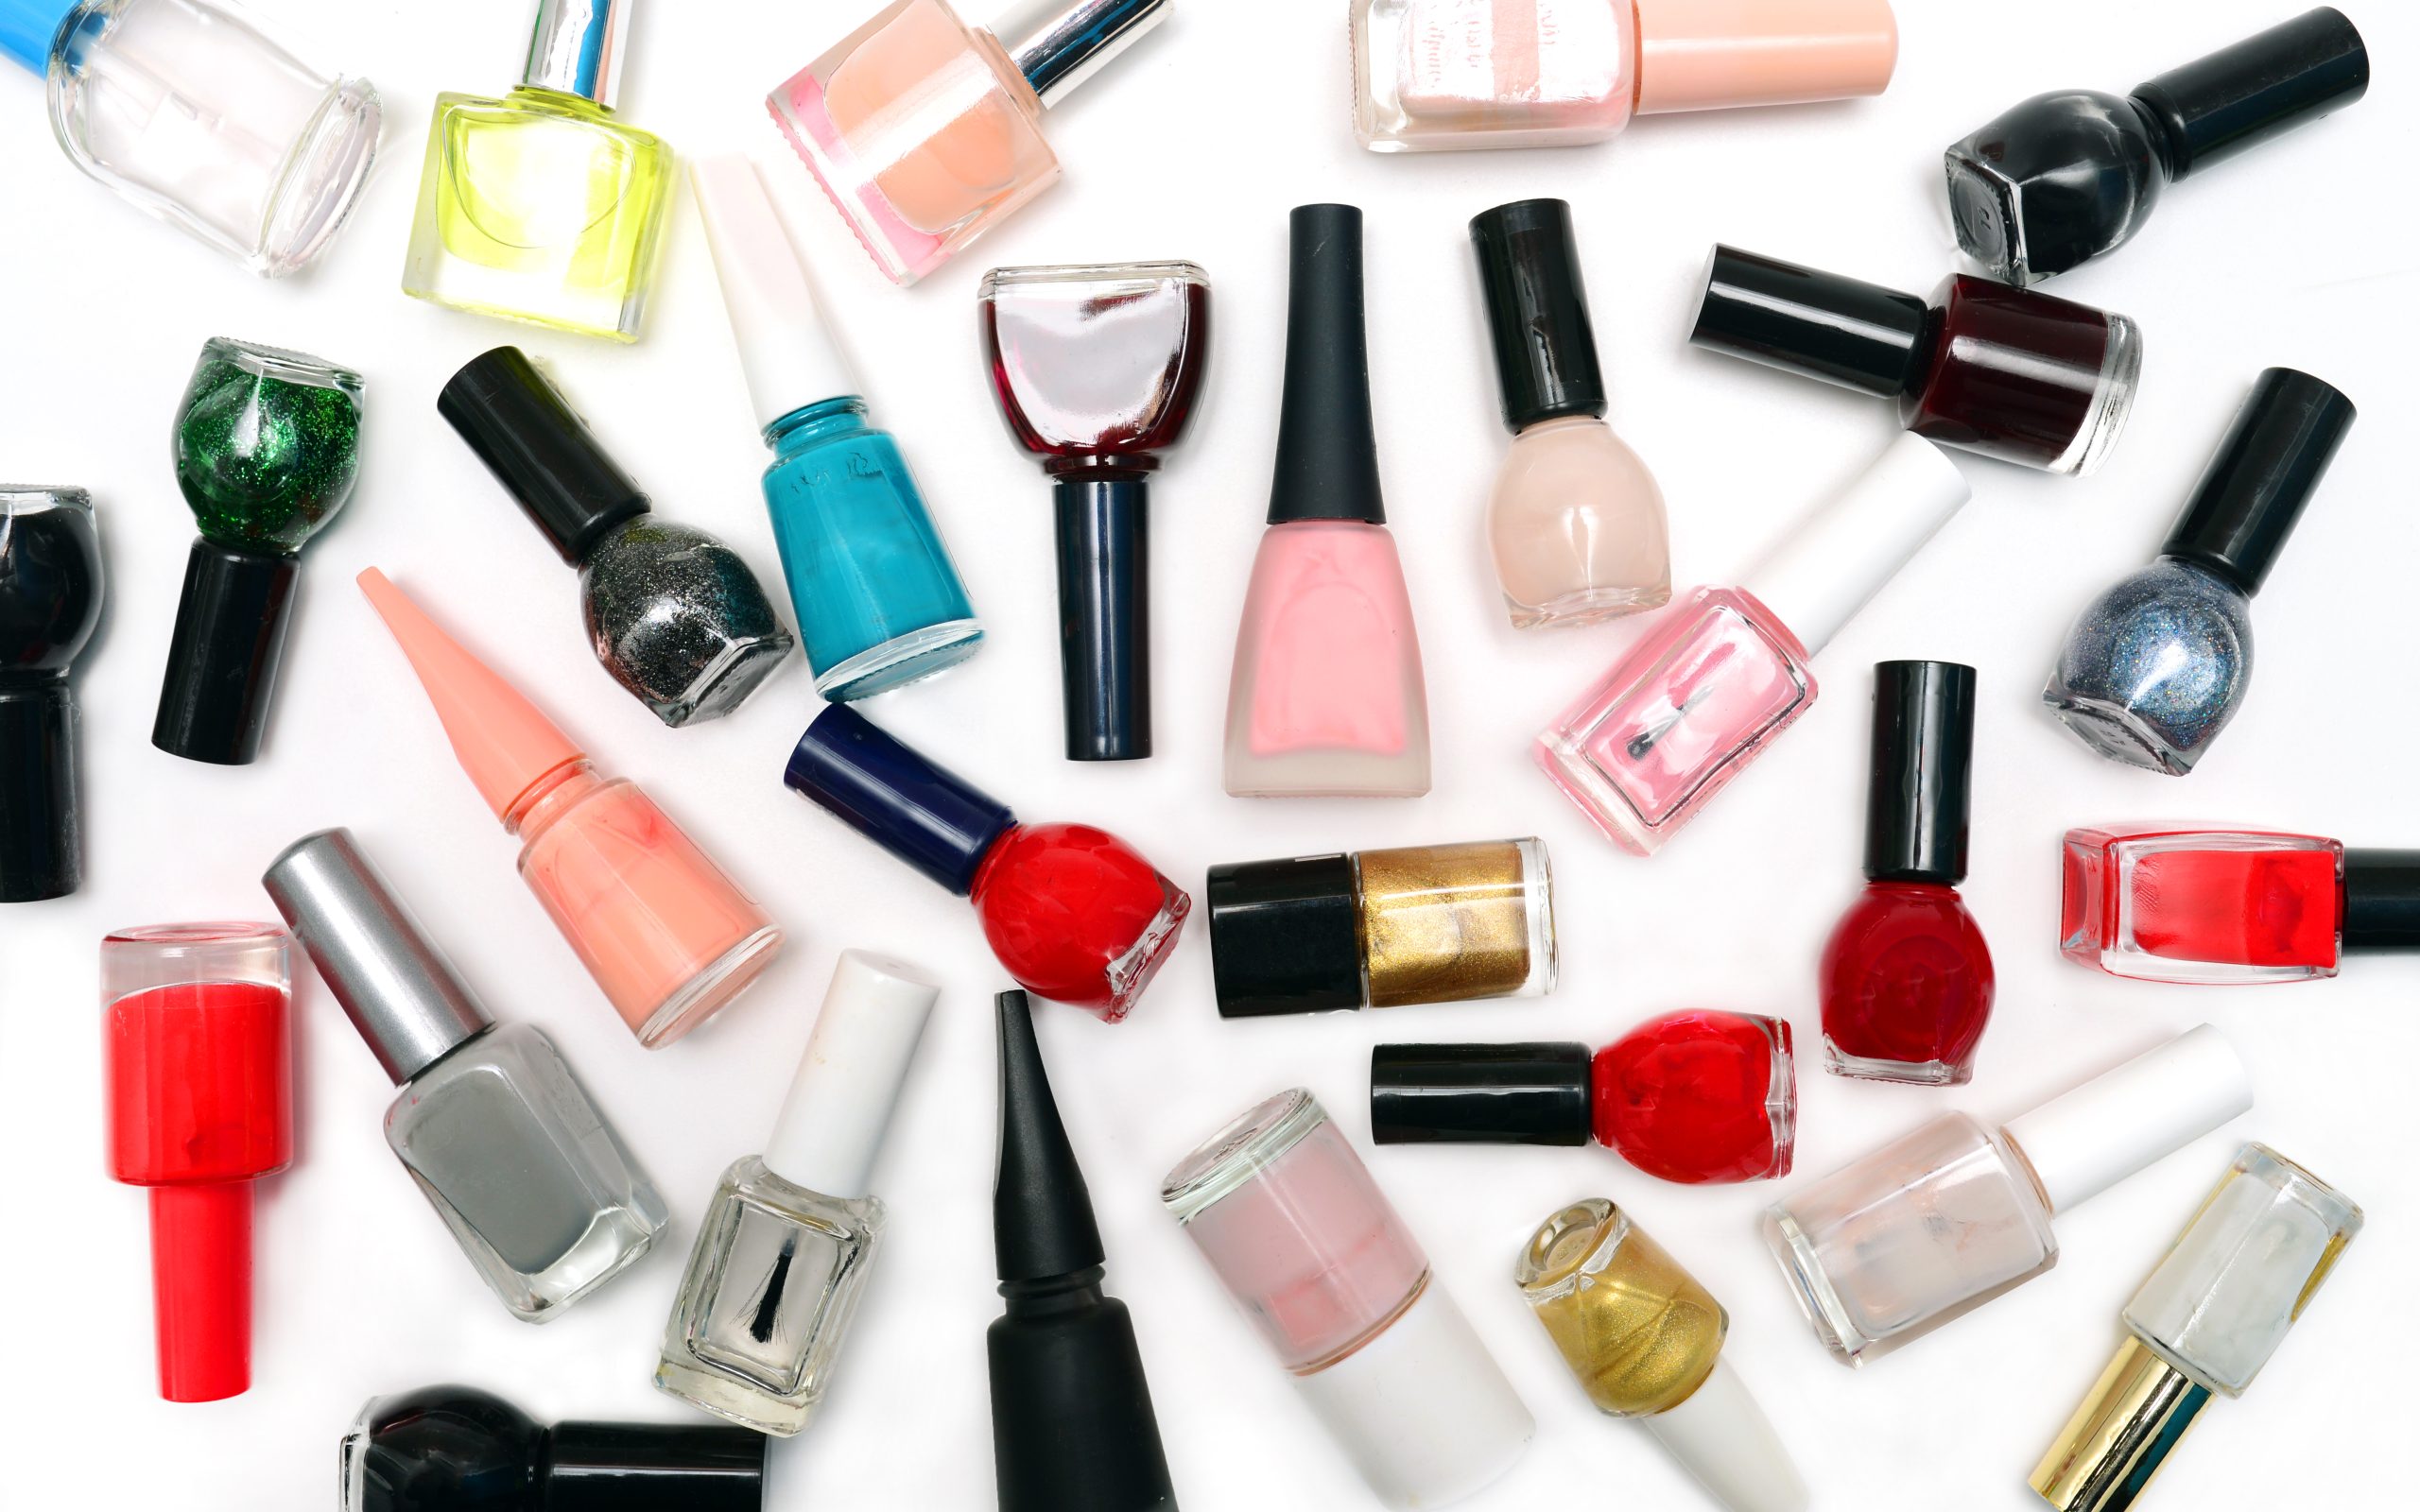
- Gel polish (at least two shades)
- Gel base coat
- Gel top coat
- Makeup sponge or ombre sponge brush
- Lint-free wipes
- Isopropyl alcohol (for removing the tacky layer)
- UV or LED lamp for curing
- Nail buffer or file
- Small nail brush (optional for clean-up)
Step-by-Step Guide to Creating the Perfect Ombre Effect with Gel Polish
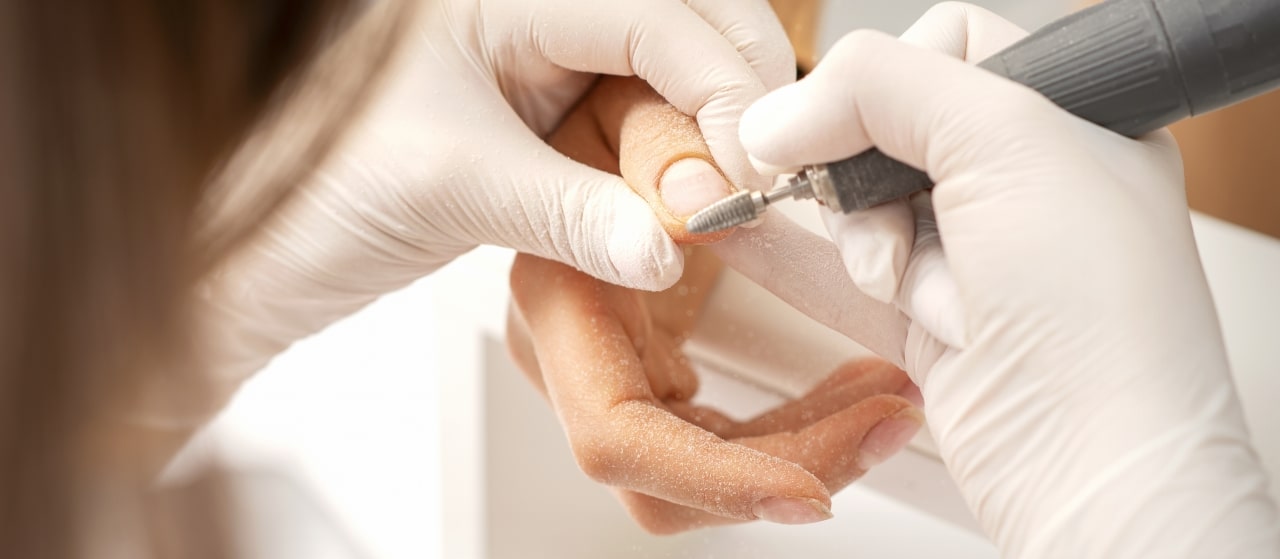
1. Prep Your Nails
Before applying any gel polish, proper nail preparation is key to a flawless and long-lasting manicure:
- Start by filing and shaping your nails to your desired length and style.
- Gently buff the surface of your nails to remove any shine, which will help the gel polish adhere better.
- Push back your cuticles and clean any debris from the nail surface.
- Wipe your nails with a lint-free wipe soaked in isopropyl alcohol to remove oils and dust.
2. Apply a Base Coat and Cure
Apply a thin layer of gel base coat to each nail, being careful to cover the entire nail plate evenly. This will help protect your nails and provide a smooth surface for the gel polish to adhere to.
- Cure the base coat under your UV/LED lamp for the recommended time (typically 30-60 seconds).
3. Apply the Lighter Gel Polish as a Base Color
For the best ombre effect, it’s often easier to start with a light base color. Choose the lighter of your two colors and apply one or two thin coats to the entire nail, depending on how opaque you want the base to be.
- Cure each layer of the base color under the UV/LED lamp for 30-60 seconds, depending on the lamp and polish.
4. Prepare Your Ombre Sponge
There are two common tools for creating the ombre effect: a makeup sponge or a specialized ombre brush.
- If using a makeup sponge, paint your two chosen colors directly onto the sponge in horizontal lines, making sure the colors are touching where they meet.
- If using an ombre brush, dip the brush into both colors and begin blending the colors together before applying them to your nails.
5. Apply the Ombre Colors to Your Nails
Gently press the sponge onto your nail, starting from the tip and moving towards the cuticle. Dab lightly to transfer the colors onto your nail, making sure the two shades blend at the center.
- Work quickly but carefully to avoid over-blending. Repeat this dabbing motion until you achieve the gradient effect you want.
If needed, you can add more gel polish to the sponge and repeat the process to intensify the color and blend.
6. Cure and Repeat If Necessary
Once you’re satisfied with the ombre blend, cure your nails under the UV/LED lamp for the recommended time (usually 60 seconds). If you want a more pronounced or opaque ombre effect, repeat the sponging process, and then cure again.
7. Clean Up the Edges
After curing, use a small nail brush or clean-up brush dipped in isopropyl alcohol to remove any excess polish that may have gotten onto your skin or cuticles during the sponging process.
8. Apply a Gel Top Coat
Once your ombre nails are fully blended and cured, apply a thin layer of gel top coat to seal in the design. The top coat will smooth out any texture from the sponging and add a glossy finish to your nails.
- Cure the top coat under the UV/LED lamp for 60 seconds.
9. Wipe Away the Tacky Layer
After curing the top coat, you’ll likely notice a sticky inhibition layer on your nails. Use a lint-free wipe soaked in isopropyl alcohol to gently wipe off this tacky residue, revealing your perfectly smooth and glossy ombre nails.
Tips for Perfecting Your Ombre Gel Polish Look
- Choose colors that blend well together: Pick shades that are close in hue or have a natural gradient. For example, soft pastels, similar shades of pink, or complementary colors like blue and purple blend beautifully.
- Use thin layers: Applying thin layers of gel polish and sponging them onto the nails will create a more seamless blend. Thick layers can make the colors appear uneven or cause wrinkling when cured.
- Experiment with different sponges: If a makeup sponge doesn’t give you the effect you want, try different tools such as ombre nail brushes or foam wedges designed specifically for nails.
- Work on one nail at a time: This ensures that the polish doesn’t dry out on the sponge before you finish blending it onto the nail.
- Practice blending: Ombre nails take some practice to perfect, so don’t be discouraged if your first attempt doesn’t come out perfectly. The more you practice, the better your blending skills will become.
Ombre Gel Polish Variations
The classic two-tone ombre is just one way to create beautiful gradient nails. Once you master the basic technique, you can experiment with different variations:
- Multiple Color Ombre: Use more than two colors for a bolder gradient effect, such as transitioning from light to dark across three shades.
- Glitter Ombre: Apply glitter polish at the tips of the nails and blend it downwards towards the base for a sparkly twist on the ombre effect.
- Reverse Ombre: Instead of blending from the base to the tip, reverse the gradient by applying the darker color near the cuticle and the lighter shade towards the tip.
Achieving the perfect ombre effect with gel polish may seem intimidating, but with the right tools, a bit of patience, and practice, you’ll be able to create beautiful, gradient nails at home. The key to success is applying thin layers, using the right blending technique, and curing each layer properly. Once you’ve mastered this trend, you’ll have endless possibilities for experimenting with color combinations and designs.
Happy ombre-ing!