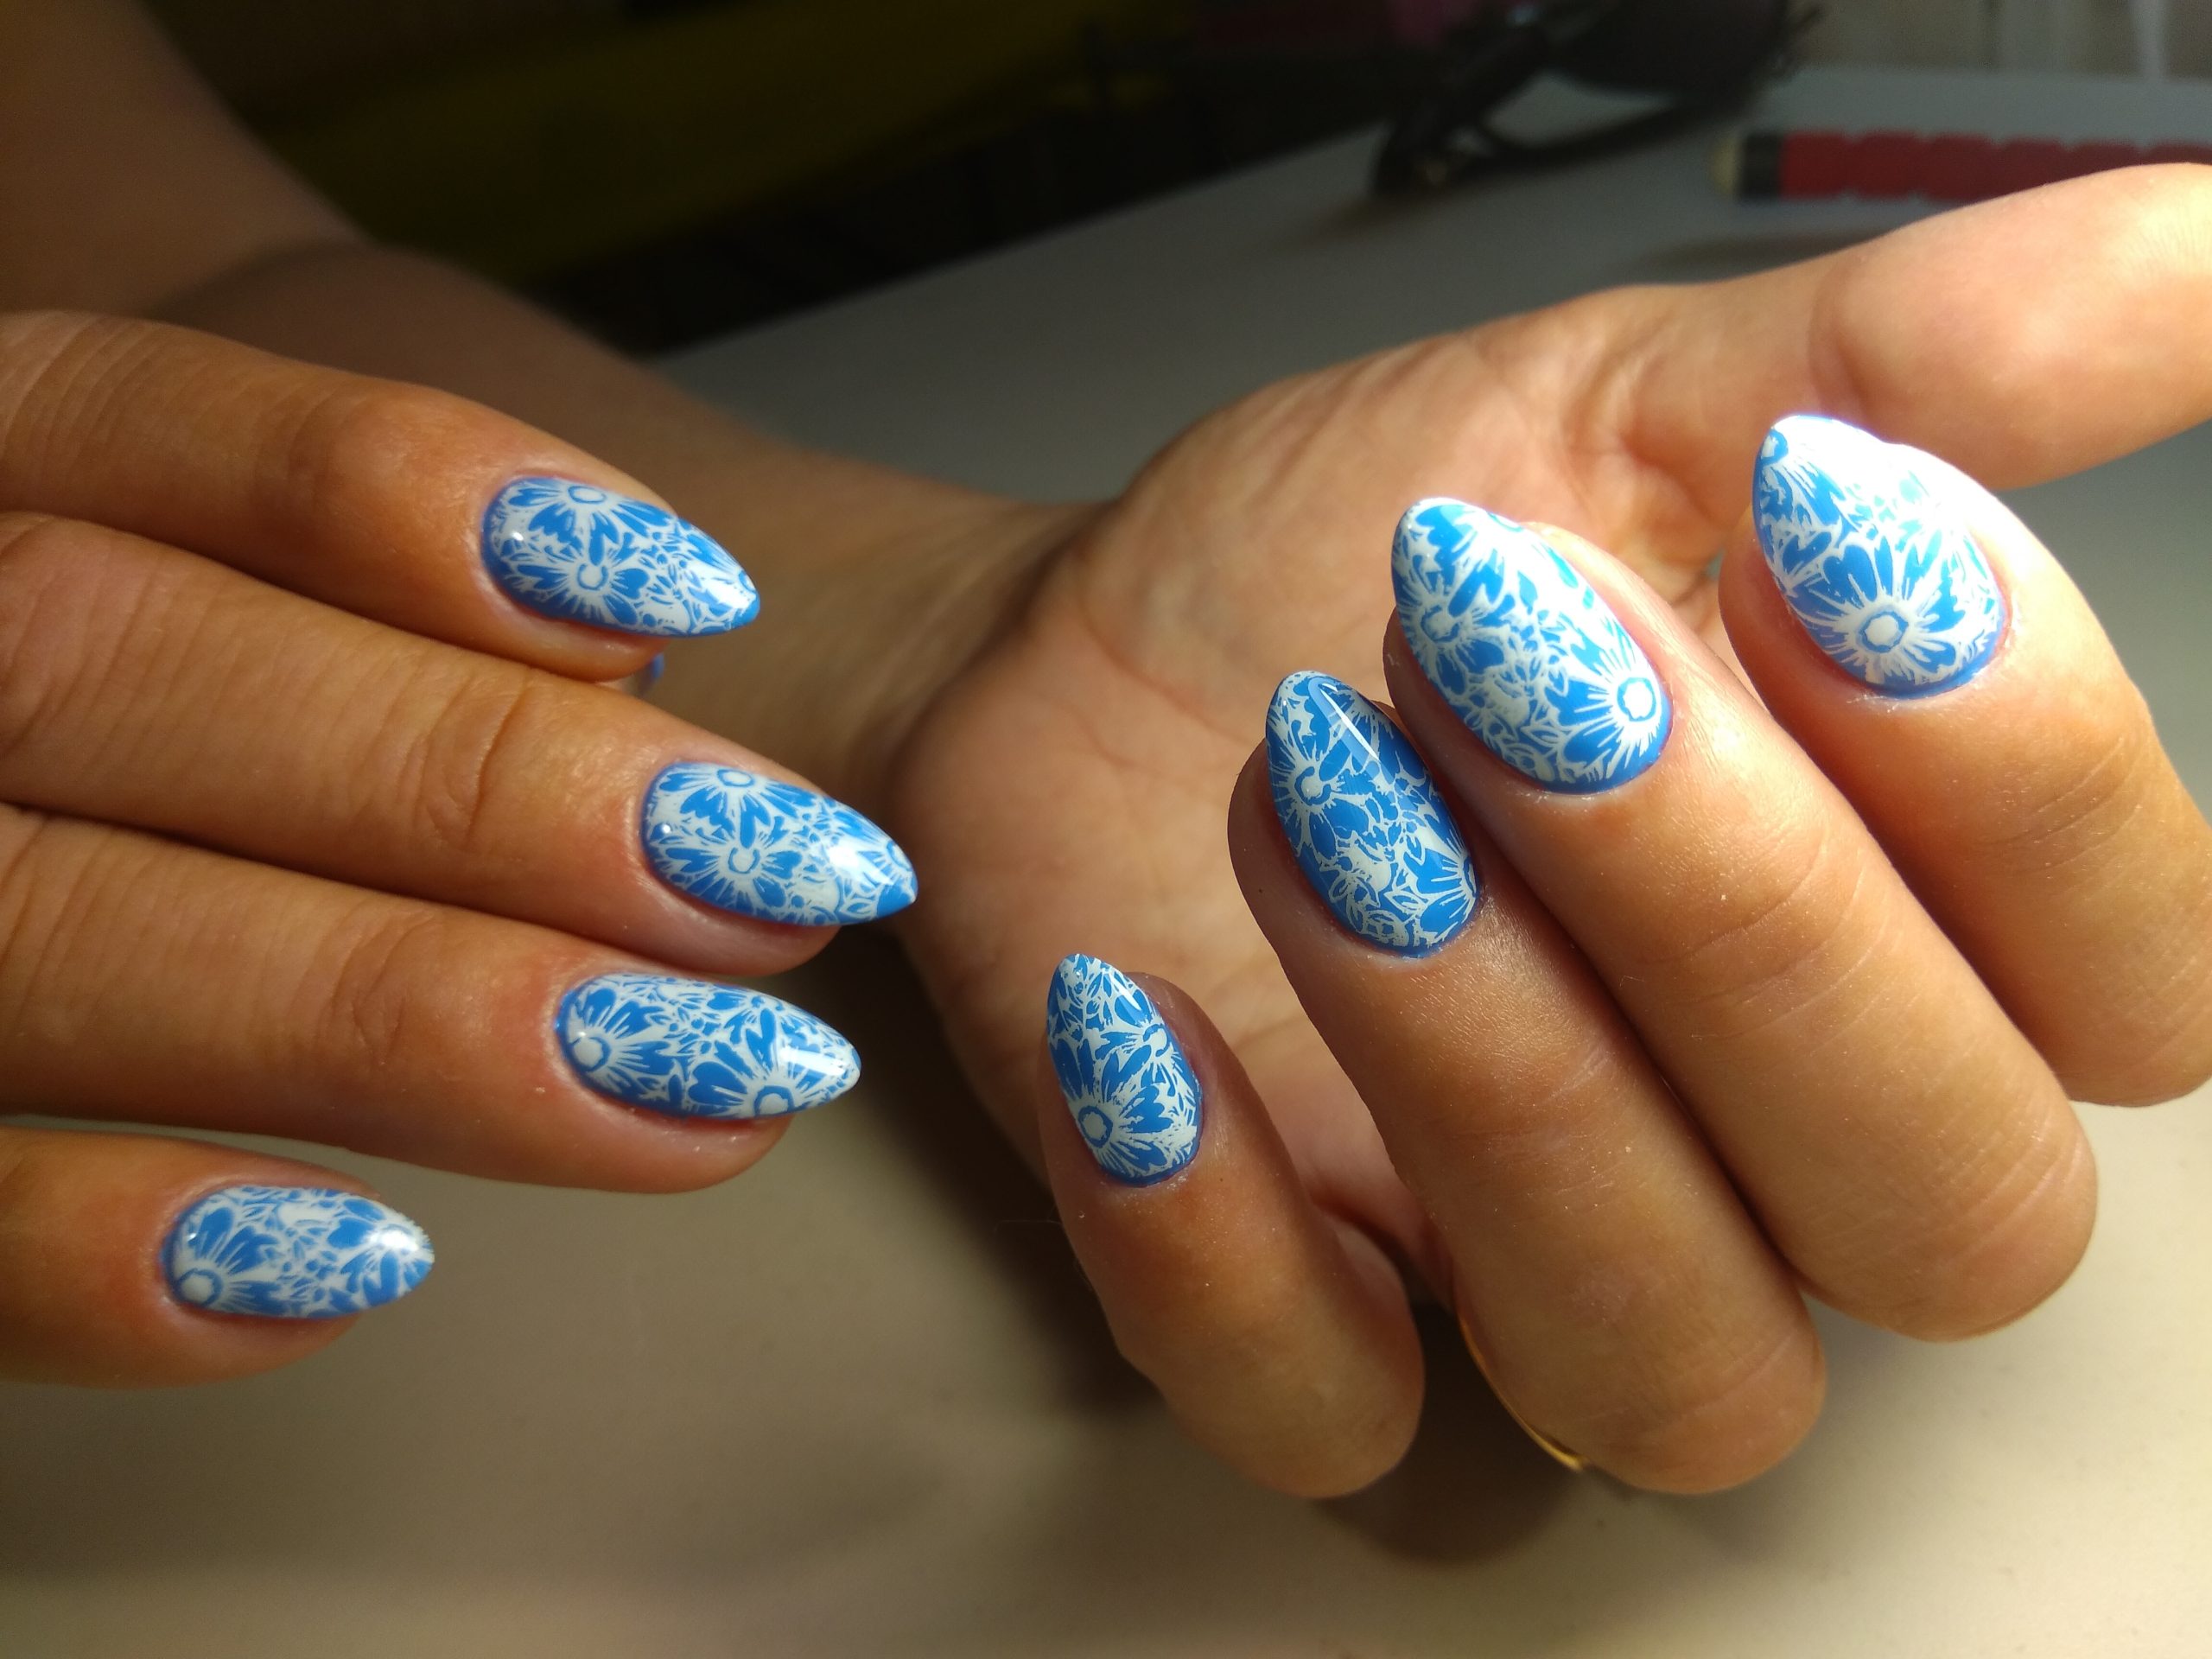
Nail art enthusiasts are always on the lookout for fresh and exciting trends to experiment with, and one of the latest to capture attention is 3D jelly fruit art nails. This playful and eye-catching trend combines the translucence of jelly polish with the vibrant charm of miniature fruit designs, creating a fun, fruity, and three-dimensional effect that’s perfect for summer or any time you want to add a splash of color to your look. Here’s how you can achieve these trendy 3D jelly fruit art nails.
1. Gather Your Supplies
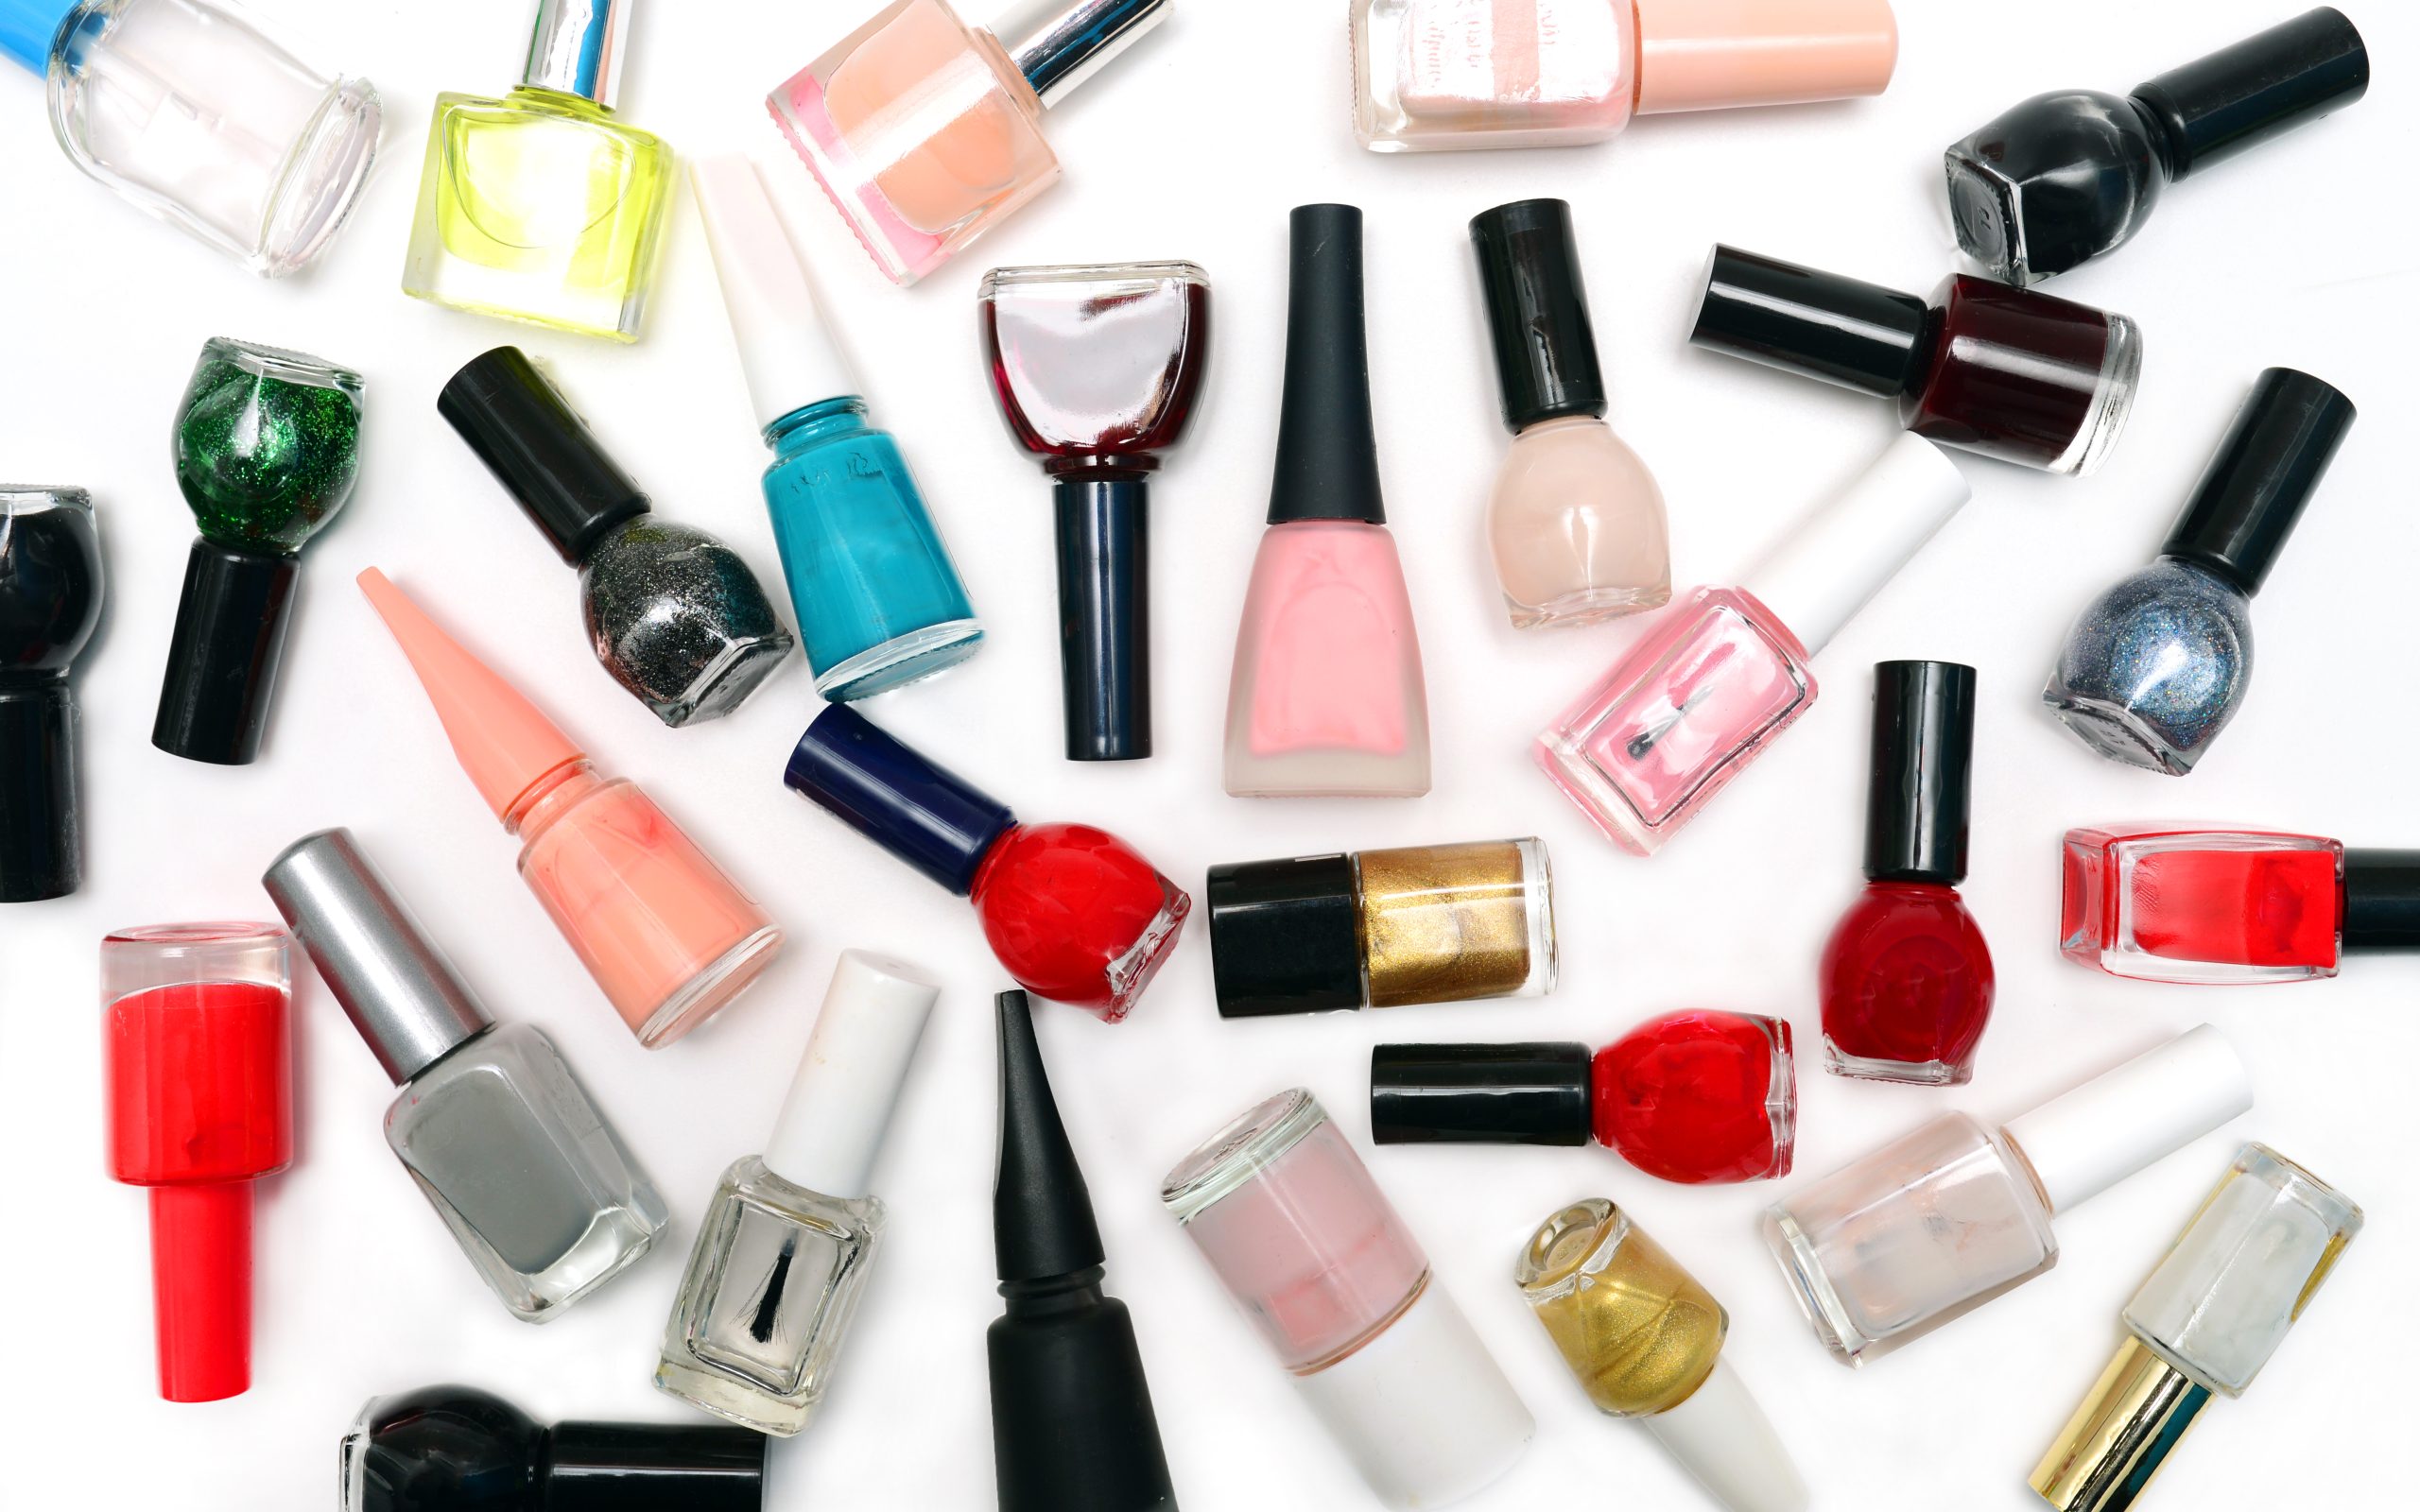
- Clear or jelly nail polish in various colors (pink, orange, yellow, green, etc.)
- 3D fruit slices (readily available in nail art kits)
- Nail glue or clear gel polish
- Base coat
- Top coat
- Fine detail brush or dotting tool
- Tweezers
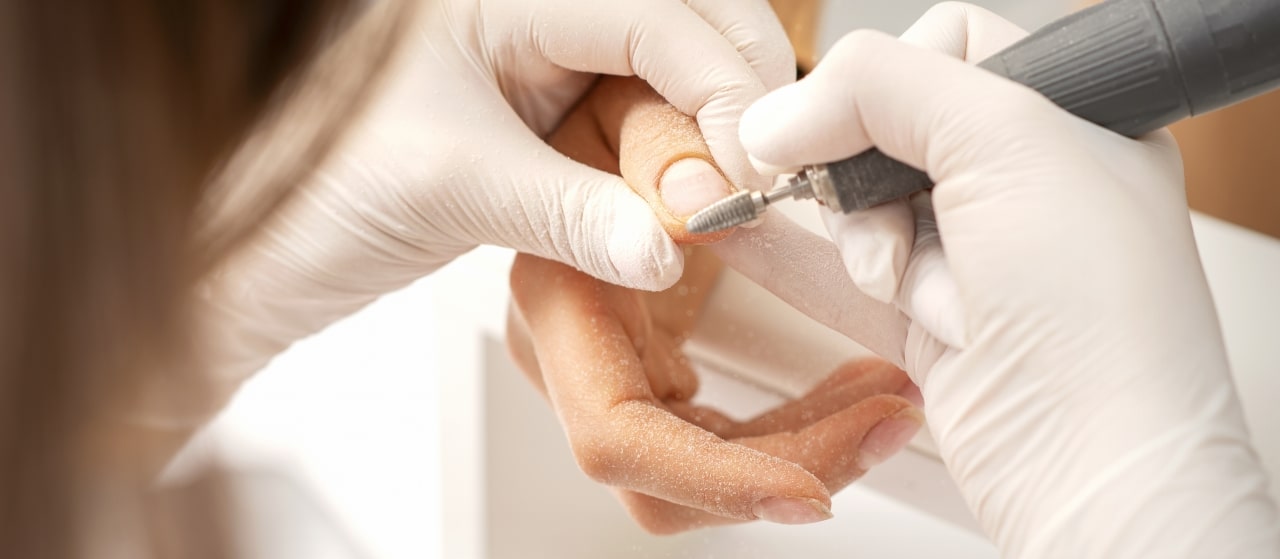
2. Prepare Your Nails
Start by shaping your nails and pushing back your cuticles for a clean look. Apply a base coat to protect your natural nails and ensure your manicure lasts longer. Let the base coat dry completely before proceeding.
3. Apply the Jelly Polish
Choose a jelly polish that complements your 3D fruit slices. Jelly polishes have a translucent finish that allows layers to build up without becoming opaque. Apply the first layer of jelly polish and let it dry. Repeat with additional layers until you achieve your desired level of color and translucency. Typically, two to three coats work well.
4. Add the 3D Fruit Slices
- Placement: Decide where you want to place your 3D fruit slices. Using tweezers, pick up a fruit slice and place it onto your nail while the last coat of jelly polish is still tacky. This will help the slice adhere better. Alternatively, you can use a small dot of nail glue or clear gel polish to secure the fruit slice in place.
- Layering: For a more intricate design, consider layering different fruit slices or combining them with other 3D elements like tiny flowers or glitter pieces. Be creative and have fun with the arrangement.
5. Secure the Design
Once all the fruit slices are in place, apply a generous layer of clear gel polish over the entire nail. This step is crucial as it encases the 3D elements, preventing them from catching on anything and ensuring they stay put. Cure the gel polish under a UV/LED lamp as directed by the product’s instructions.
6. Finish with a Top Coat
Apply a top coat to seal everything in and add a glossy finish. The top coat also helps smooth out any bumps from the 3D elements, giving your nails a polished look. Allow the top coat to dry completely.
7. Maintenance Tips
3D jelly fruit art nails, while adorable, require a bit of extra care. Avoid using your nails as tools and be gentle when performing tasks that might snag the 3D elements. Reapply top coat every few days to keep your manicure looking fresh and prolong its lifespan.
In conclusion, 3D jelly fruit art nails are a fun and fruity way to embrace the latest nail art trend. With their vibrant colors and playful designs, they’re sure to make your nails stand out and bring a touch of summer to any season. Whether you’re a nail art newbie or a seasoned pro, this trend is a delightful way to express your creativity and add a splash of whimsy to your manicure. So gather your supplies and get ready to dive into the fun world of 3D jelly fruit art nails!