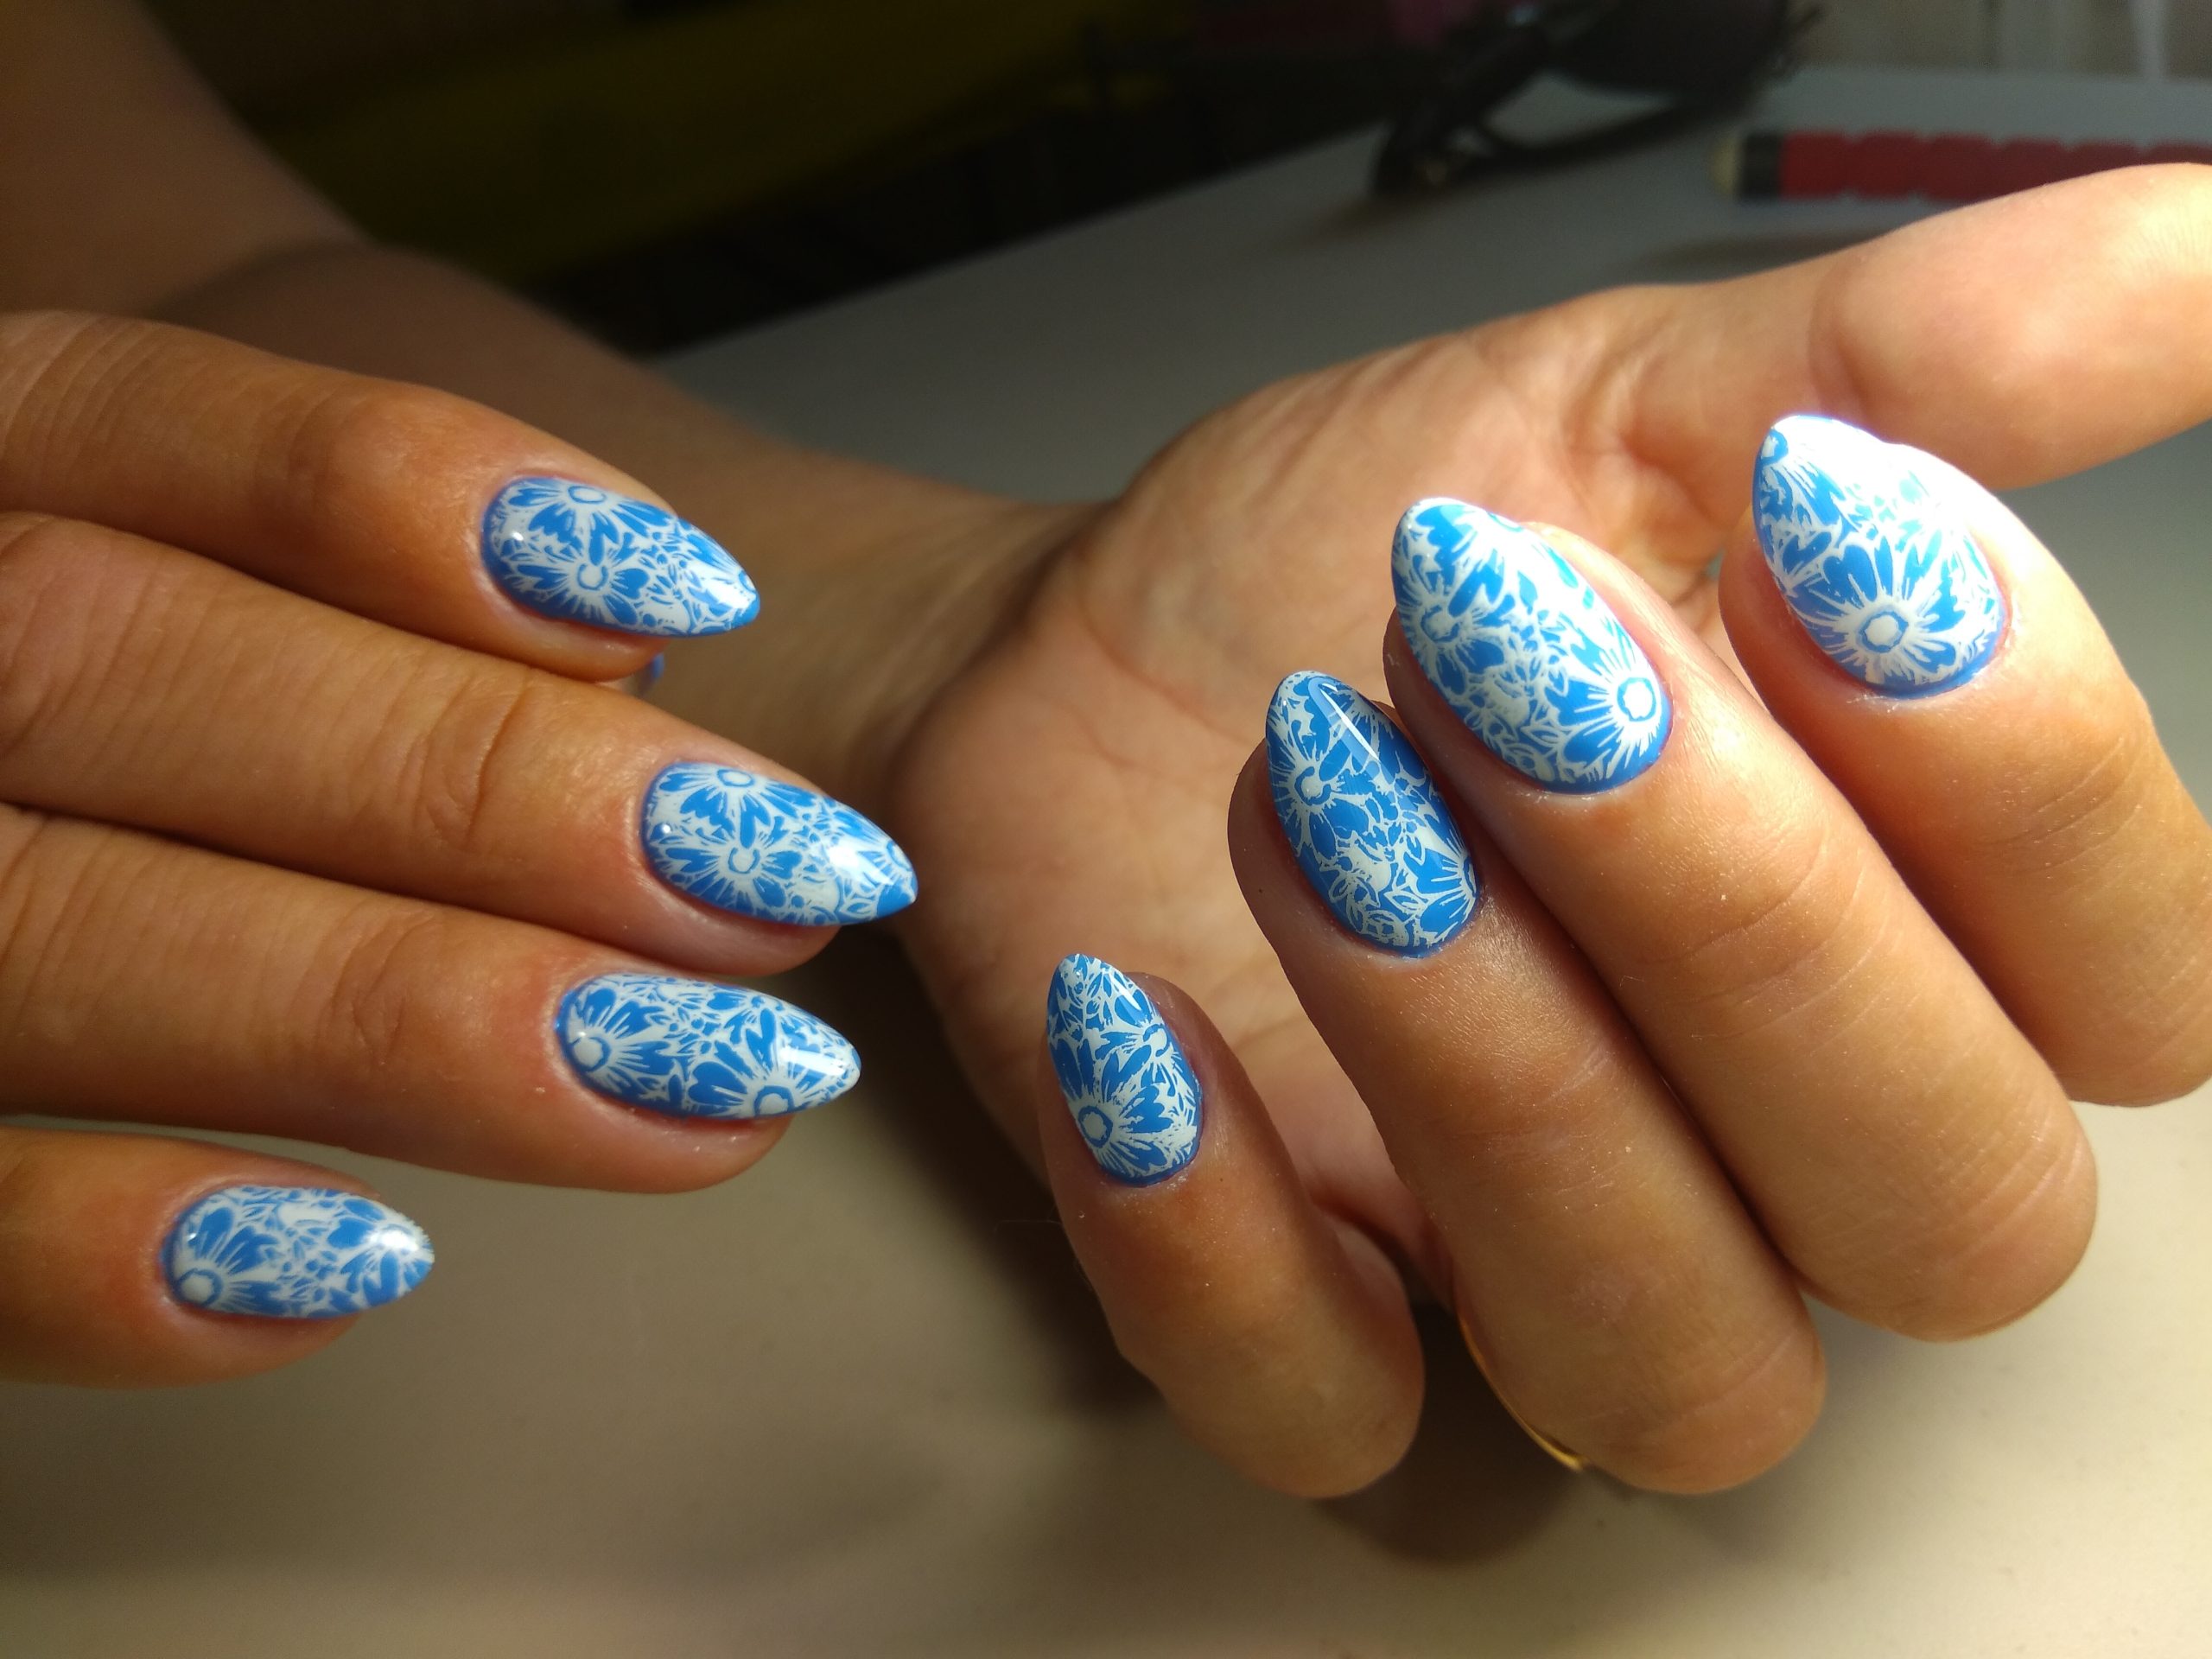
Magnetic cat eye polish is a trendy and mesmerizing nail art technique that creates a unique, multi-dimensional effect on your nails. Here’s how to achieve the stunning cat eye look in a few simple steps.
1. Gather Your Supplies
- Magnetic cat eye polish.
- Base coat and top coat.
- UV/LED lamp for curing.
- A magnetic tool specifically designed for cat eye polish.
2. Prep Your Nails
- Start by prepping your nails. Clean, shape, and buff them to your desired length and smoothness. Apply a base coat to protect your natural nails and ensure better adhesion of the cat eye polish. Cure the base coat under a UV/LED lamp as per the manufacturer’s instructions.
3. Apply the Magnetic Cat Eye Polish
- Shake the magnetic cat eye polish bottle well to ensure the magnetic particles are evenly distributed. Apply a thin layer of the polish to your nails, ensuring even coverage. Cure this layer under the UV/LED lamp.
4. Create the Cat Eye Effect
- Apply a second, thicker layer of the magnetic cat eye polish. Before curing, immediately hold the magnetic tool close to the nail surface without touching it. Hover the magnet over the nail for about 10-15 seconds, moving it slowly to manipulate the magnetic particles into the desired cat eye pattern. You’ll notice a mesmerizing stripe or line effect forming as the particles align.
5. Cure the Polish
- Once you’ve achieved the desired cat eye effect, cure the polish under the UV/LED lamp. This step ensures the magnetic design is locked in place.
6. Apply a Top Coat
- Finish with a layer of top coat to seal in the design and add a glossy shine. Cure the top coat under the UV/LED lamp.
7. Final Touches
- Clean any excess polish from around your nails using a brush dipped in nail polish remover. Moisturize your cuticles with cuticle oil for a polished finish.
Using magnetic cat eye polish is a fun and creative way to add a stunning effect to your nails. With a bit of practice, you’ll master this technique and enjoy beautiful, eye-catching manicures.


