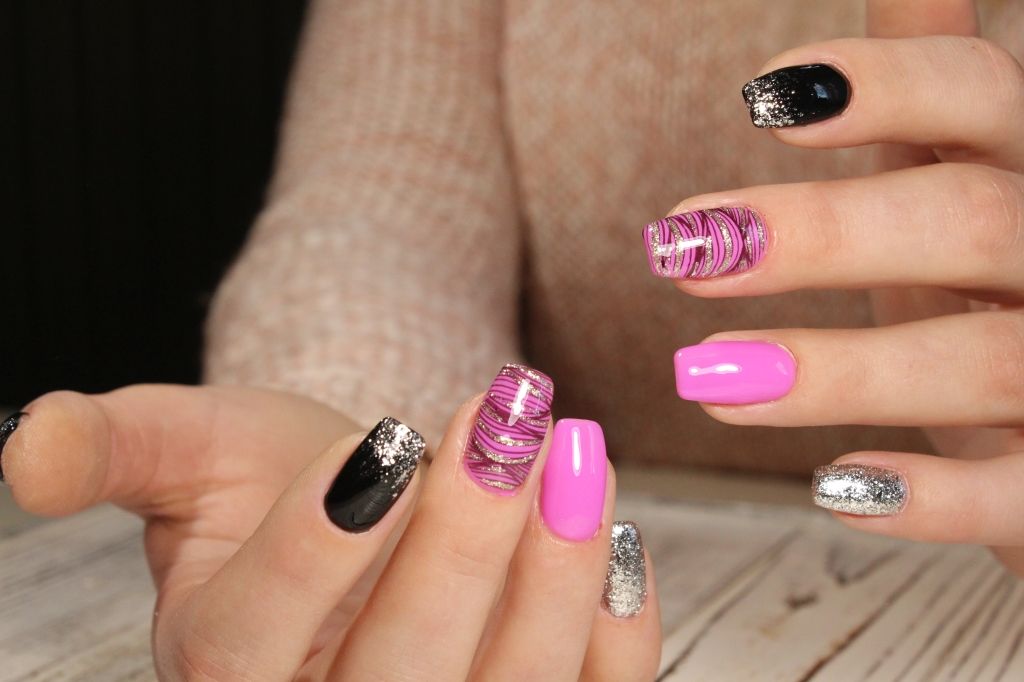
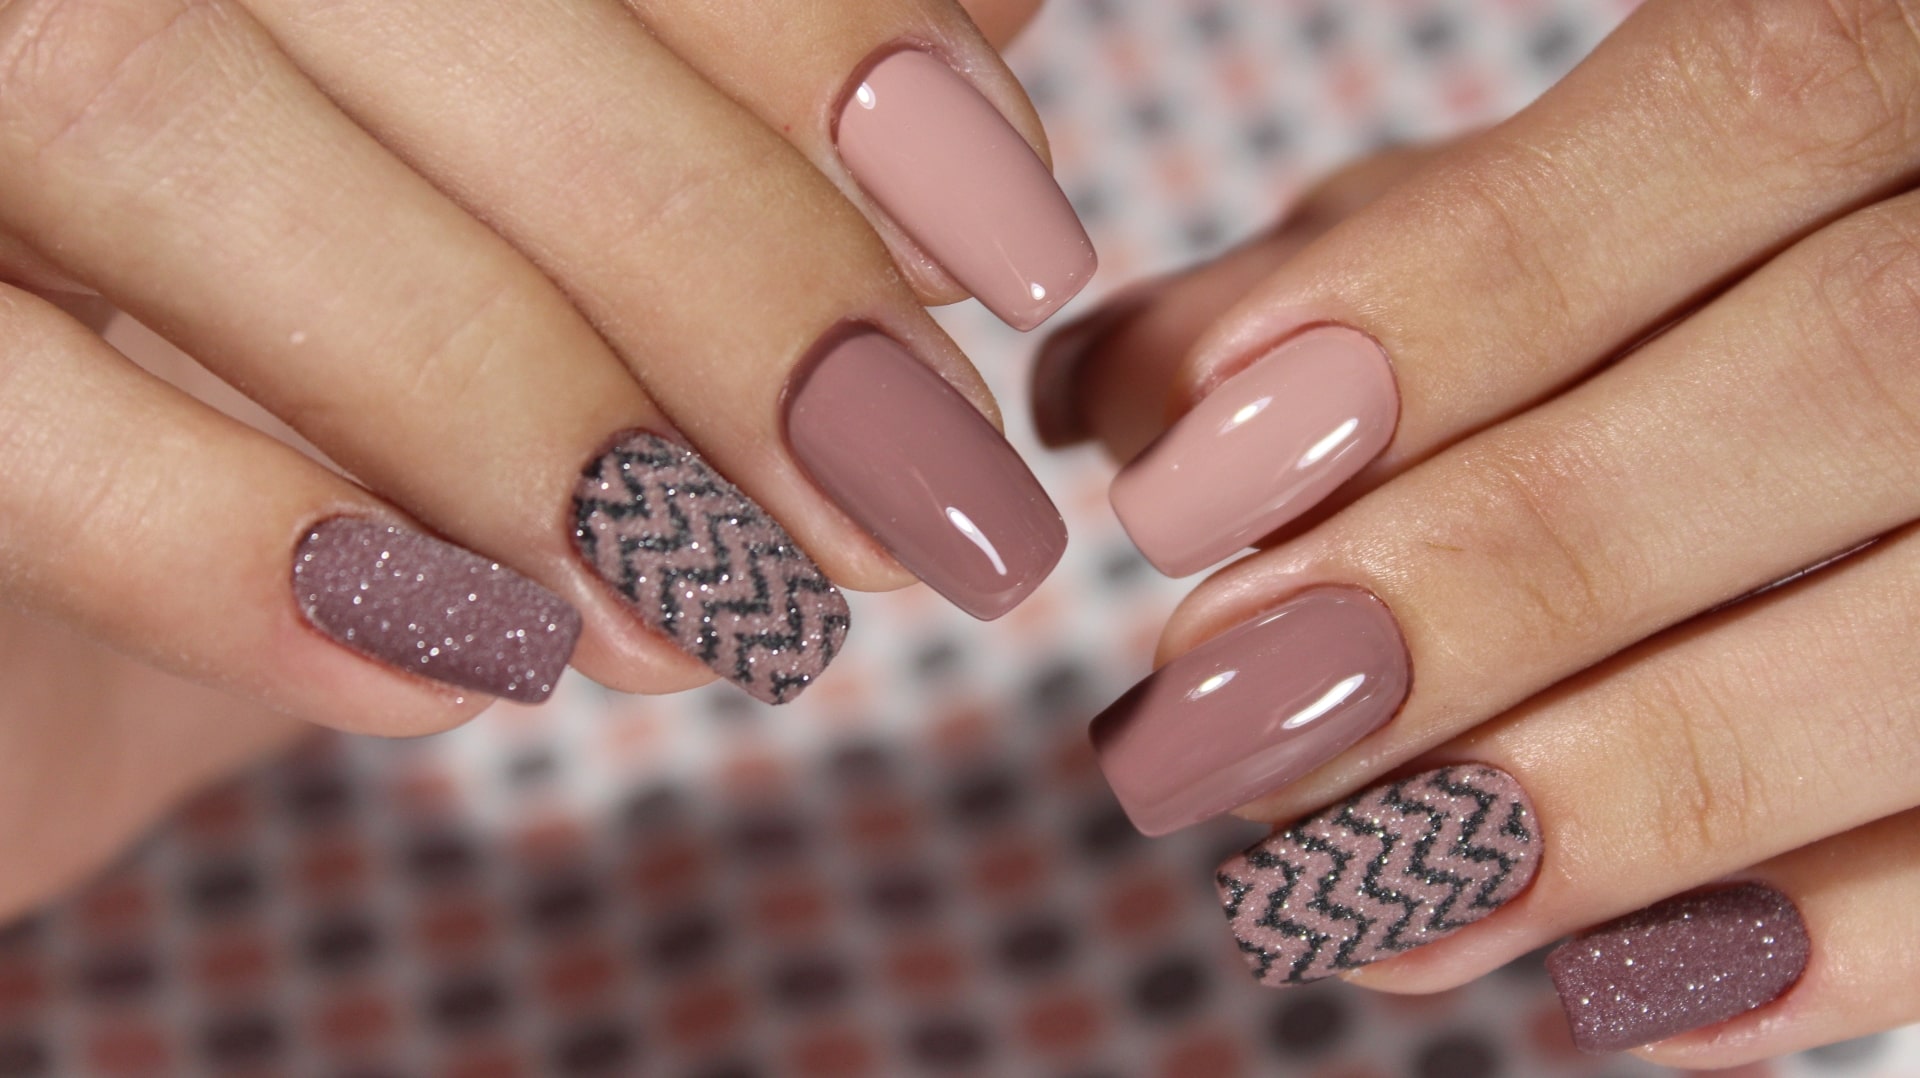
Preparing the nail plate is a crucial step in the process of applying nail enhancements. Proper preparation ensures that the overlay products adhere effectively, leading to long-lasting and beautiful results. Here’s a comprehensive guide to preparing the nail plate before applying nail enhancements:
Preparing the nail plate is a crucial step in the process of applying nail enhancements. Proper preparation ensures that the overlay products adhere effectively, leading to long-lasting and beautiful results. Here’s a comprehensive guide to preparing the nail plate before applying nail enhancements:
Step 1: Sanitize Your Hands
Start by ensuring your hands are clean and free from any contaminants. Use soap and water to wash your hands thoroughly, making sure to dry the nails and surrounding area completely. Alternatively, using a sanitizing gel is an effective way to decontaminate the hands without the risk of water being absorbed into the nail plate.
Step 2: Remove True Cuticle
Using a cuticle knife, gently remove the true cuticle from the nail plate. It’s essential to hold the knife flat to the nail plate and scrape towards the nail fold to avoid damaging the nail. Pay special attention to the cuticle and sidewall areas, ensuring that any hangnails are also removed at this stage.
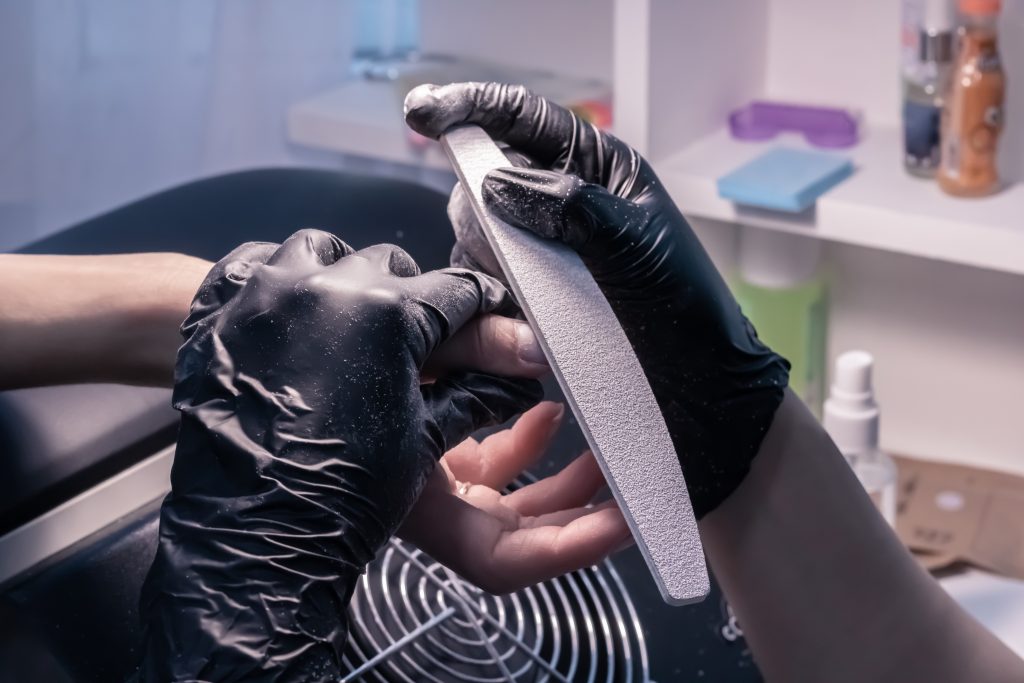
Step 3: Remove Nail Shine
Next, use a white block or a 200-grit file to remove the shine from the nail plate. File and bevel the nail to a 45° angle, allowing the free edge to fit seamlessly into the nail tip.
Step 4: Remove Dust:
Use a non-static brush to remove any dust from the nail plate before applying the dehydrator. This ensures a clean surface for the overlay products to adhere to.
Step 5: Cleanse the Nail Plate
Cleanse the nail plate using a pH balancer, dehydrator, or acetone-free varnish remover. This step removes any remaining dust and oils from the nail plate, ensuring that no bacteria are trapped between the natural nail and the overlay. It also dehydrates the nail plate, making it more receptive to acrylic or other overlay products.
Step 6: Continue with Application
Once the nail plate is properly prepared, you can proceed with your chosen application method for nail enhancements. Whether you’re applying acrylic, gel, or another overlay product, following these preparation steps will ensure optimal adhesion and a flawless finish.
By taking the time to properly prepare the nail plate, you’ll not only achieve better results but also avoid potential problems that could damage the natural nail. Remember, patience and attention to detail during this stage will save you time and effort in the long run.