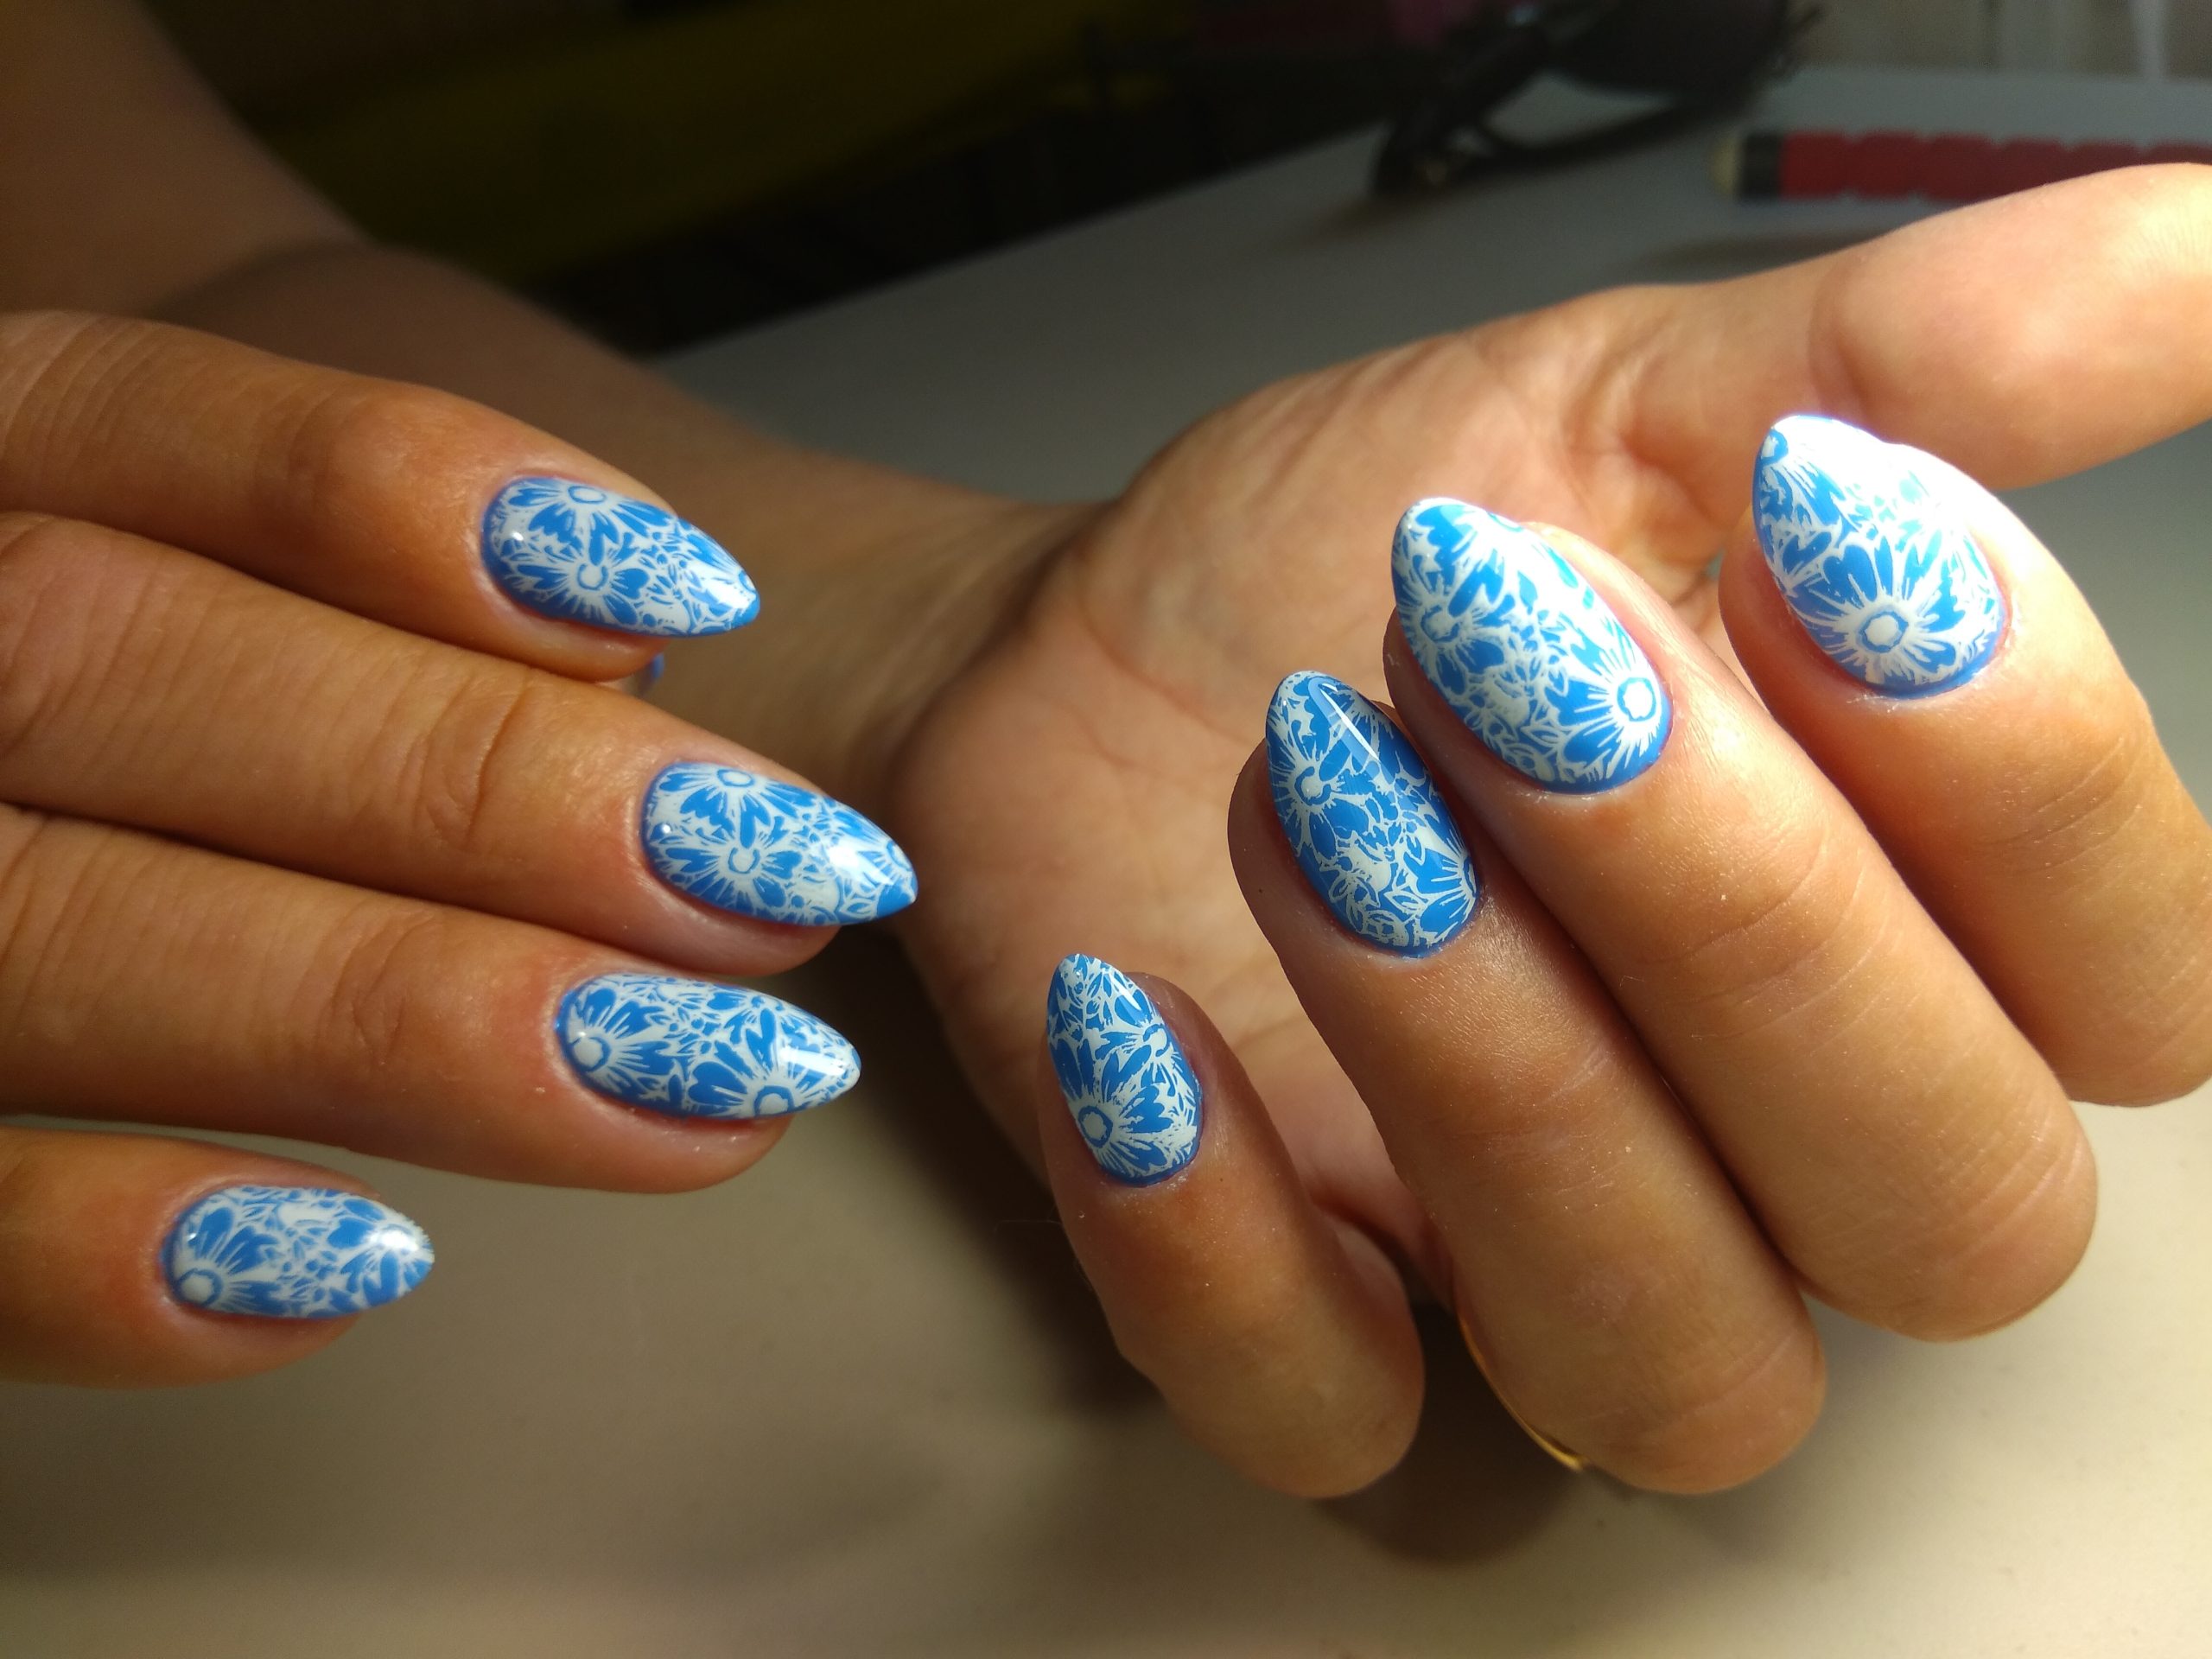
When it comes to nail art, the possibilities are truly endless. From intricate designs to bold patterns, there’s always something new to try. One unique and creative technique that has been gaining popularity is using the bubble nail technique to create stunning nail art effects. This innovative method allows you to achieve beautiful, organic patterns that are sure to turn heads. Here’s everything you need to know about using the bubble nail technique for nail art:
1. Gather Your Supplies
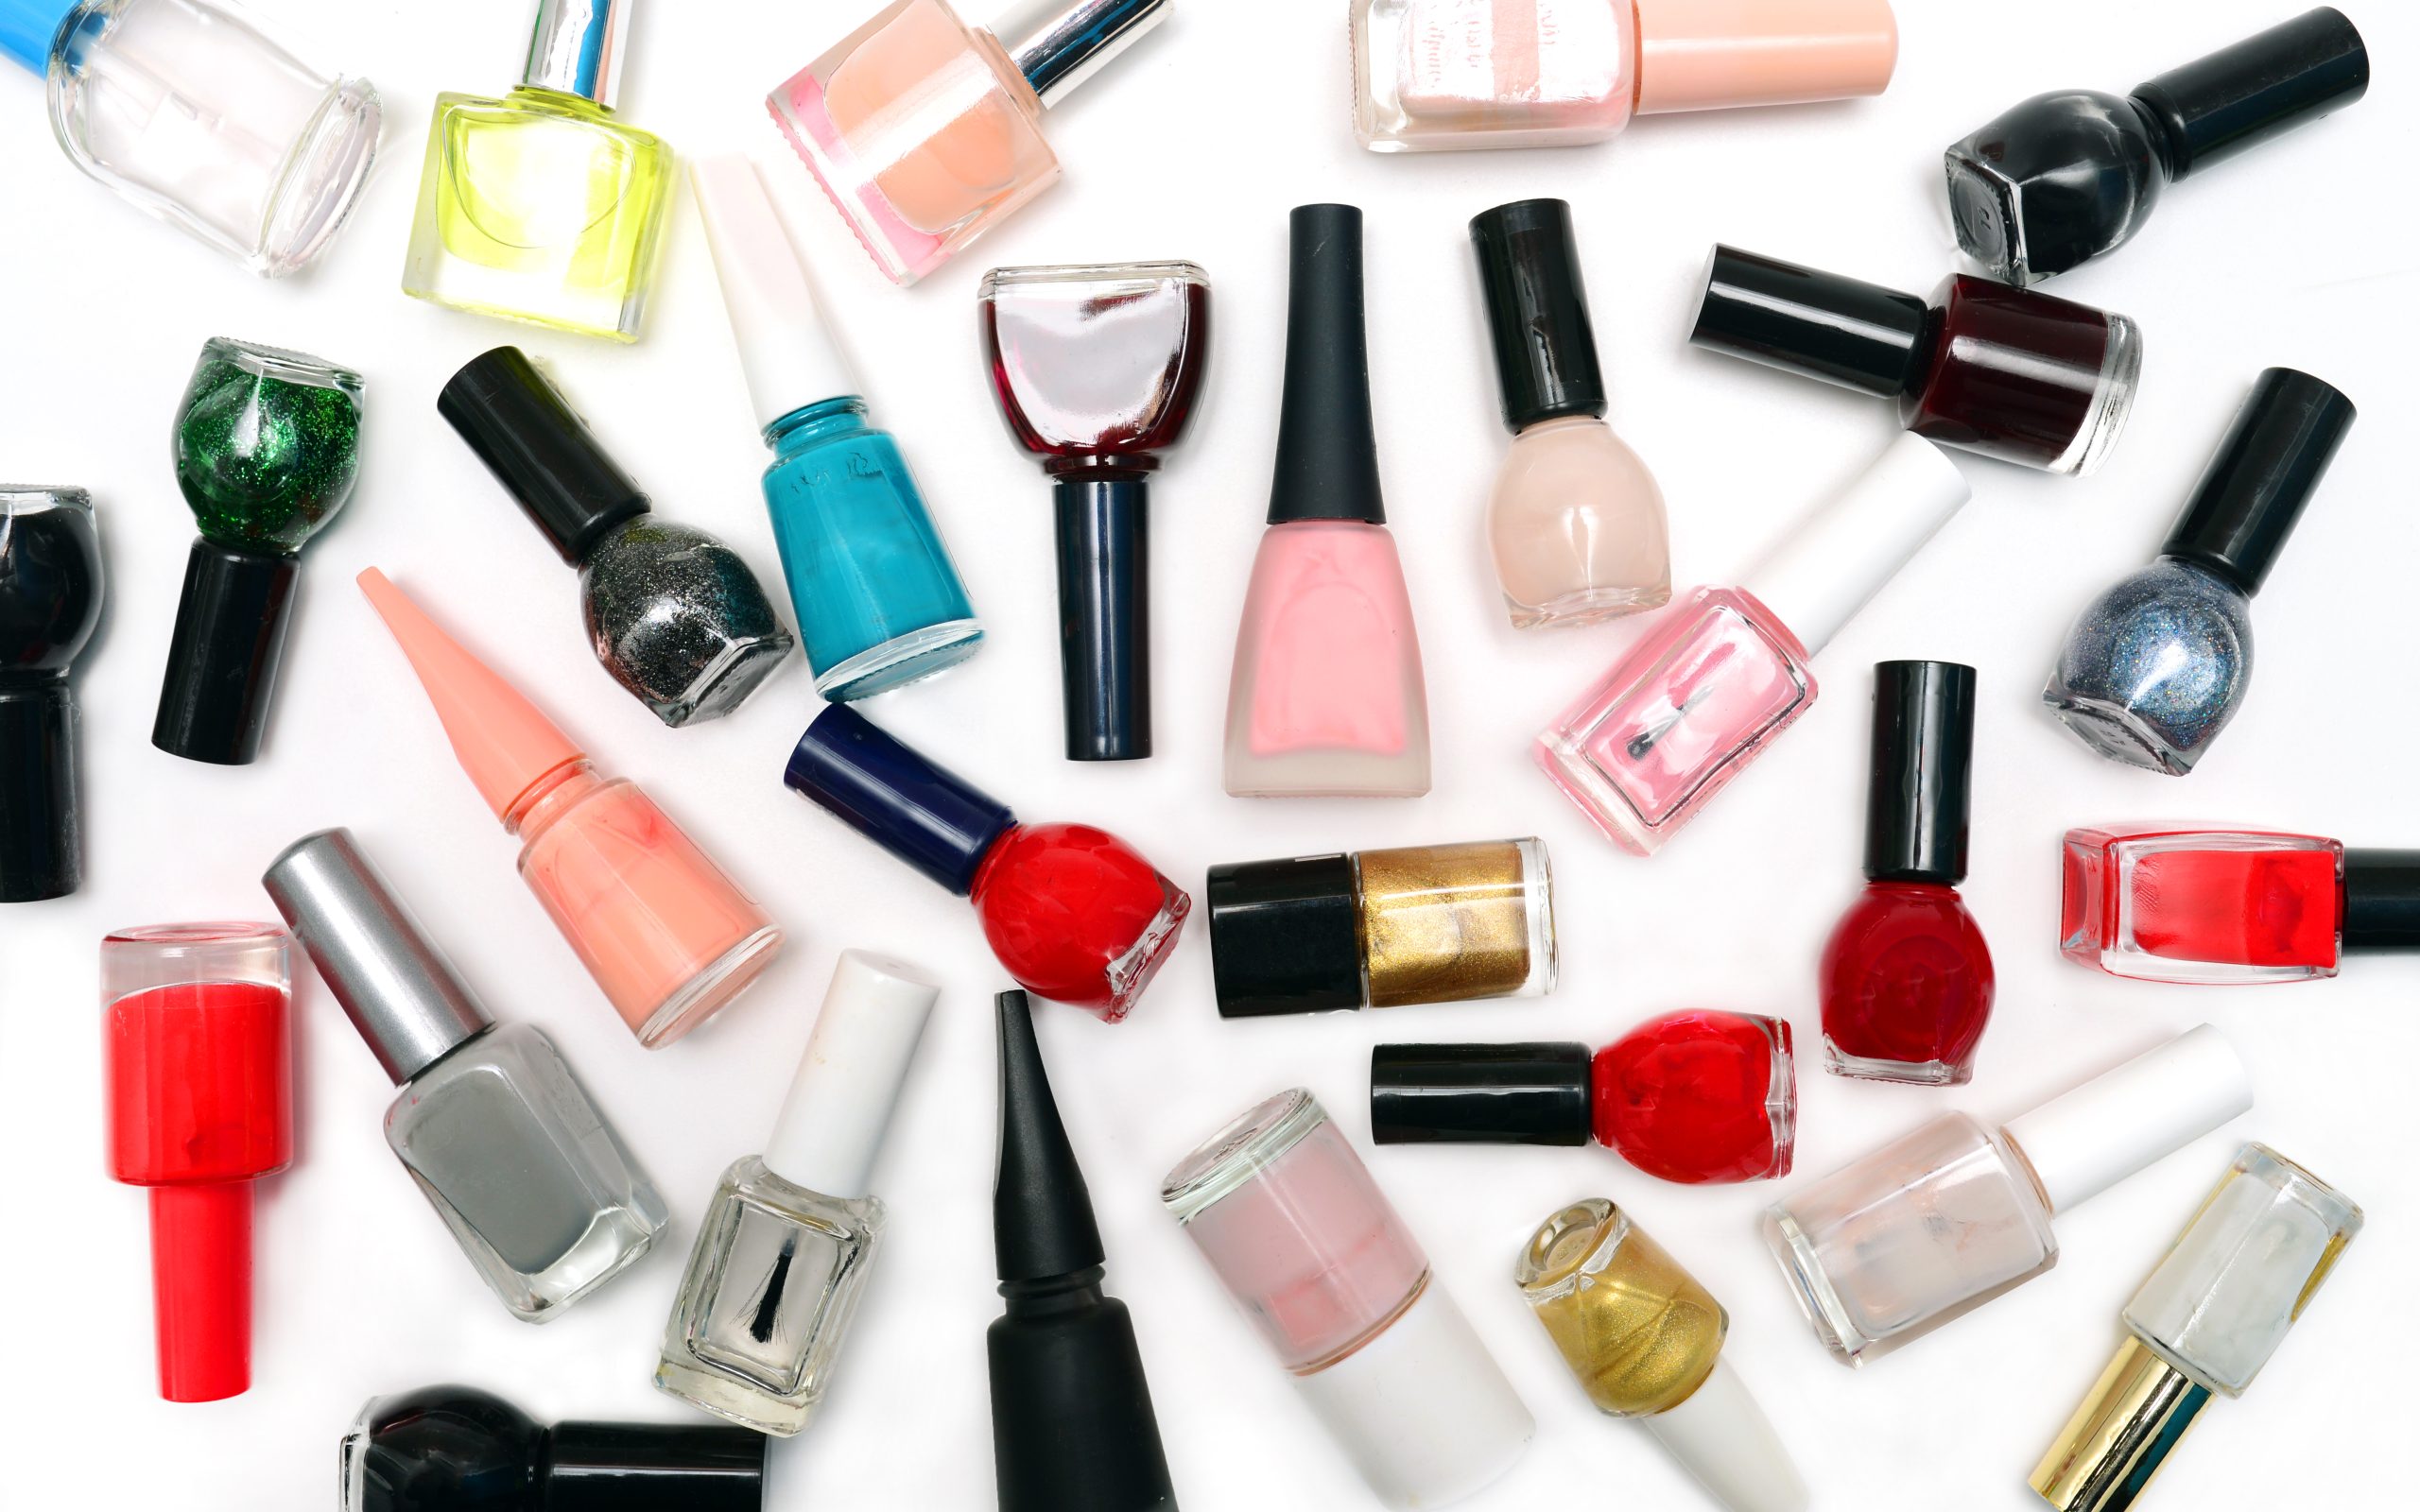
- Nail Polish: Choose your desired base color and any additional colors you’d like to incorporate into your design.
- Dish Soap: Any liquid dish soap will work for creating bubbles.
- Water: Fill a small container with water for creating the bubbles.
- Straw or Blower: Use a straw or a specialized nail art blower to create the bubbles.
- Nail Polish Remover: For cleaning up any mess or mistakes.
- Top Coat: Seal and protect your finished design with a top coat.
2. Prepare Your Workspace
- Start by laying down a protective surface to catch any spills or drips.
- Have all your supplies within easy reach to avoid any interruptions once you start the process.
3. Create the Bubble Nail Mixture
- Fill a small container with water and add a few drops of liquid dish soap. Stir gently to mix the soap into the water.
4. Apply Your Base Color
- Begin by applying your chosen base color to your nails and allow it to dry completely.
5. Dip and Blow
- Dip the end of a straw or nail art blower into the bubble nail mixture.
- Position the straw or blower just above the surface of the water and blow gently to create bubbles.
- Once you have a cluster of bubbles, carefully place your nail over the bubbles, allowing them to burst onto the nail surface. Repeat this step for each nail, experimenting with different bubble sizes and patterns.
6. Add Details
- Use a thin nail art brush or dotting tool to add additional details or accents to your design. You can create swirls, lines, or dots to enhance the overall look.
7. Seal with Top Coat
- Once you’re happy with your design, seal it with a layer of top coat to protect the bubbles and give your nails a glossy finish.
8. Clean Up
- Use a cotton swab dipped in nail polish remover to clean up any excess polish or bubbles around the edges of your nails.
9. Show Off Your Artwork
- Once your nails are dry, admire your handiwork and show off your unique bubble nail art to the world!
Using the bubble nail technique to create nail art effects is a fun and creative way to add a touch of whimsy and intrigue to your manicures. With a little practice and experimentation, you can achieve stunning, one-of-a-kind designs that are sure to spark conversation and admiration. So why not give it a try and let your creativity soar?


