Watercolor nails are a beautiful and unique way to add an artistic touch to your manicure. This soft and dreamy design mimics the fluid, blended look of watercolor paintings, allowing for endless creativity and color combinations. Whether you’re a seasoned nail artist or a DIY enthusiast, watercolor nails are a fun technique to try. In this blog post, we’ll walk you through the steps to create a stunning watercolor effect on your nails.
What You Need
Before you begin, gather the following supplies:
- Base Coat: To protect your natural nails and provide a smooth surface for the design.
- White or Light-Colored Base Polish: This will serve as the canvas for your watercolor design.
- A Variety of Nail Polish Colors: Choose colors that blend well together for a harmonious effect. Pastels and light, translucent colors work best for a true watercolor look.
- Nail Art Brush or Thin Paintbrush: For applying and blending the colors.
- Acetone or Nail Polish Remover: Used to dilute the colors and create the watercolor effect.
- Small Cup or Dappen Dish: To hold acetone or nail polish remover.
- Top Coat: To seal and protect your design.
Step-by-Step Guide to Creating Watercolor Nails
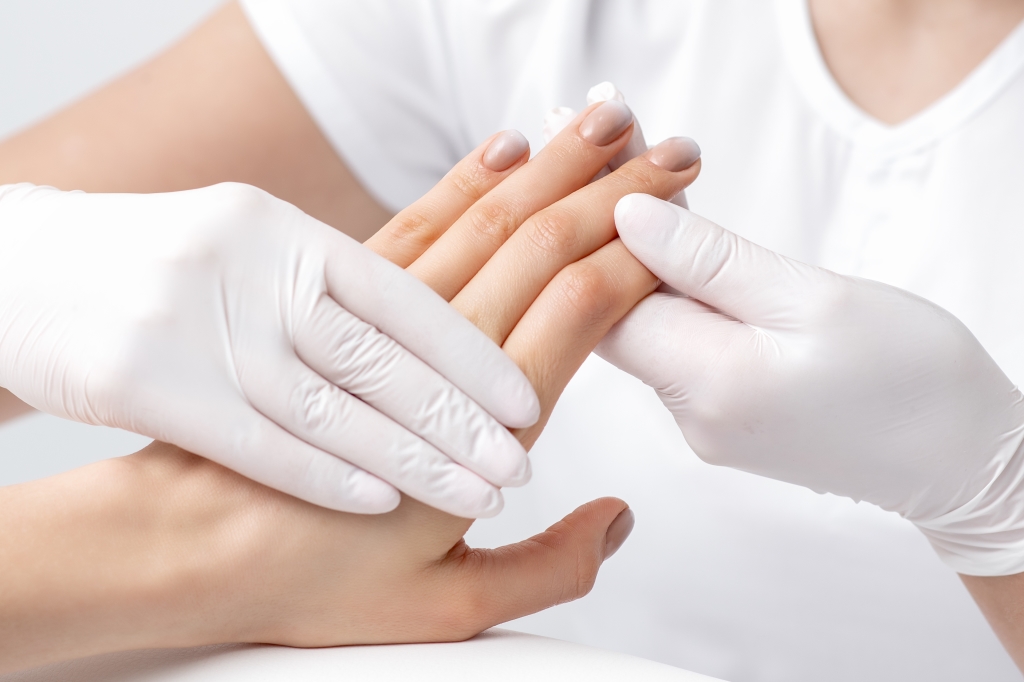
- Prep Your Nails:
Start by prepping your nails with a base coat. This helps protect your nails from staining and provides a smooth foundation for your polish. Allow the base coat to dry completely. - Apply the Base Color:
Paint your nails with a white or light-colored polish. This will serve as the background for your watercolor effect and help the colors pop. Make sure the base color is fully dry before moving on to the next step. - Choose Your Colors:
Select a few complementary nail polish colors. Pastel shades or light, sheer colors work best for achieving a soft, watercolor look. Pour a small amount of each color onto a palette or piece of foil for easy access. - Dilute the Colors:
Dip your nail art brush or thin paintbrush into a small amount of acetone or nail polish remover. Then, dip the brush into one of your chosen nail colors. The acetone will dilute the polish, creating a sheer, watercolor-like consistency. - Apply the First Color:
Lightly dab the diluted polish onto your nail in a random pattern. Don’t worry about being too precise; the beauty of watercolor nails is in their abstract, fluid look. Continue adding small amounts of color until you achieve the desired intensity. - Blend and Layer Colors:
Clean your brush with acetone, then move on to the next color. Repeat the process, applying the second color in a similar fashion. Blend the colors together by gently dabbing and swirling the brush. Continue layering colors and blending them together until you’re happy with the design. Remember to clean your brush between colors to keep them distinct. - Create a Marbleized Effect (Optional):
For a more marbleized watercolor effect, use a toothpick or a fine detail brush to swirl the colors together slightly while they are still wet. This will create a beautiful, fluid transition between the colors, mimicking the look of watercolor paint. - Clean Up the Edges:
Once you’re satisfied with your watercolor design, use a clean brush dipped in acetone to tidy up any excess polish around your cuticles and nail edges. This will give your manicure a neat and professional finish. - Seal Your Design:
After your watercolor design has dried completely, apply a clear top coat to seal and protect your nail art. This step is crucial as it not only adds a glossy finish but also helps your design last longer. If you prefer a matte finish, opt for a matte top coat. - Final Touches:
Once the top coat is dry, apply cuticle oil to nourish your cuticles and give your manicure a polished look.
Tips for a Perfect Watercolor Effect
- Experiment with Colors: Don’t be afraid to mix and match different colors to find combinations that you love. Watercolor nails are all about creativity, so have fun with it!
- Use Minimal Product: A little goes a long way when creating a watercolor effect. Start with a small amount of polish and add more if needed.
- Work Quickly: Nail polish dries fast, so work quickly to blend the colors while they are still wet. This will help achieve a smooth, seamless transition between shades.
- Practice Makes Perfect: If you’re new to watercolor nails, practice on a nail wheel or a piece of paper before applying the design to your nails. This will help you get a feel for the technique and improve your skills.
Watercolor nails are a stunning and unique way to express your creativity and add an artistic touch to your manicure. With a bit of practice and experimentation, you can create beautiful, one-of-a-kind designs that are sure to impress. So, gather your favorite nail polishes, grab a brush, and get ready to unleash your inner artist with these gorgeous watercolor nails!