Gold leaf nail art is a luxurious and elegant way to elevate your manicure. This technique adds a sophisticated, shimmering effect that can make your nails stand out. Whether you’re preparing for a special occasion or simply want to indulge in a bit of glamour, gold leaf nail art is the perfect choice. Here’s how to use gold leaf to create stunning nail art.
1. Gather Your Supplies
To create gold leaf nail art, you will need:
- Gold leaf sheets
- Base coat and top coat
- Nail polish in your chosen color (preferably a neutral or dark shade for contrast)
- Tweezers
- Nail scissors
- Nail art brush
- Clear nail polish or nail glue
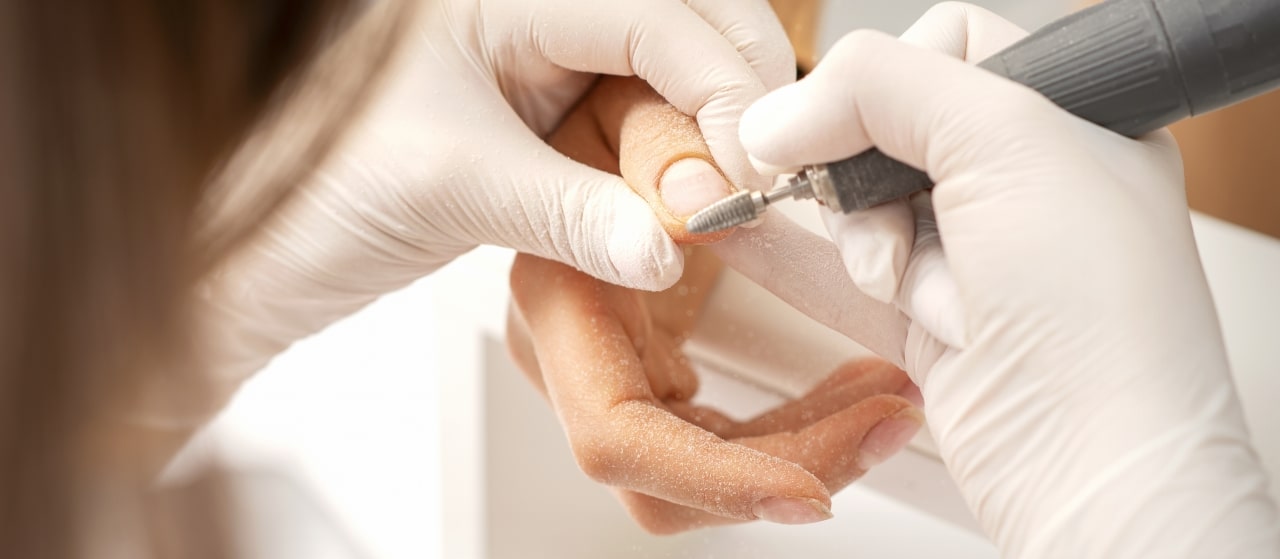
2. Prepare Your Nails
Start by prepping your nails. Clean, shape, and buff them to ensure a smooth surface. Apply a base coat to protect your nails and provide a solid foundation for your polish. Let the base coat dry completely.
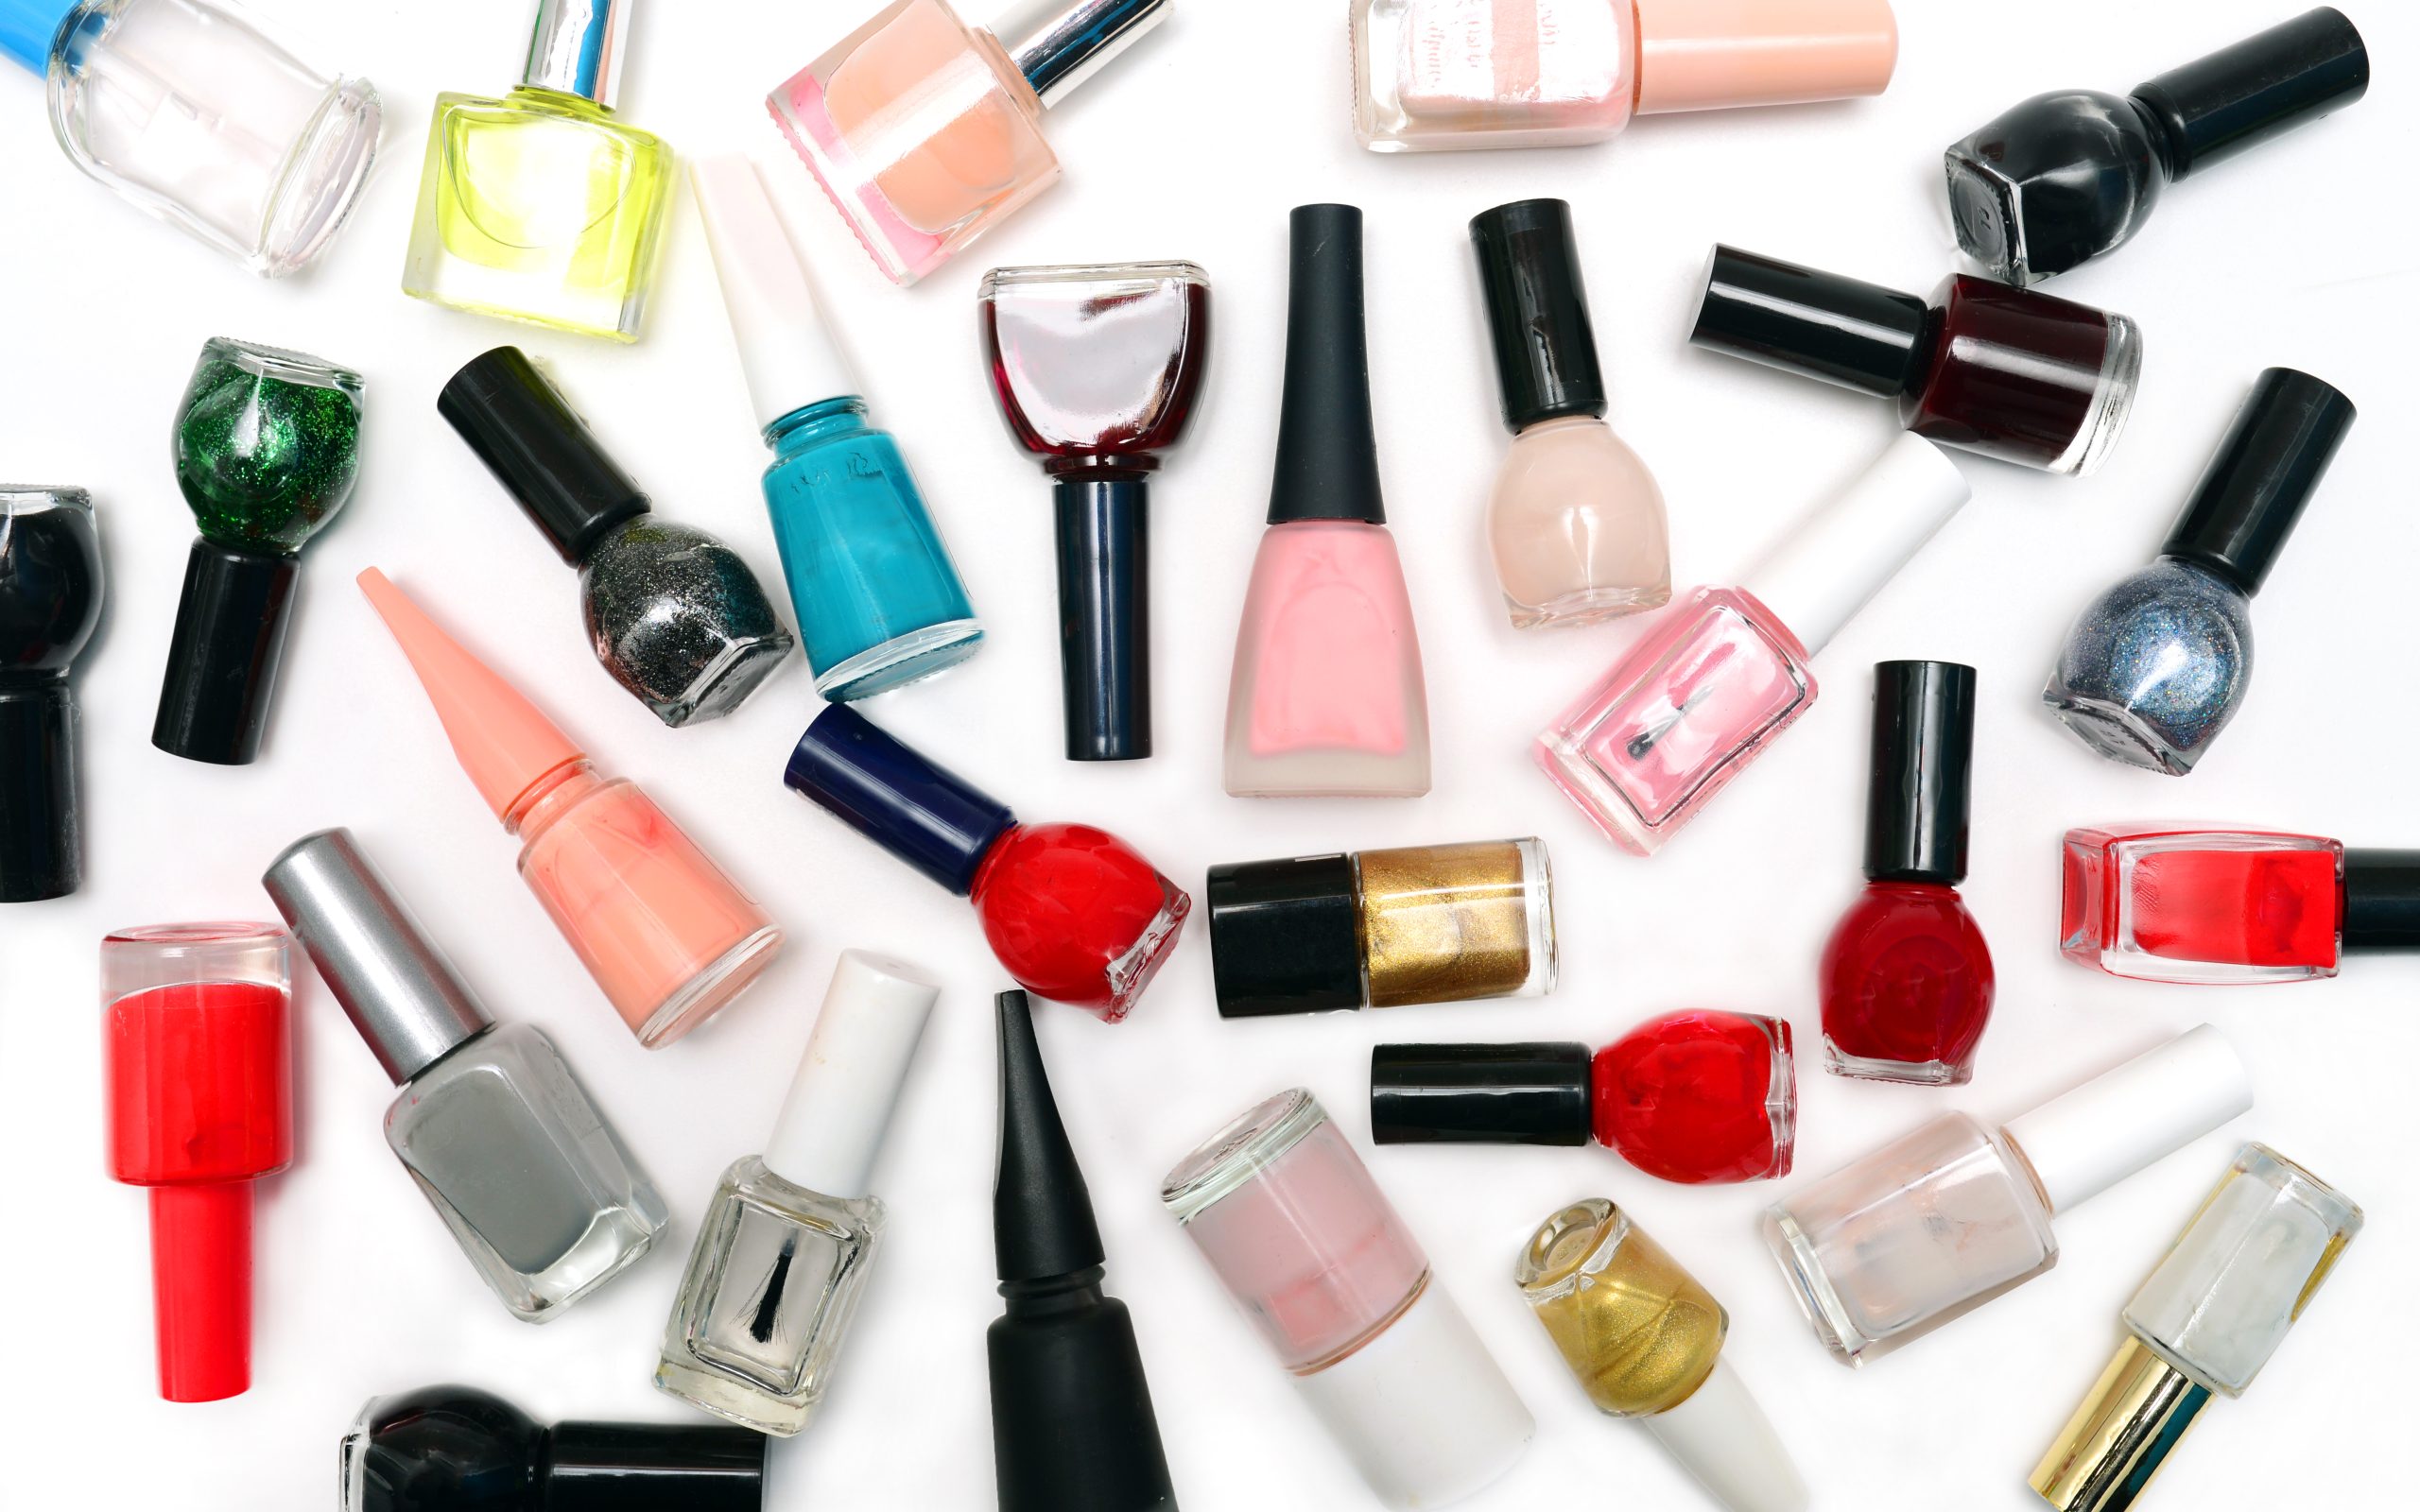
3. Apply Your Base Color
Choose a nail polish color that complements the gold leaf. Neutral shades like nude, white, or black work well to highlight the gold. Apply one or two coats of your chosen color, allowing each coat to dry thoroughly.
4. Cut the Gold Leaf
Carefully cut small pieces of gold leaf using nail scissors. Gold leaf is delicate and can tear easily, so handle it gently. You can create different shapes and sizes depending on the design you want.
5. Apply the Gold Leaf
There are several ways to apply gold leaf to your nails:
- Random Placement: For a scattered look, apply a clear nail polish or nail glue to small areas of your nail. Use tweezers to pick up pieces of gold leaf and place them onto the wet polish. Press gently to ensure they adhere.
- Full Coverage: If you want a more dramatic effect, cover your entire nail with gold leaf. Apply a layer of clear nail polish or nail glue to your nail, then place a larger piece of gold leaf over it. Smooth it out with a nail art brush or your fingertip.
- Accent Design: For a subtle yet stylish look, apply gold leaf to just one or two accent nails. This adds a touch of elegance without overwhelming your entire manicure.
6. Seal with a Top Coat
Once you’ve placed the gold leaf, apply a generous layer of top coat to seal the design. This will help to protect the gold leaf and give your nails a glossy finish. Make sure to cover the entire nail, especially the edges, to prevent the gold leaf from lifting.
7. Clean Up
Use a nail polish remover and a small brush or cotton swab to clean up any excess polish or gold leaf around your cuticles and nail edges. This will give your manicure a neat and professional appearance.
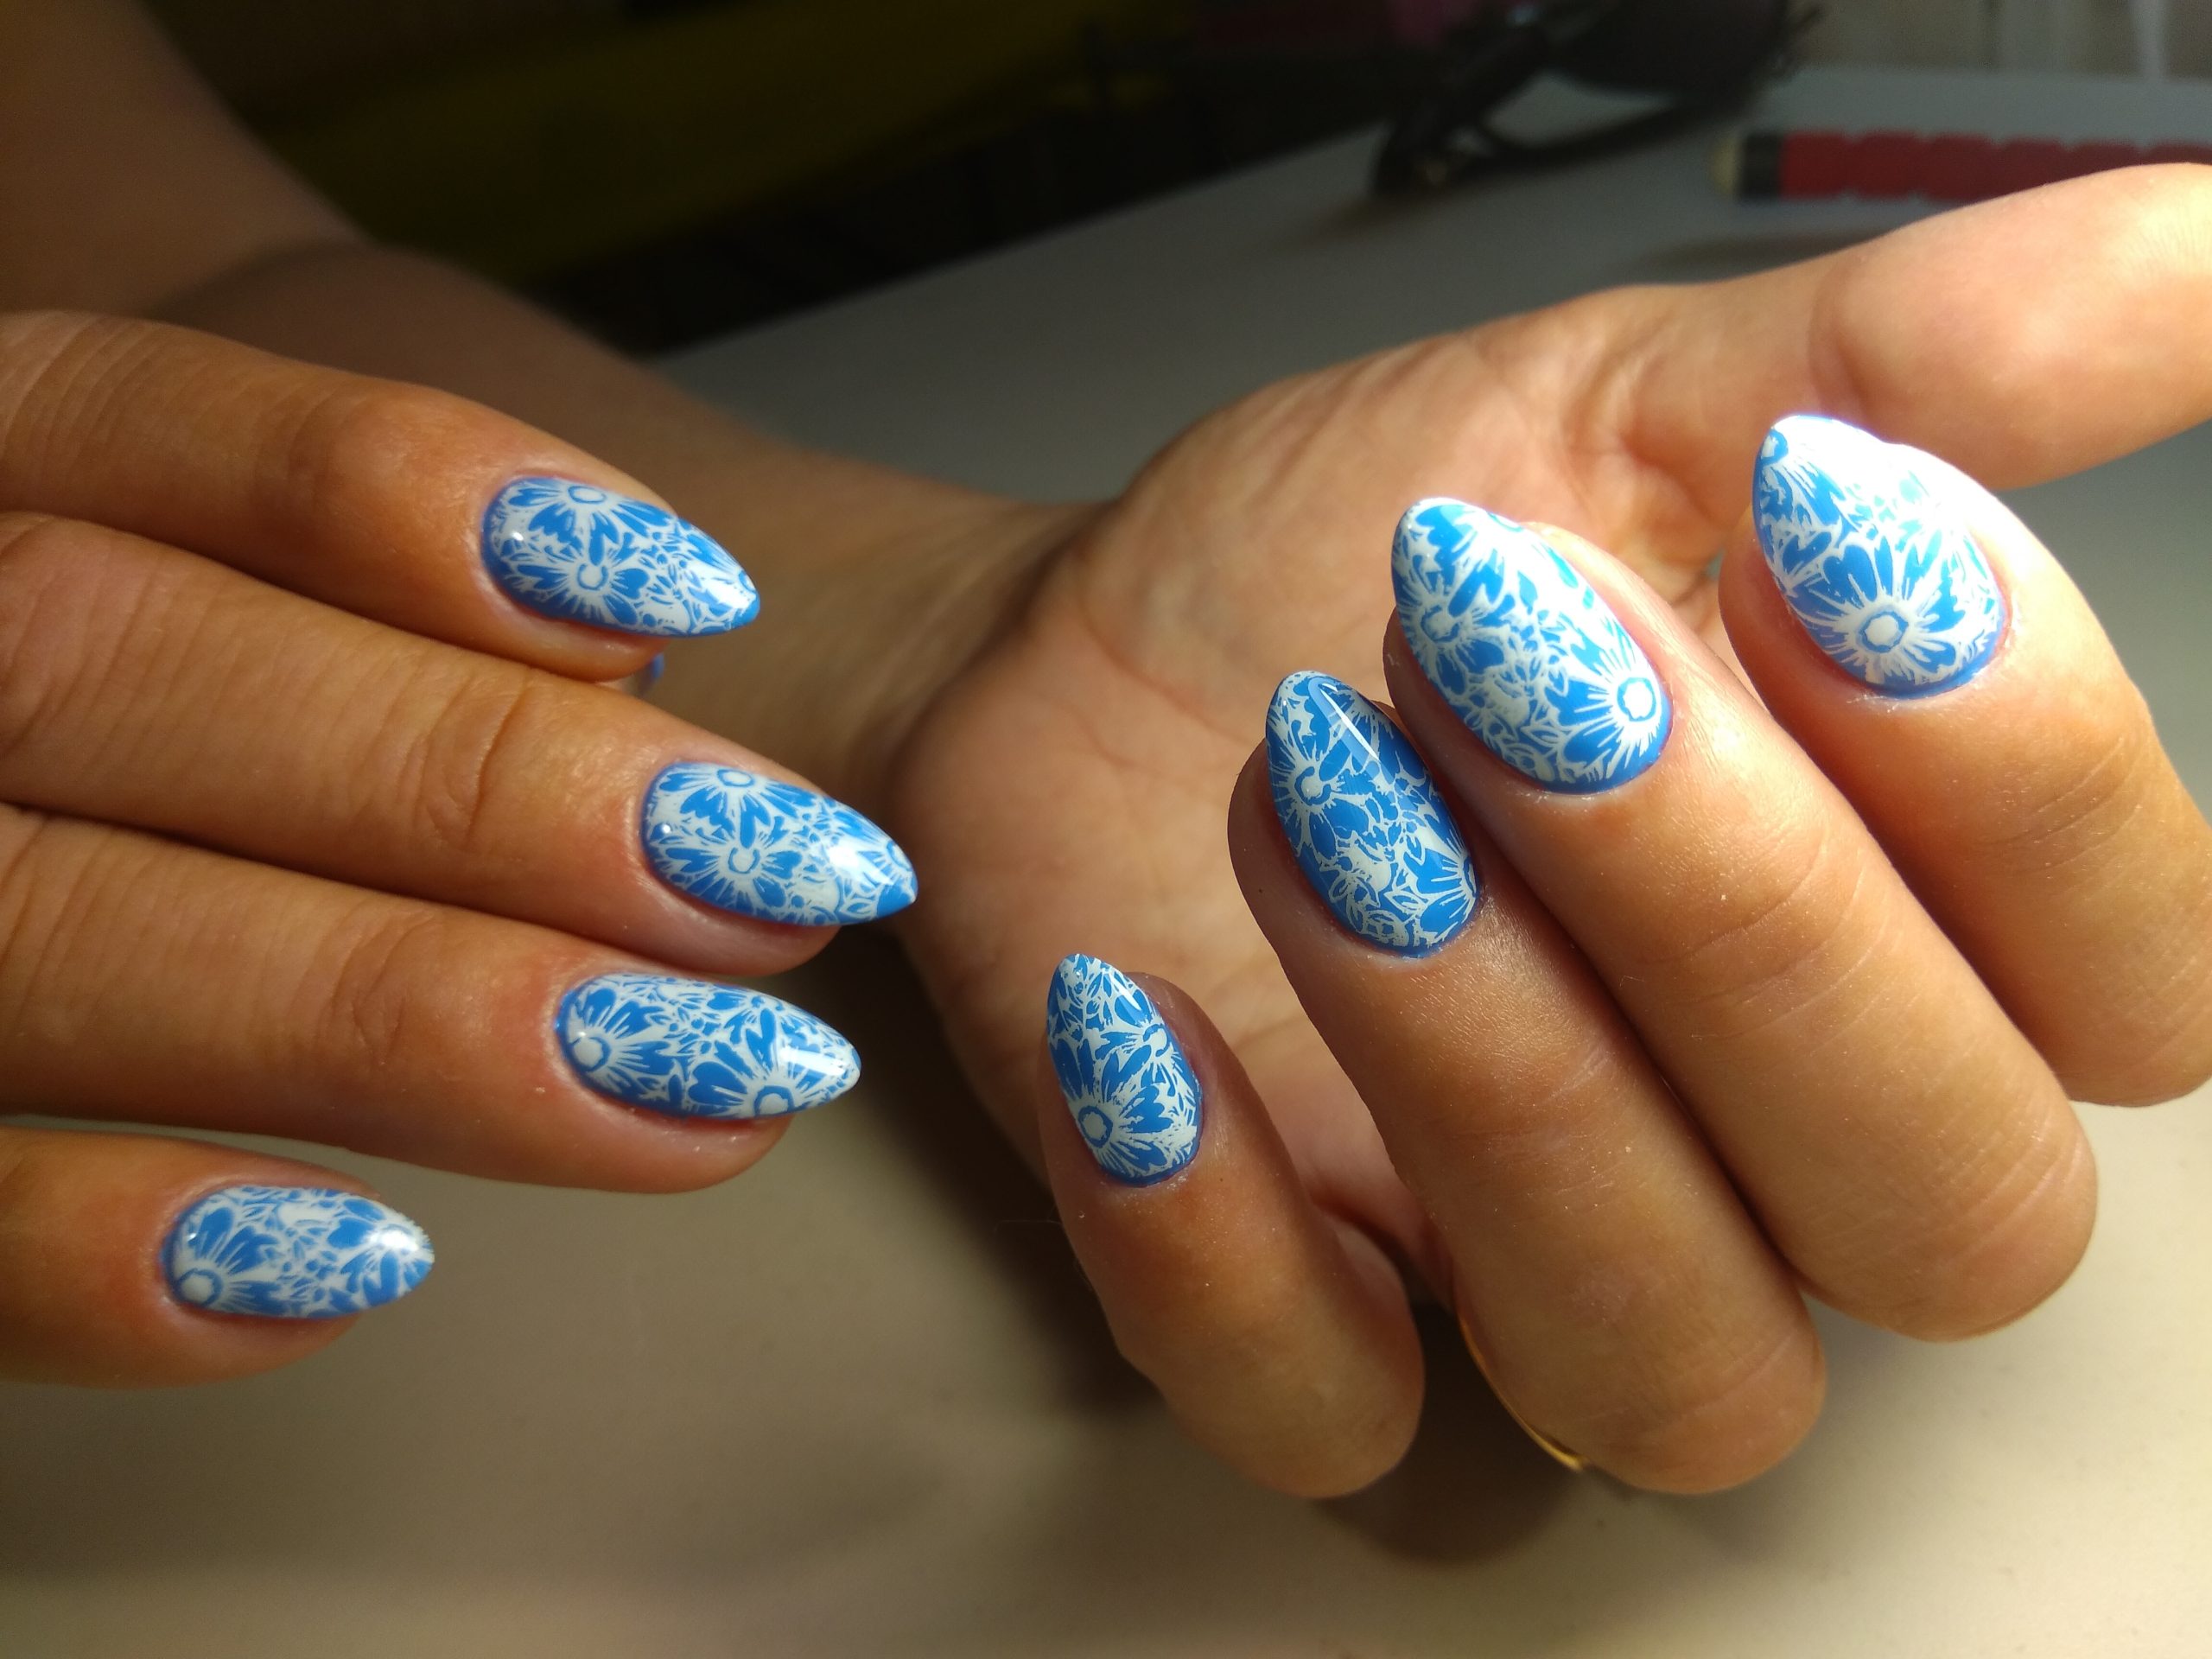
8. Enjoy Your Luxurious Nails
Now that your gold leaf nail art is complete, you can enjoy the luxurious and eye-catching effect. Whether you’re heading to a special event or simply want to add some sparkle to your everyday look, your gold leaf nails will surely impress.
Gold leaf nail art is a fantastic way to bring a touch of luxury and sophistication to your manicure. With a bit of practice and creativity, you can achieve stunning and unique designs that reflect your personal style. So go ahead and indulge in this glamorous nail art technique!