Creating the Flared Duck Shaped Nail
Achieving the duck-shaped nail design involves meticulous filing and shaping to create a whimsical yet stylish look. Here’s a detailed guide on how to file your nails into the distinctive duck shape:
- Preparation
- Gather your supplies: Nail file (180/240 grit), buffer, nail clippers, and cuticle pusher.
- Ensure your nails are clean and free from any polish.
- Initial Shaping
- Start by trimming your nails to a moderate length with nail clippers. Leave enough length to work with for creating the duck shape.
- Shape the free edge into a rounded oval as a base for the duck shape.
- Creating the Curve
- Use the nail file to create a gentle curve along both sides of the nail. This curve will mimic the body of a duck.
- File in one direction from the sides towards the center to maintain nail strength.
- Defining the Head
- At the tip of the nail, gently file down the center to create a pointed tip. This will form the head of the duck shape.
- Be careful to maintain symmetry and ensure the head is proportionate to the body curve.
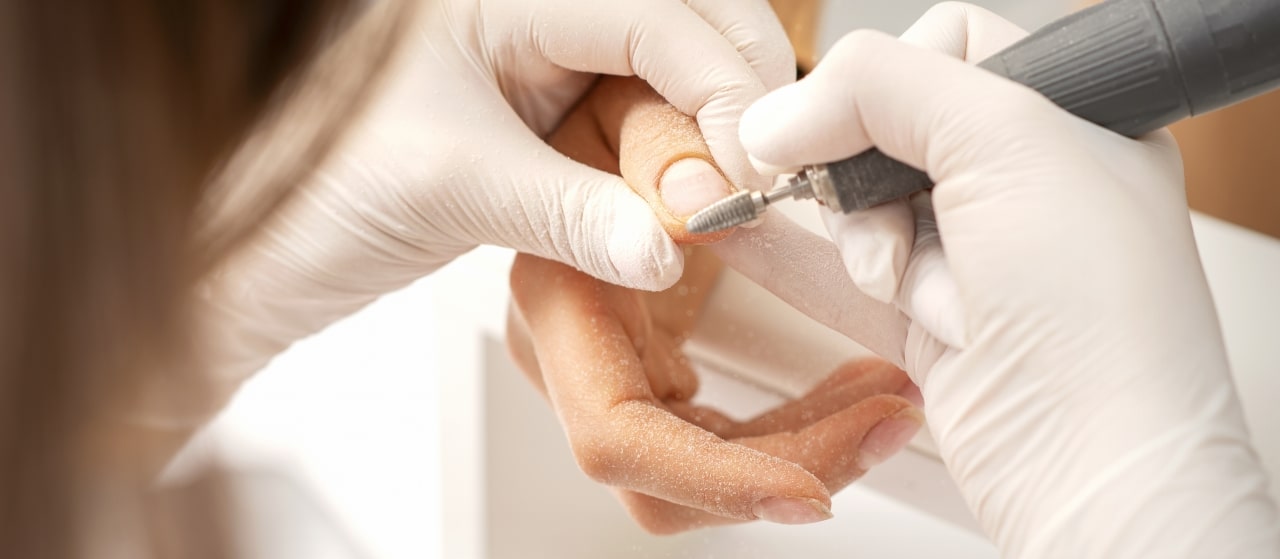
- Refining and Smoothing
- Check for any rough edges and use the buffer to smooth them out. Buffing also helps to enhance shine and strengthen the nail.
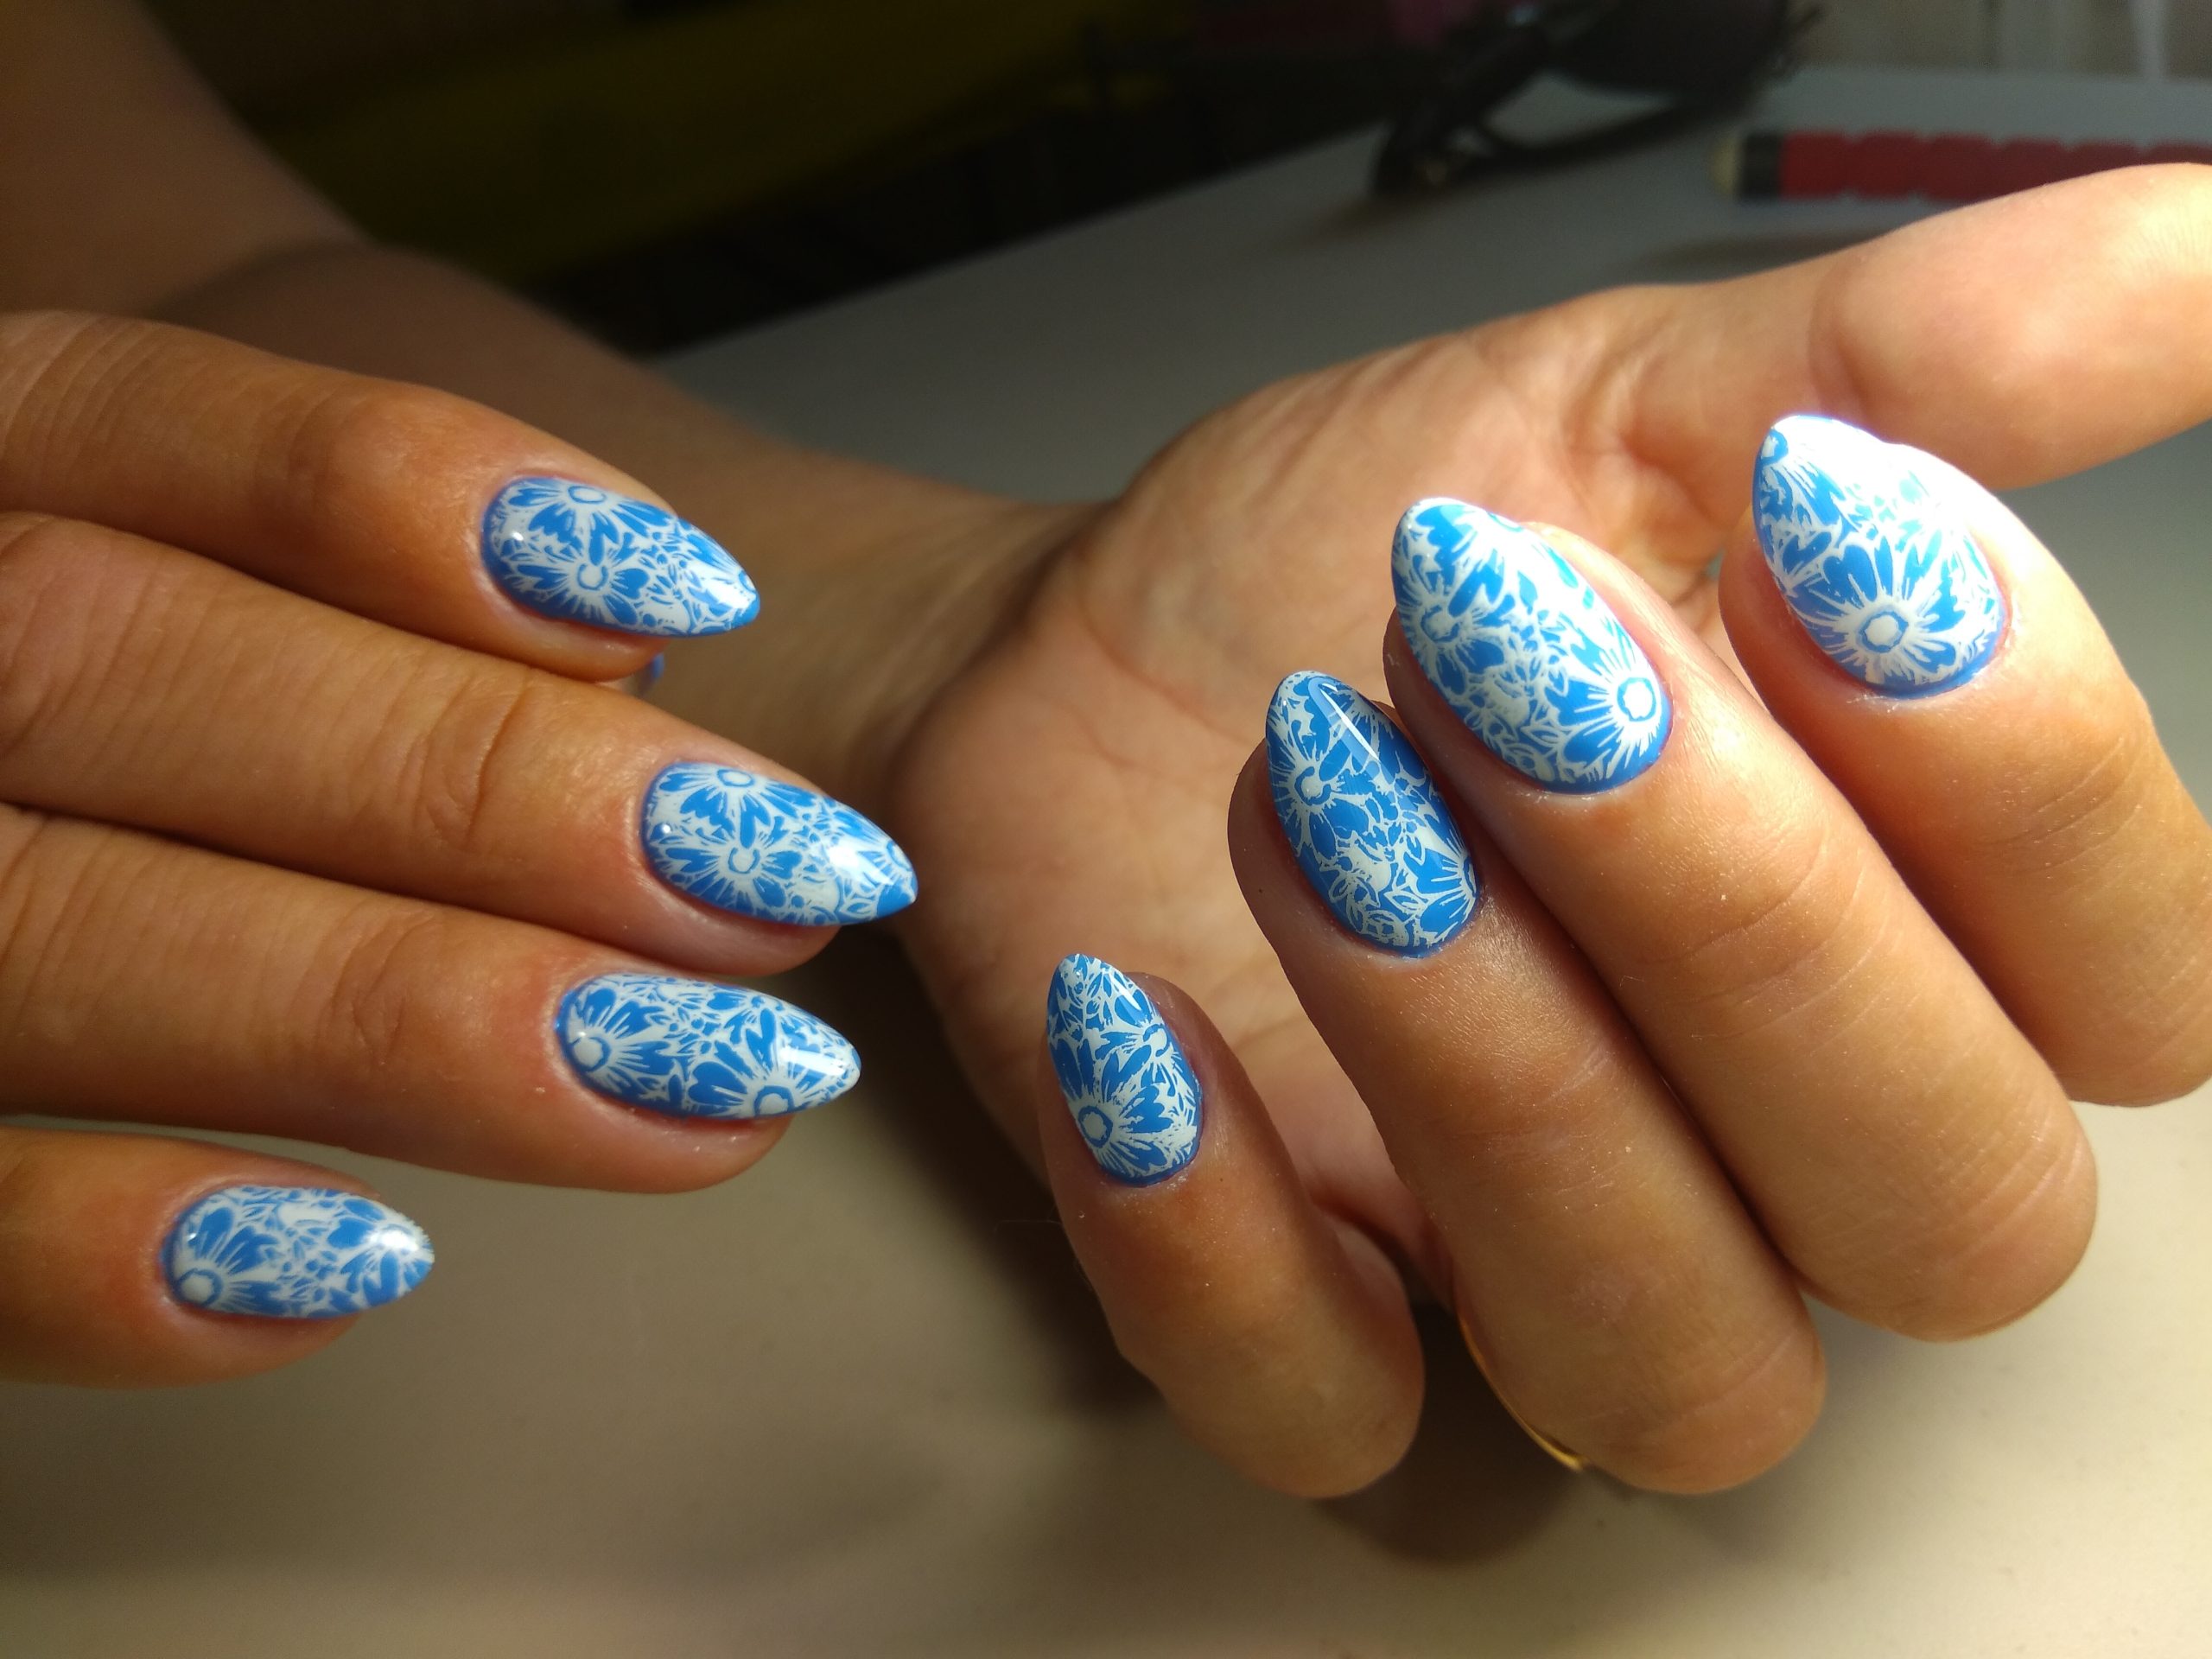
- Final Touches
- Apply cuticle oil to nourish the cuticles and moisturize the surrounding skin.
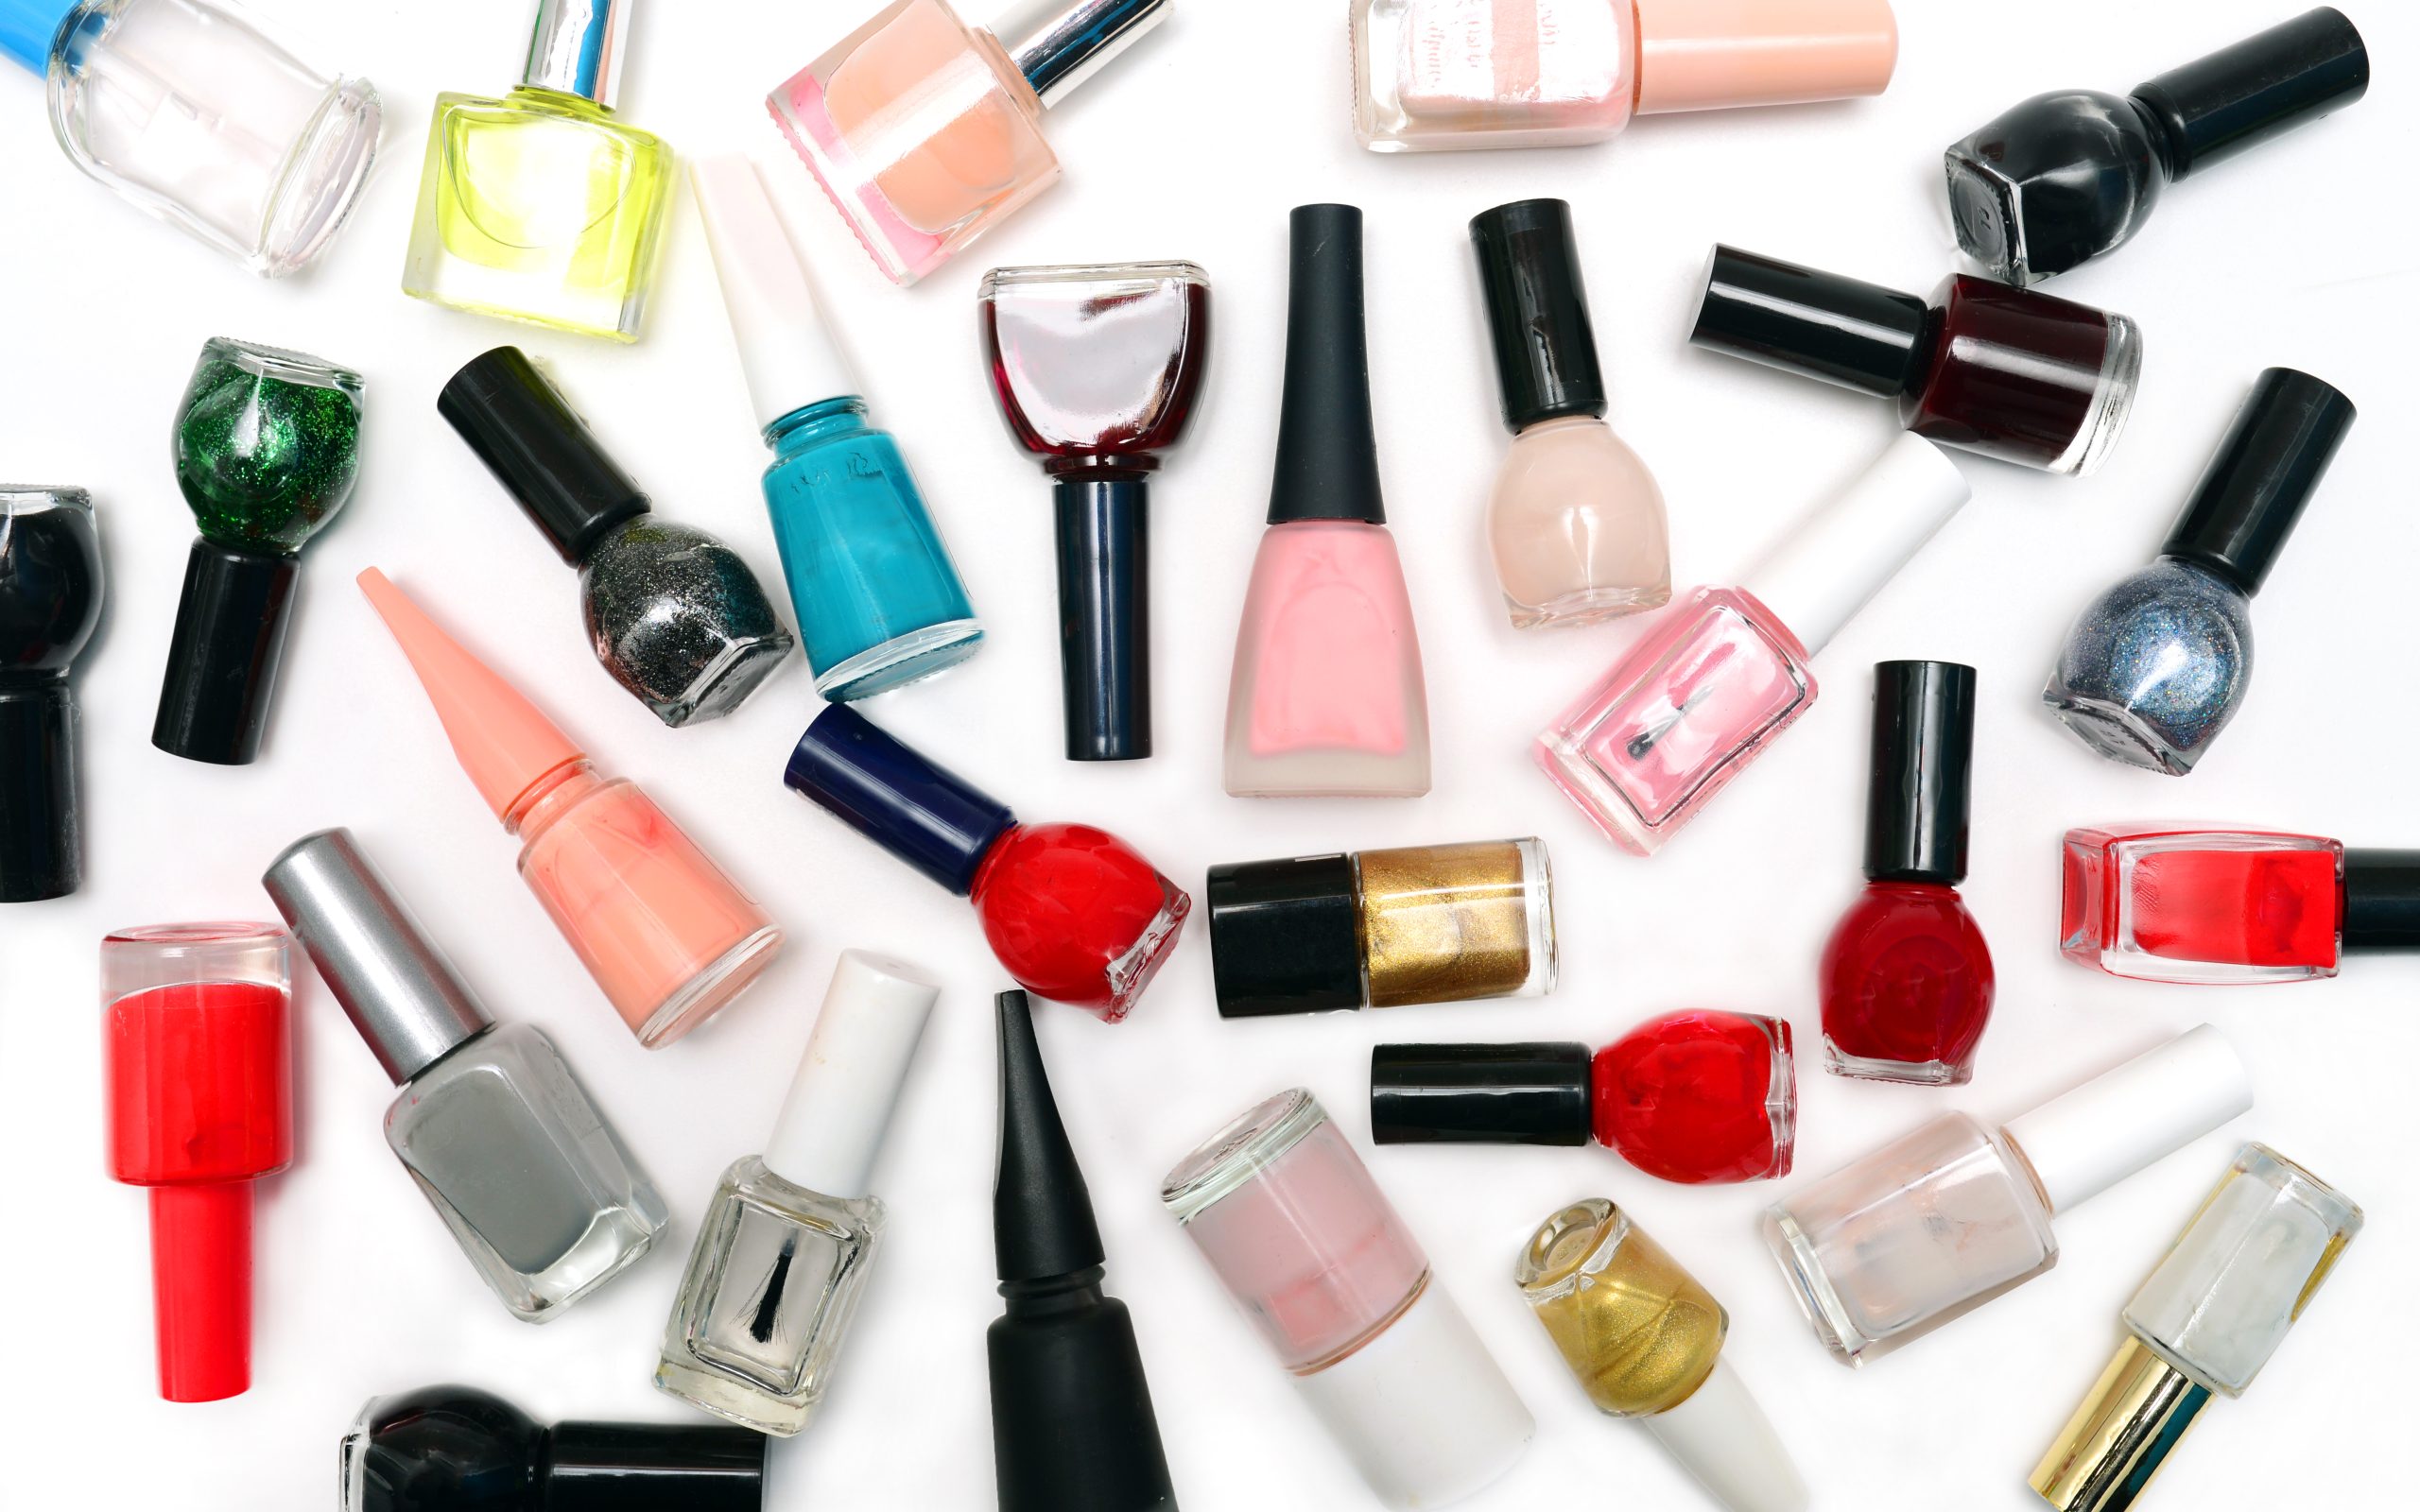
- Finish with your favorite nail polish or opt for a natural look.
- Maintenance
- Regularly file and shape your nails to maintain the duck shape.
- Avoid excessive length that can affect daily activities.
Creating duck-shaped nails requires patience and precision. By following these steps, you can achieve nails that are unique and fun, adding a playful touch to your manicure routine.