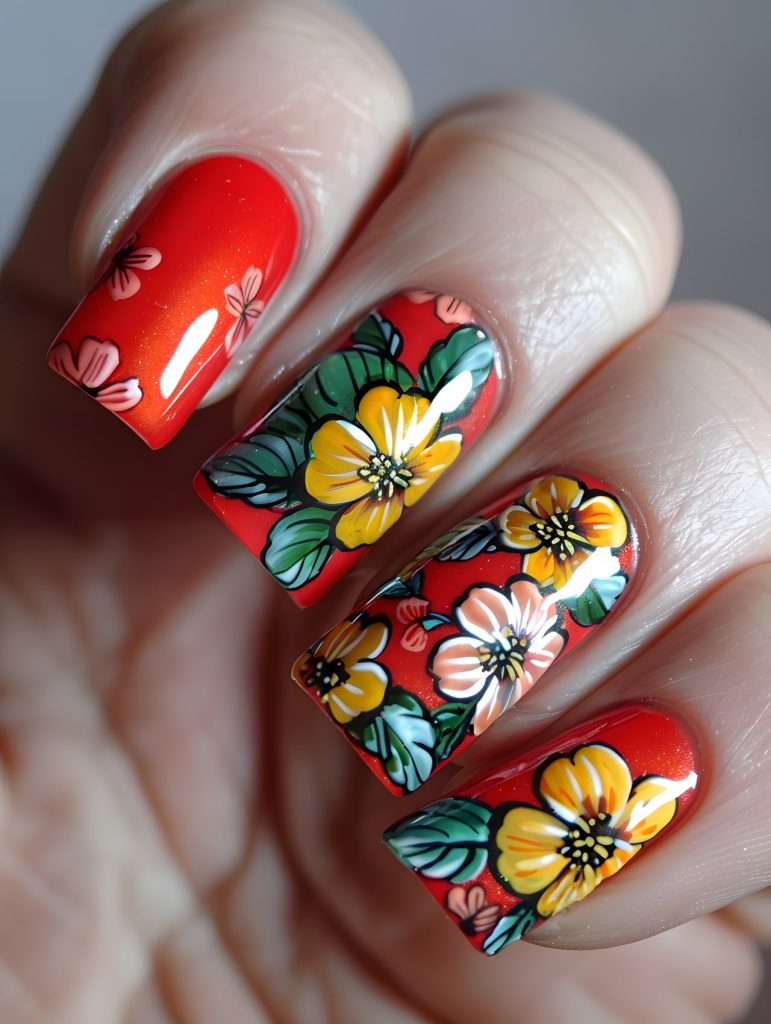
Diving into the world of nail transfers and foils can feel like stepping into a magical realm of endless design possibilities. However, there are some key tips to keep in mind to ensure your first foray is a sparkling success. Preparation is paramount; start with a clean, dry nail surface by removing any old polish and pushing back your cuticles. Apply a base coat to create a smooth canvas for your designs.
When using nail transfers, precision is your best friend. Carefully cut out the desired pattern, soak it in water as per the instructions, and gently slide the transfer onto your nail. Use a silicone tool or an orange wood stick to smooth out any air bubbles and ensure the design adheres flatly.
Foils require a slightly different approach. Apply a thin layer of foil adhesive on your nail and wait until it becomes tacky. Press the foil onto the nail, shiny side up, and rub firmly. Peel away the backing to reveal the dazzling design left behind. For both methods, a good top coat is essential to seal in your artwork and add longevity.
Finally, patience is key. Allow each layer to dry completely before moving on to the next step to avoid smudging. With practice and a bit of finesse, you’ll master the art of nail transfers and foils, turning your nails into miniature masterpieces.


