Dried flowers have become a popular choice for nail art enthusiasts looking to add a touch of natural beauty to their manicures. With their delicate petals and vibrant colors, dried flowers offer endless possibilities for creating stunning and unique nail designs. If you’re eager to explore this creative avenue, here’s a comprehensive guide on how to create nail art using dried flowers:
1. Gather Your Supplies
- Dried Flowers: Purchase dried flowers specifically designed for nail art, or dry your own flowers using a flower press or silica gel.
- Base Coat and Top Coat: Apply a base coat to protect your nails and a top coat to seal and protect your design.
- Nail Polish: Choose a nail polish color that complements the dried flowers and serves as a base for your design.
- Tweezers: Use tweezers to handle the delicate dried flowers and position them onto your nails.
- Small Scissors or Nail Clippers: Trim the dried flowers to fit your nail size and shape.
- Nail Glue or Clear Polish: Use nail glue or clear polish to adhere the dried flowers to your nails.
- Dotting Tool or Toothpick: Use a dotting tool or toothpick to help position and adjust the dried flowers on your nails.
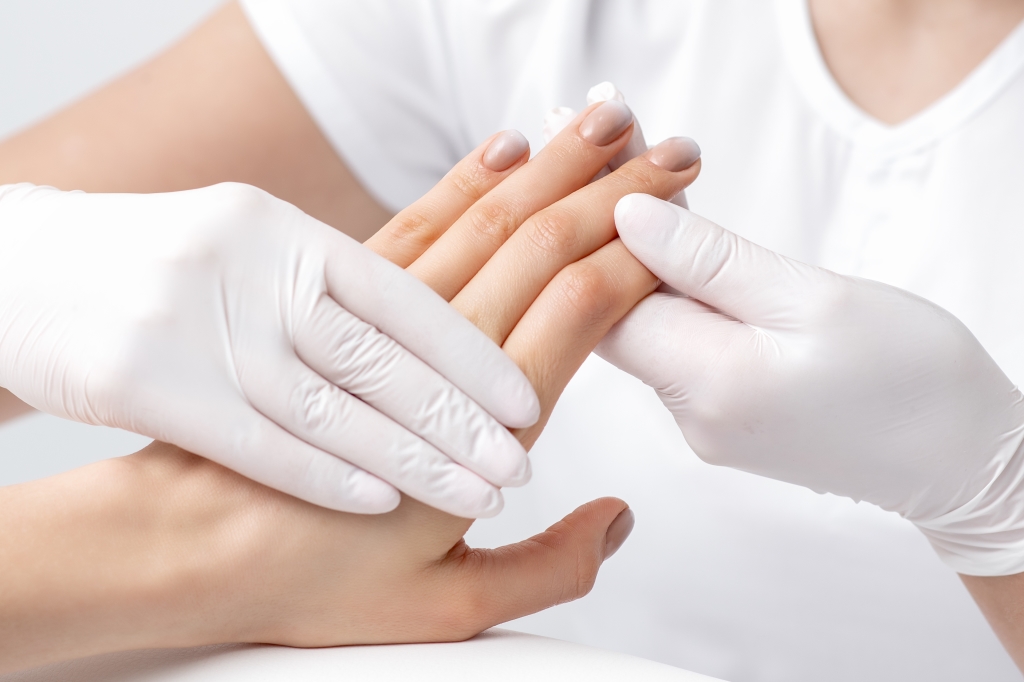
2. Prepare Your Nails
- Start by shaping and filing your nails to your desired length and shape.
- Apply a base coat to all your nails and let it dry completely before moving on to the next step.
3. Apply Your Base Color
- Choose a nail polish color as the base for your nail art design and apply it to all your nails. Let it dry completely.
4. Position the Dried Flowers
- Using tweezers, carefully select and position the dried flowers onto your nails. Experiment with different arrangements and placements to create your desired look.
- Gently press down on the dried flowers to ensure they adhere well to the nail surface.
5. Seal with Top Coat
- Once you’re happy with the placement of the dried flowers, seal your design with a layer of top coat to protect the flowers and give your nails a glossy finish.
- Ensure that the top coat completely covers the dried flowers and nail surface to prevent them from lifting or catching on clothing.
6. Clean Up
- Use a small brush dipped in nail polish remover to clean up any excess polish or top coat around the edges of your nails for a neat and polished finish.
7. Enjoy Your Blooming Masterpiece
- Once your nails are dry, admire your handiwork and show off your unique dried flower nail art to the world!
Creating nail art using dried flowers is a delightful way to infuse your manicures with natural beauty and charm. With a little patience and creativity, you can create stunning designs that are sure to impress. So why not give it a try and let your creativity bloom?