Acrylic overlay is a popular technique for reinforcing and strengthening natural nails or tips. Here’s a concise step-by-step guide to achieving flawless acrylic nail overlays:
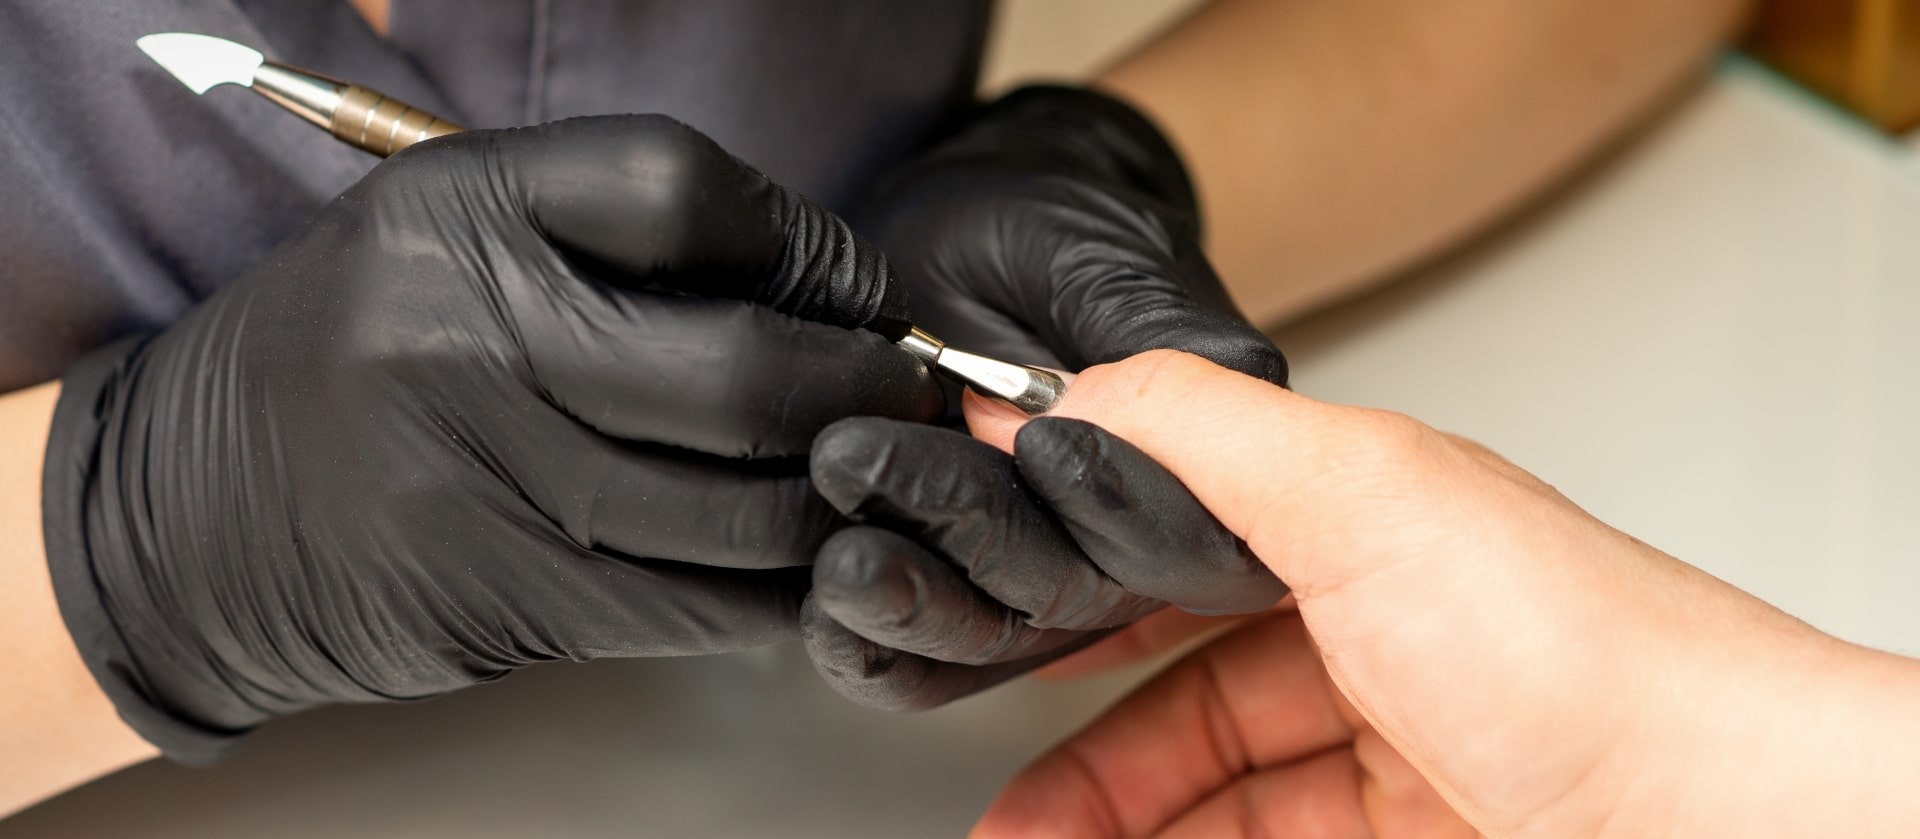
Step 1: Nail Preparation
Begin by thoroughly removing cuticles from the nail plate and dehydrating the nail surface. As a precaution, cuticles should only be trimmed by a professional. Pushing the cuticles back with an orange stick is a perfectly acceptable and safe way of completing this step. As long as the surface is clean, you can begin.
Step 2: Apply Nail Tips
Buff the natural nail surface and shape the free edges. Apply nail adhesive to the nail tip and place it at a 45° angle, pressing down firmly.Keep in mind the length and shape of the desired nails you would like. To achieve this, make sure you have ample room and space for your finished design. Remember, you can always go shorter when you start with long nails.
Step 3: Trim Tips
Trim the tips to the desired length using a special nail trimmer. Special trimmers can be purchased from beauty supply stores or from specialty online retailers. Regular clippers just may do, but to keep the beautiful curve of your new tips; consider investing in a professional pair.
Step 4: Shape and Smooth
Shape the tips with a nail file, smoothing away any rough edges for a clean finish. Don’t be afraid to try all the shapes; you may discover some new faves!
Step 5: Blend Seam
Blend the tip seam where it joins the nail and shape the free edge using a medium to fine file. Just make a seamless nail with light strokes of your buffer.
Step 6: Buff Nails
Carefully buff the nails to blend and smooth them, ensuring they are clean and oil-free. You can even use a bit of alcohol or a non-acetone agent to wipe the nail free of oils and dust that would otherwise prevent the polish from adhering to the nail.
Step 7: Apply Bonding Agent
Apply one coat of acrylic bonding agent or primer to the natural nail to promote adhesion.
Step 8: Apply Acrylic
Using the ball method, dip the brush into the liquid and then into the powder. Apply the ball of product to the center of the nail, covering the entire nail surface.
Step 9: French Manicure Effect (Optional)
For a French manicure effect, apply white sculpting gel to the free edge of the nail and a clear bead to the stress line. Fill in any gaps and smooth the surface.
Step 10: Finish and Cure
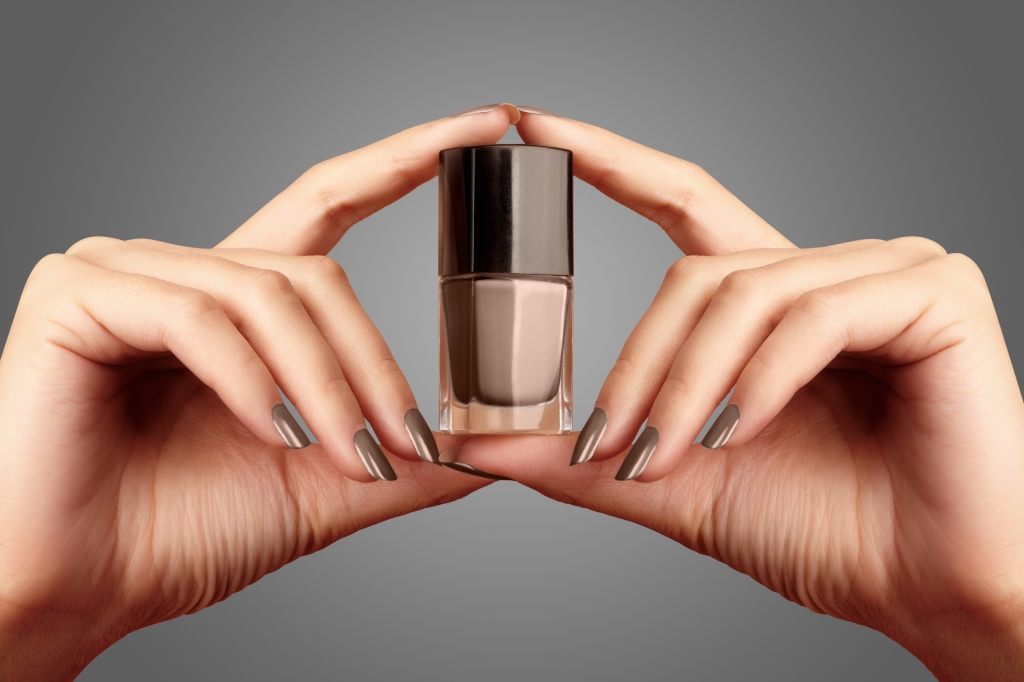
Once applied, quickly push the acrylic to fill the sides and complete the nail overlay. Follow manufacturer’s instructions for curing times, then tap the nails to ensure they are fully cured. File and buff the nails as needed, then apply base coat, polish, and top coat for a perfect finish. Finally, apply cuticle oil to nourish the cuticles.
Follow these steps for flawless acrylic nail overlays that will strengthen and enhance your natural nails or tips.