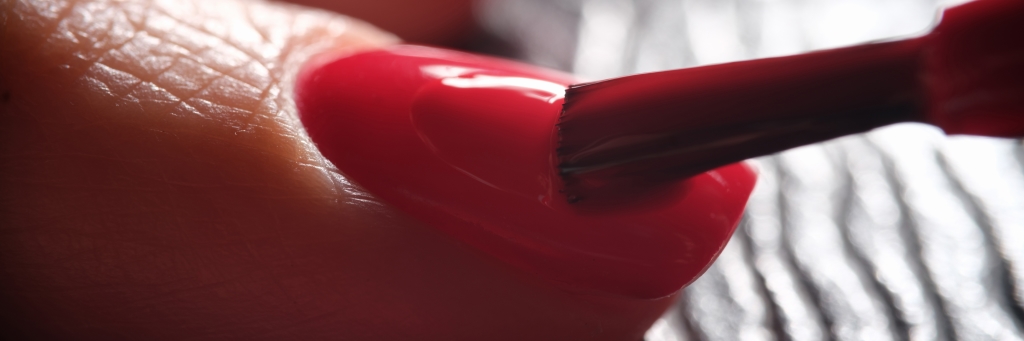
Are you frustrated with bubbles appearing in your meticulously crafted nail polish design? Fear not – achieving a flawless finish is within your reach. Follow these simple tips to bid farewell to those pesky bubbles and elevate your nail art game.
- Room Temperature Matters: Ensure your nail polish is at room temperature before application. Cold polish tends to trap air, causing bubbles. Let it sit for a while before diving into your nail art masterpiece.
- Gentle Shaking, No Rolling: Shake your nail polish gently to mix it, but avoid vigorous shaking or rolling between your palms. This can introduce air bubbles into the polish, leading to an uneven application.
- Thin Layers are Key: Apply thin, even layers of nail polish. Thick layers take longer to dry and are more prone to trapping air. Opt for multiple thin coats for a smoother and bubble-free finish.
- Avoid Overlapping Strokes: When applying each coat, ensure that your strokes are in one direction without overlapping. Overlapping strokes can trap air, creating those unwanted bubbles.
- Invest in Quality Products: High-quality nail polishes tend to have better formulations, reducing the likelihood of bubbles. Invest in reputable brands and always check the consistency before application.
By incorporating these tips into your nail care routine, you’ll be well on your way to achieving a flawless, bubble-free nail polish design. Happy polishing!