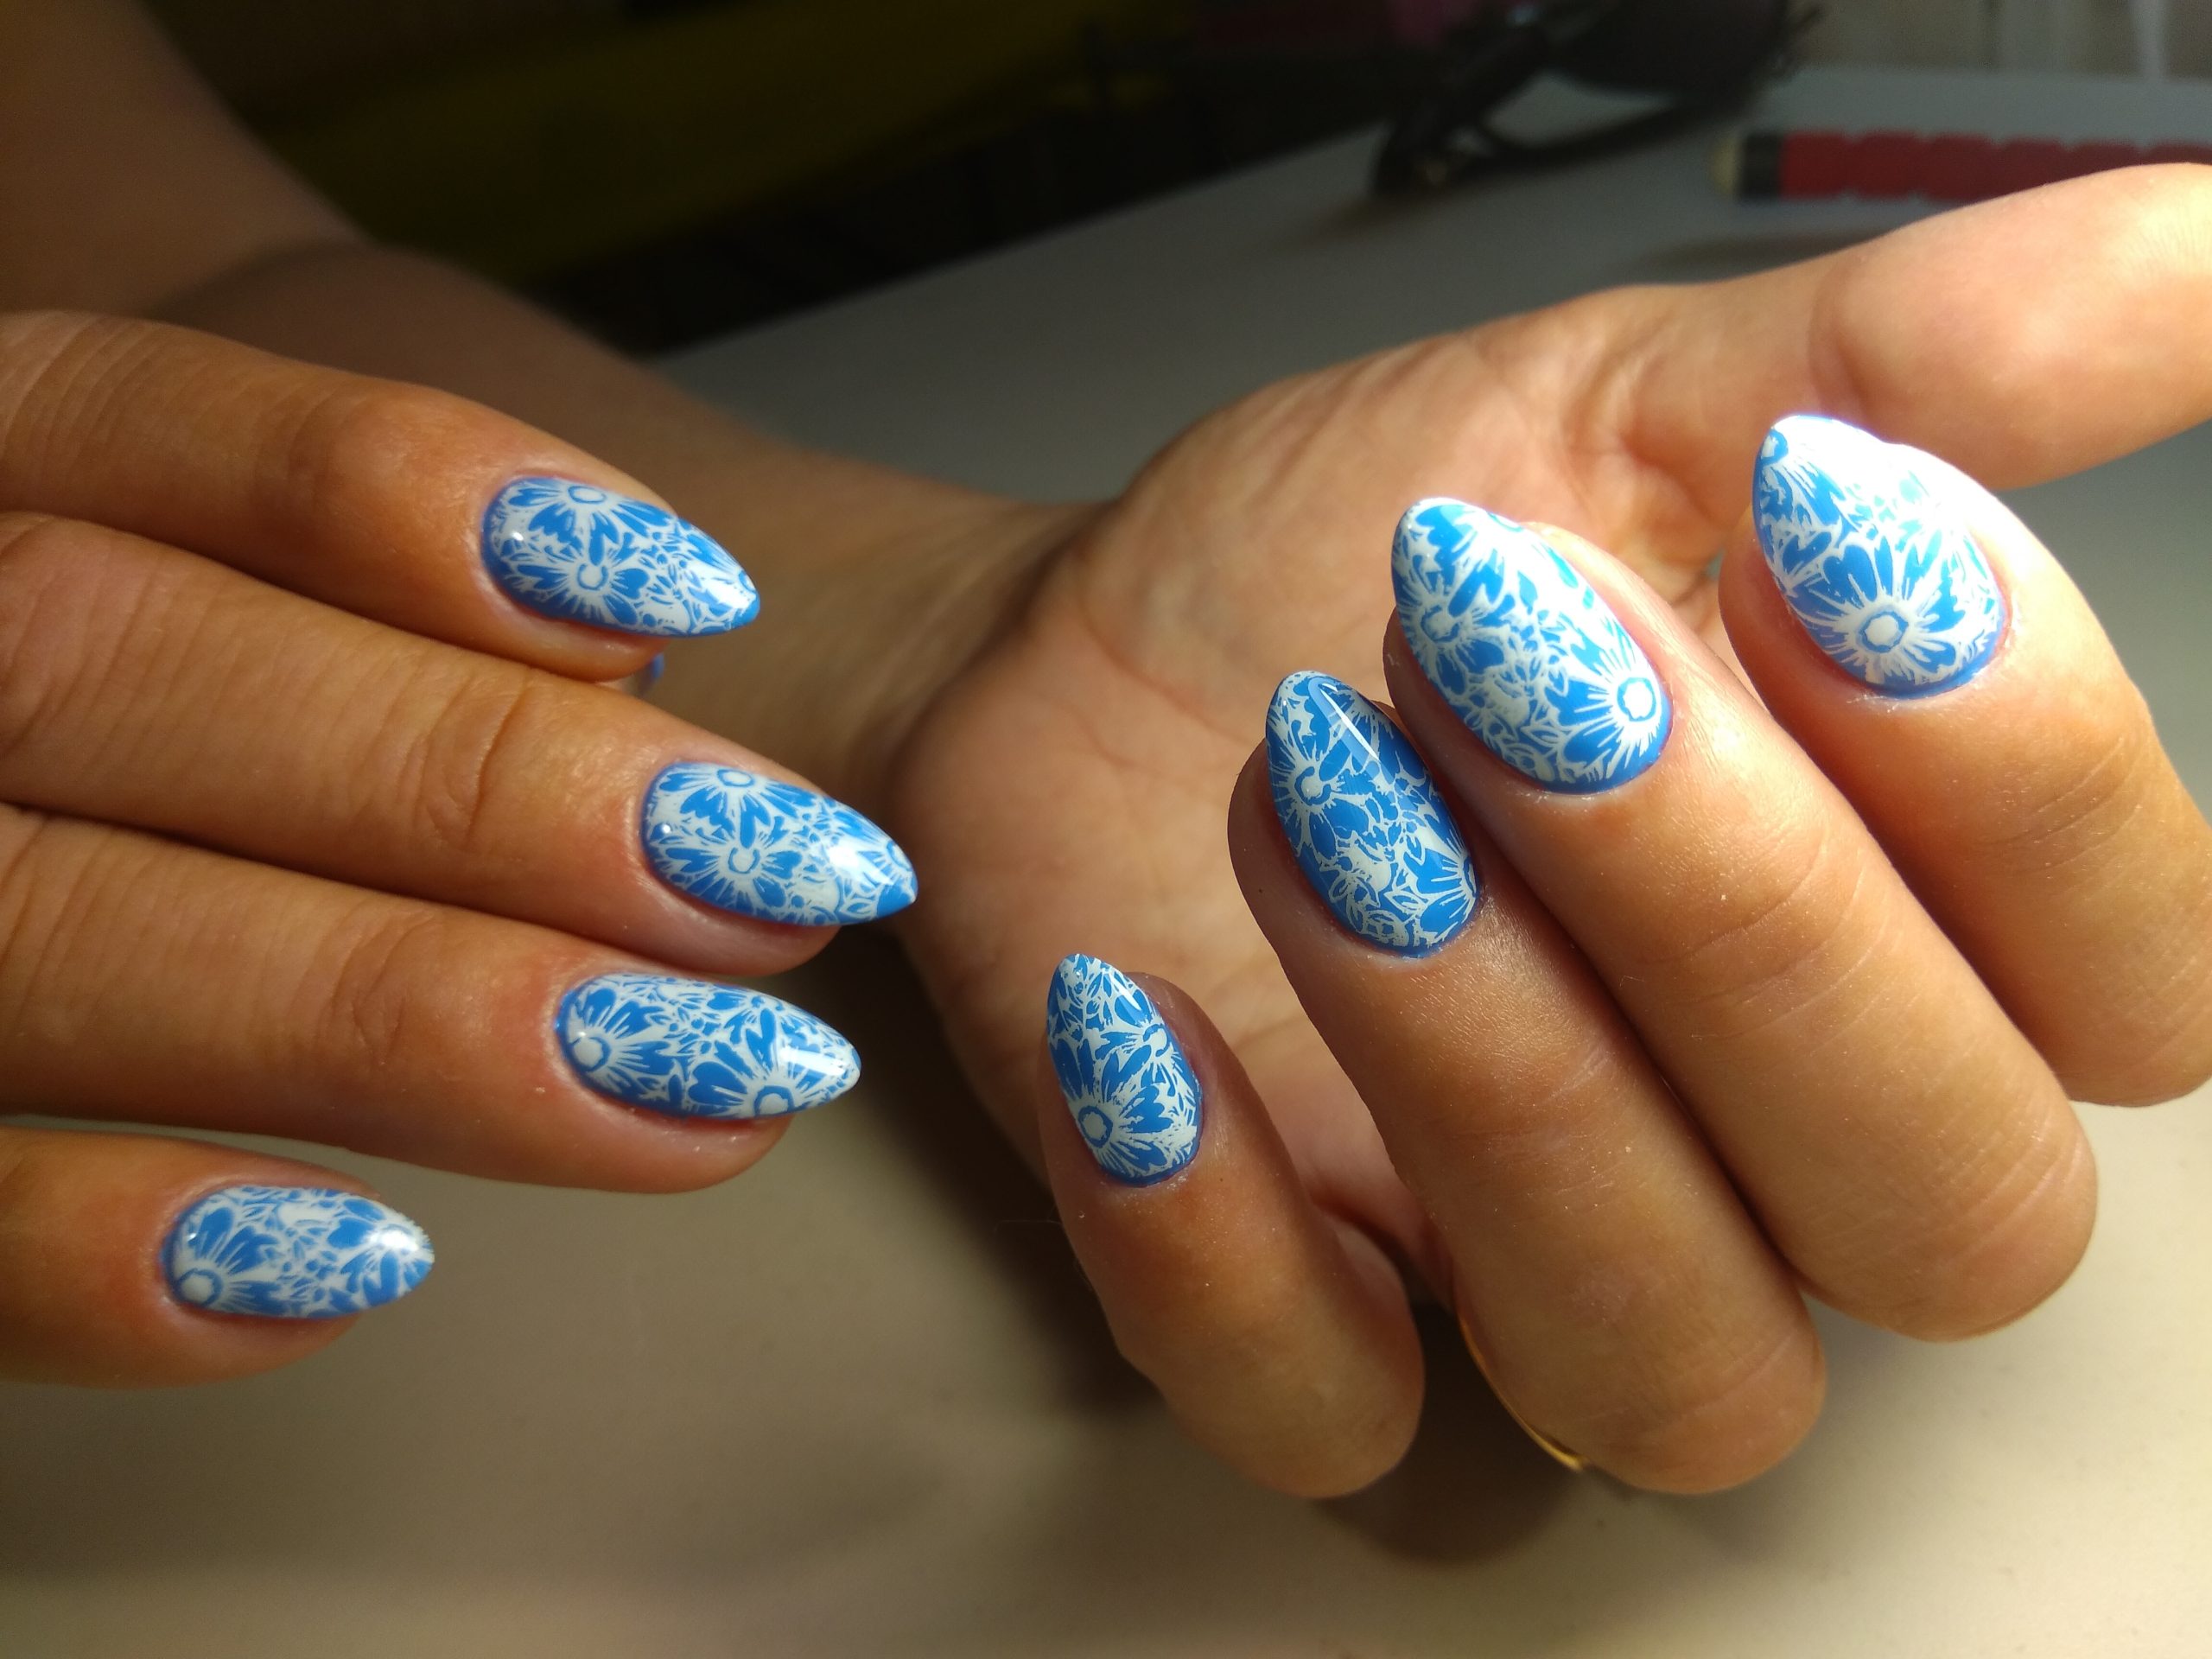
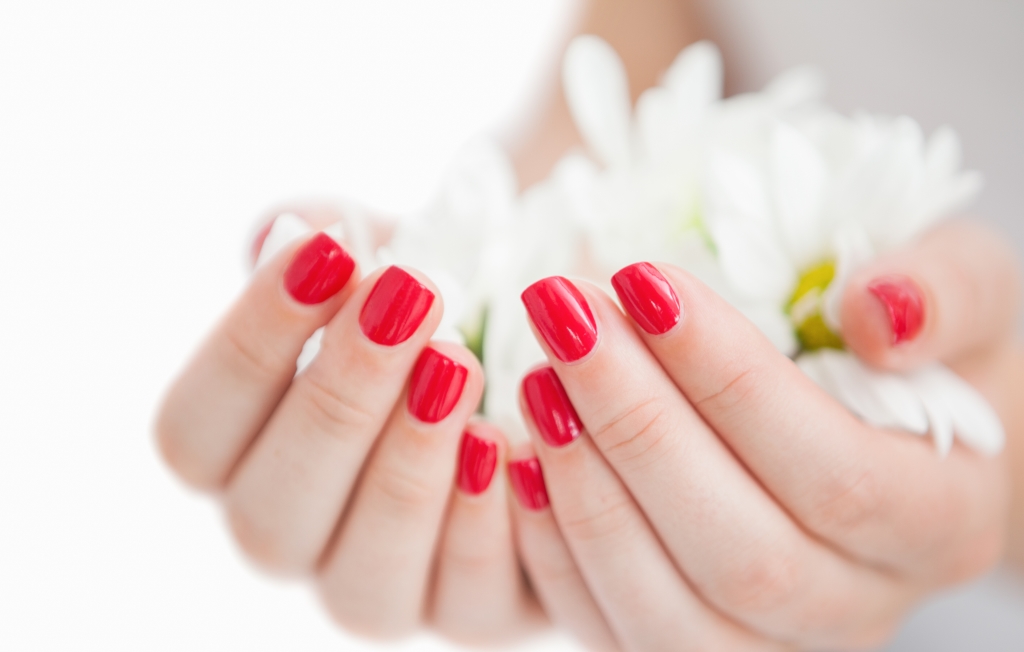
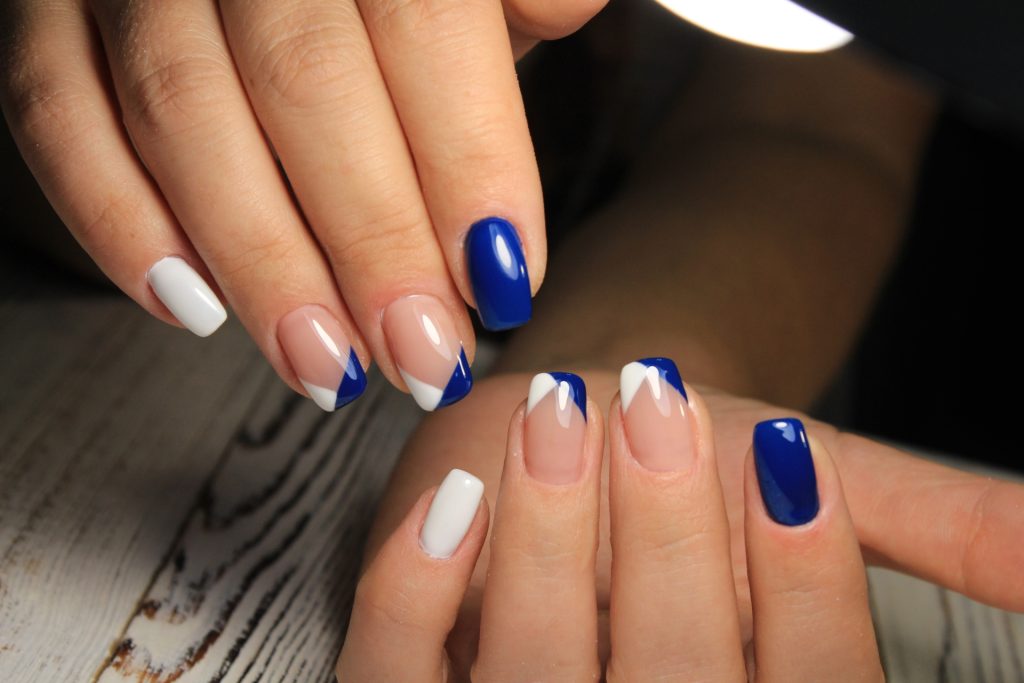
Gel polish is a favorite for its durability, high gloss, and long-lasting finish. When applied and cured properly, it can last for weeks without chipping or losing its shine. However, mistakes during the curing process can lead to problems like tacky polish, peeling, or uneven surfaces. Whether you’re a seasoned nail technician or a DIY enthusiast, it’s important to avoid these common curing mistakes to achieve the perfect gel manicure.
In this blog post, we’ll explore the most frequent gel polish curing mistakes, how they happen, and how to prevent them.
1. Using the Wrong Lamp for Your Gel Polish
Not all UV and LED lamps are created equal. Different gel polishes are formulated to cure under specific types of light. Using an LED lamp for a gel that requires UV light (or vice versa) can result in incomplete curing, leaving your polish soft and sticky.
Solution:
Always check the manufacturer’s instructions for your gel polish to determine the correct type of lamp. UV lamps cure all gel polish types but can take longer (around 2 minutes), while LED lamps are faster but may only work with LED-specific gels.
2. Applying Layers That Are Too Thick
One of the most common gel polish curing mistakes is applying layers that are too thick. While regular nail polish benefits from slightly thicker coats, gel polish is different. Thick layers don’t allow the light to penetrate fully, resulting in uncured gel at the base of the layer. This leads to issues like peeling, lifting, and smudging.
Solution:
Always apply thin, even layers of gel polish. It’s better to do three thin coats than two thick ones. This ensures that each layer cures fully and the polish lasts longer.
3. Not Curing for the Correct Amount of Time
Curing time varies depending on the type of lamp you’re using and the gel polish brand. If you don’t cure your polish for the recommended amount of time, it may not harden properly. Under-curing can cause tackiness and premature chipping, while over-curing can lead to brittle, cracked polish.
Solution:
Follow the curing times recommended by your gel polish brand and lamp manufacturer. Typically, LED lamps cure each layer in 30-60 seconds, while UV lamps take around 2 minutes. If you’re not sure, it’s better to cure a few seconds longer than to under-cure.
4. Skipping Base or Top Coat
Gel polish needs both a base and top coat to cure properly. The base coat ensures better adhesion to the natural nail, while the top coat seals in the polish, adding shine and protection. Skipping either one can result in uneven curing, premature lifting, or peeling.
Solution:
Always start with a base coat and finish with a top coat, making sure to cure each layer. These layers not only help with adhesion and longevity but also give your nails a professional, polished look.
5. Not Replacing Your Lamp Bulbs or Lamp
Over time, UV and LED lamps can lose their effectiveness, meaning they may not emit enough light to cure the polish fully. UV bulbs, in particular, need to be replaced after about 100 hours of use. If your gel polish has stopped curing properly and you’ve ruled out other causes, it may be time to check your lamp.
Solution:
If you have a UV lamp, replace the bulbs regularly to maintain proper curing power. LED lamps tend to last longer but can still weaken over time, so consider replacing your lamp every few years if you notice problems with curing.
6. Not Cleaning the Inhibition Layer
After curing, gel polish typically leaves behind a sticky “inhibition layer” on the surface, which needs to be wiped off with a lint-free wipe and alcohol. Many beginners mistake this stickiness for uncured gel and may either apply more layers or cure longer, which won’t fix the issue.
Solution:
After curing the top coat, use a lint-free wipe soaked in 70-90% isopropyl alcohol to remove the tacky inhibition layer. This will reveal the smooth, hardened surface of the gel polish underneath.
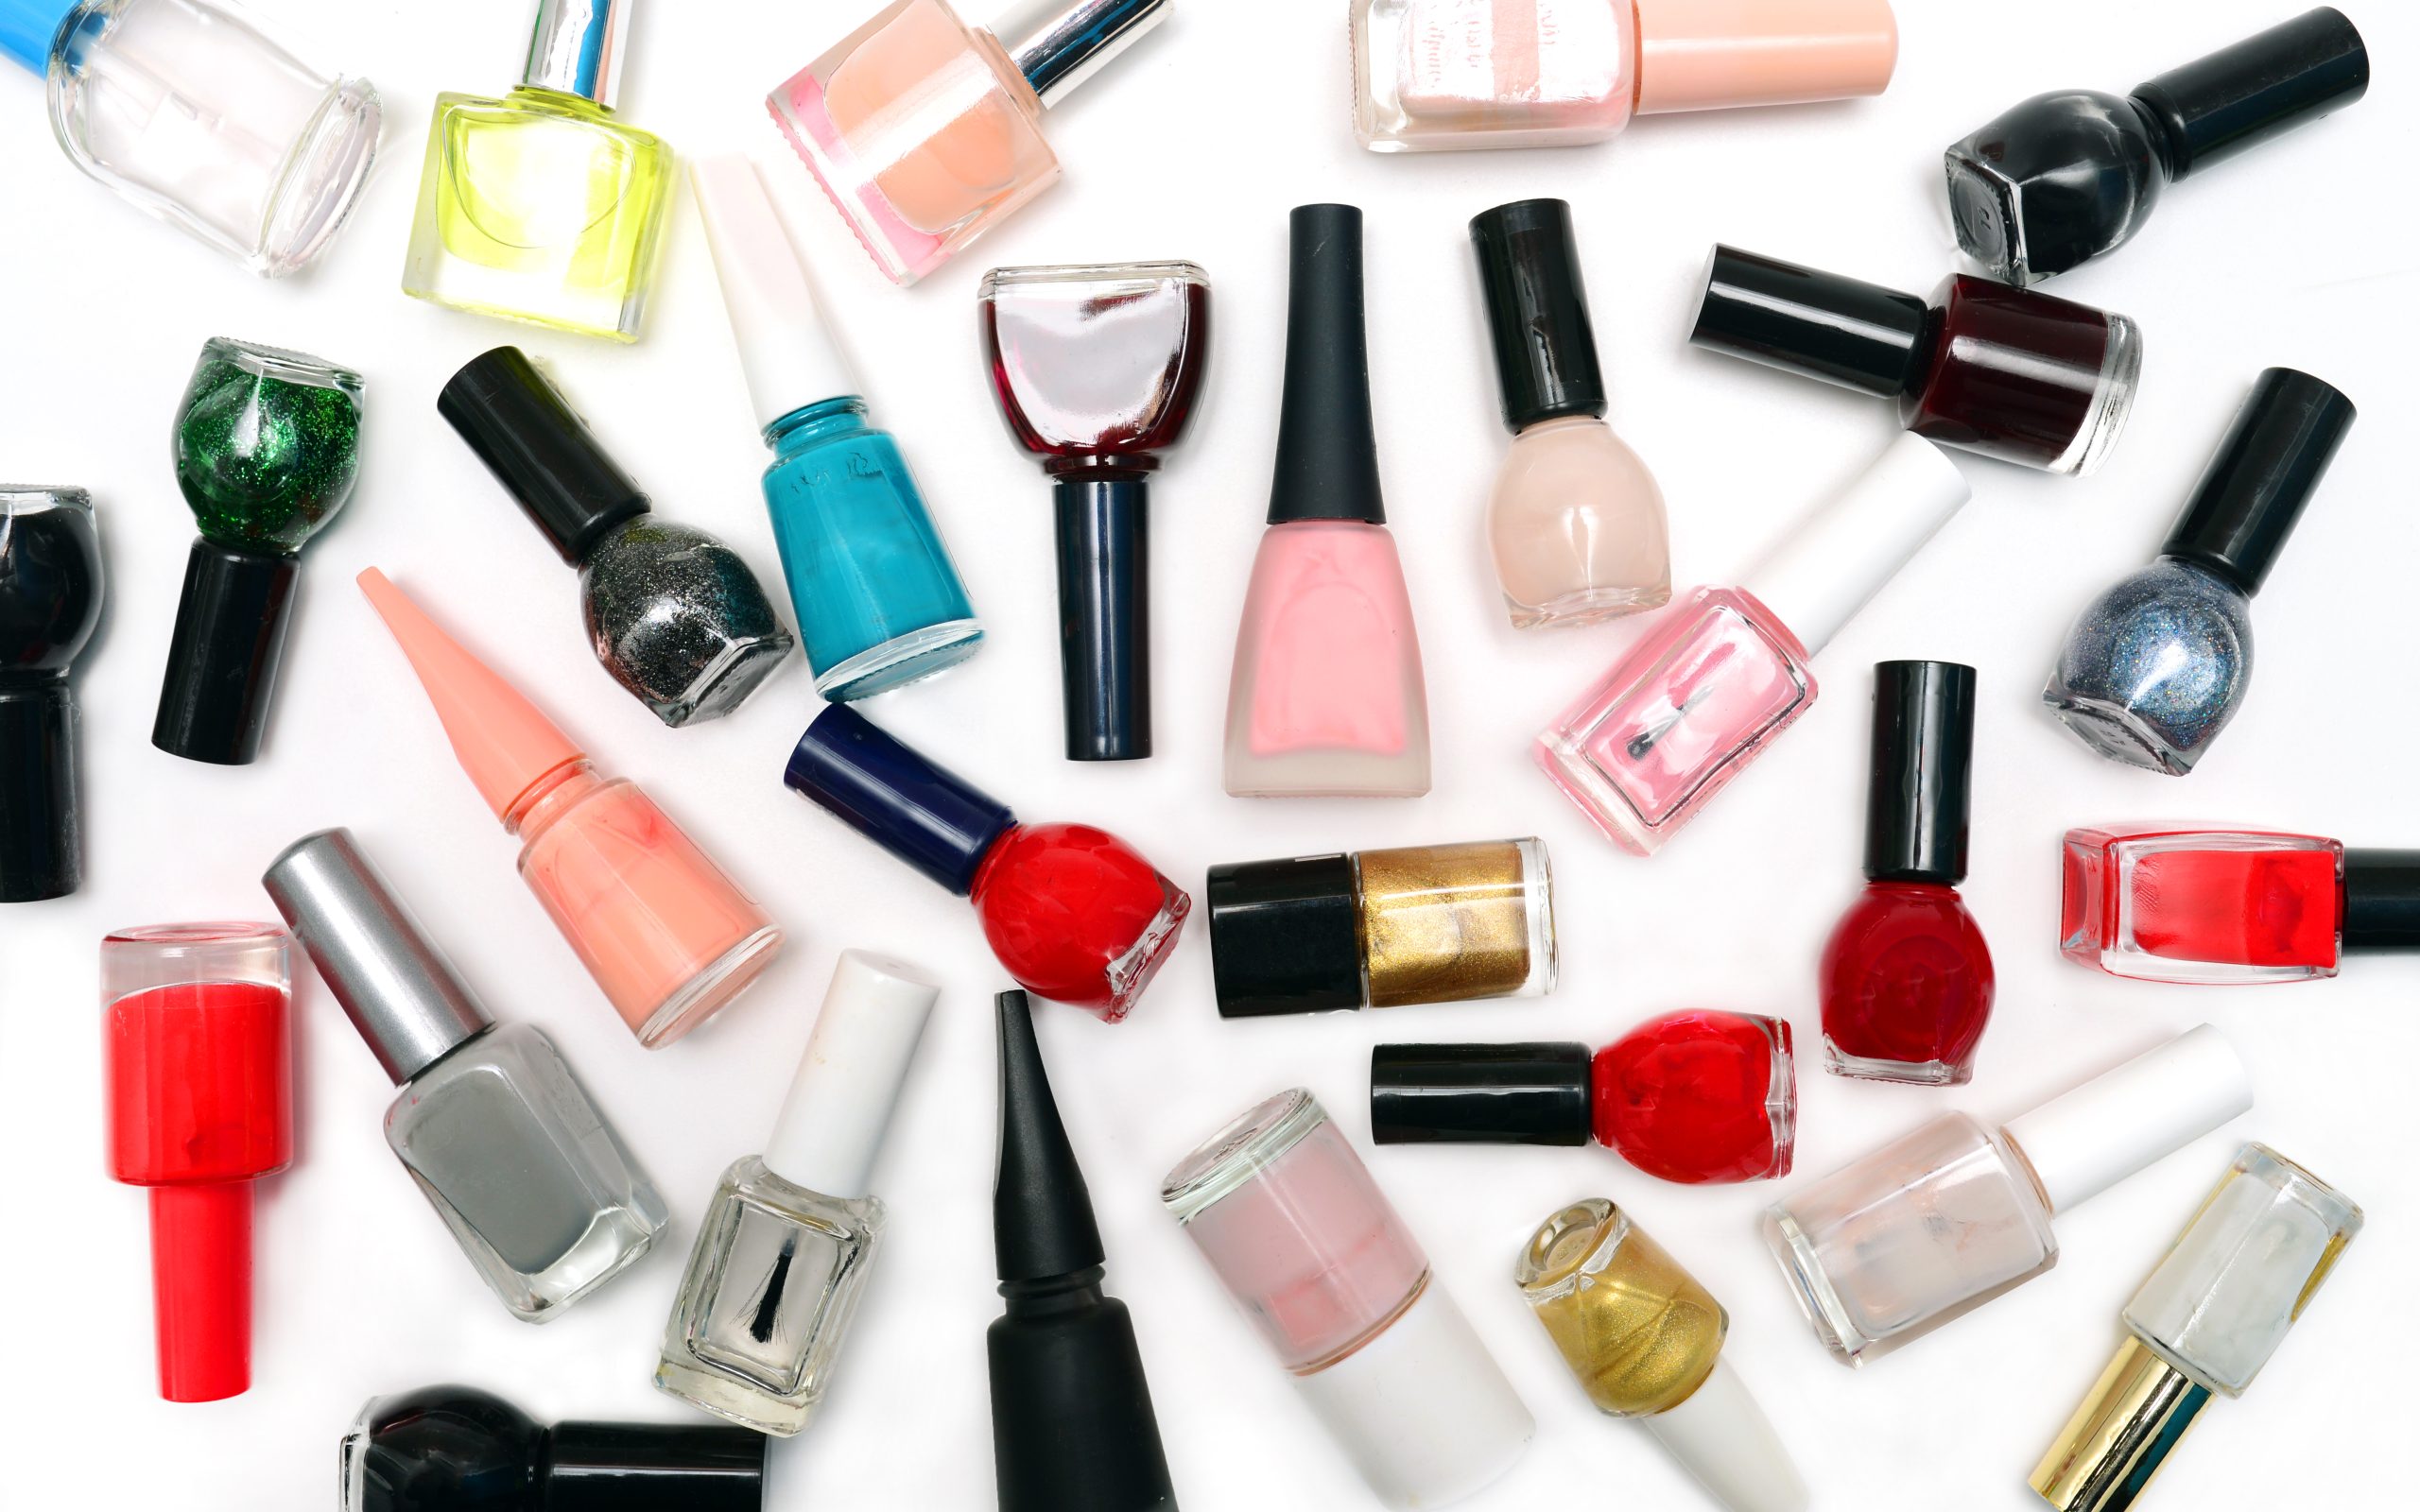
7. Using Expired or Thickened Gel Polish
Gel polish, like any beauty product, has a shelf life. Over time, gel polish can thicken or lose its consistency, making it difficult to apply evenly or cure properly. Old or improperly stored polish may never fully cure, no matter how long you leave it under the lamp.
Solution:
Replace gel polish that has become too thick or is past its expiration date. Always store your gel polish in a cool, dark place away from direct sunlight or heat to preserve its consistency.
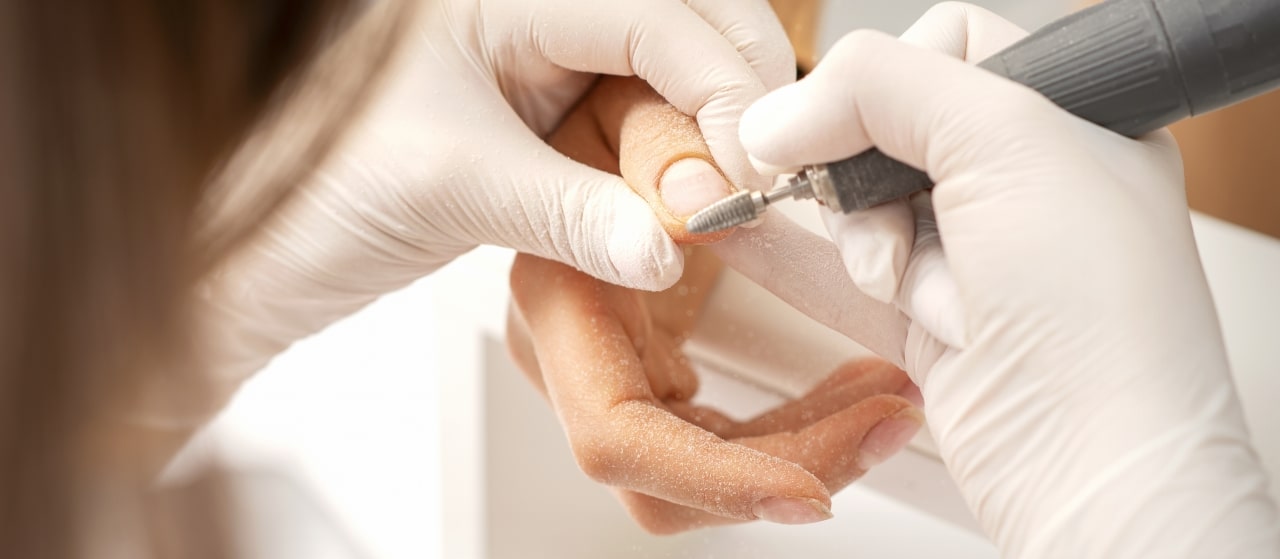
8. Not Prepping the Nails Properly
Proper nail preparation is crucial for gel polish to adhere correctly and cure evenly. Skipping steps like buffing, cleaning the nail surface, or using a dehydrator can lead to uneven curing or lifting, as the polish doesn’t bond well with the natural nail.
Solution:
Make sure your nails are clean, dry, and free from oils before applying gel polish. Gently buff the nail surface and use a nail cleanser or dehydrator to remove oils and moisture for better adhesion.
Gel polish curing mistakes can be frustrating, but with the right techniques and tools, you can avoid common pitfalls. By using the right lamp, applying thin layers, and curing for the correct amount of time, you can ensure a smooth, long-lasting gel manicure. Don’t forget to prep your nails properly and check the condition of your lamp and polish to keep your gel nails looking flawless for weeks!
By avoiding these curing mistakes, you’ll enjoy a durable, high-gloss finish that stays chip-free and beautiful for longer.