Creating clean, precise lines in nail designs can elevate a manicure from simple to striking. Whether you’re aiming for geometric patterns, intricate floral designs, or abstract art, mastering the technique of clean lines is essential. One of the most efficient ways to achieve this is through stamp art combined with gel polish. Here’s how you can perfect your nail designs using these two powerful tools.
Why Choose Stamp Art and Gel Polish?
Stamp art offers a quick and effective way to create detailed designs that would otherwise take hours to achieve freehand. With a variety of pre-made designs available on stamping plates, you can experiment with endless styles. Gel polish, known for its durability and high shine, provides a smooth and lasting finish, ensuring your art stays vibrant and chip-free for weeks.
Step-by-Step Guide to Clean Lines with Stamp Art and Gel Polish
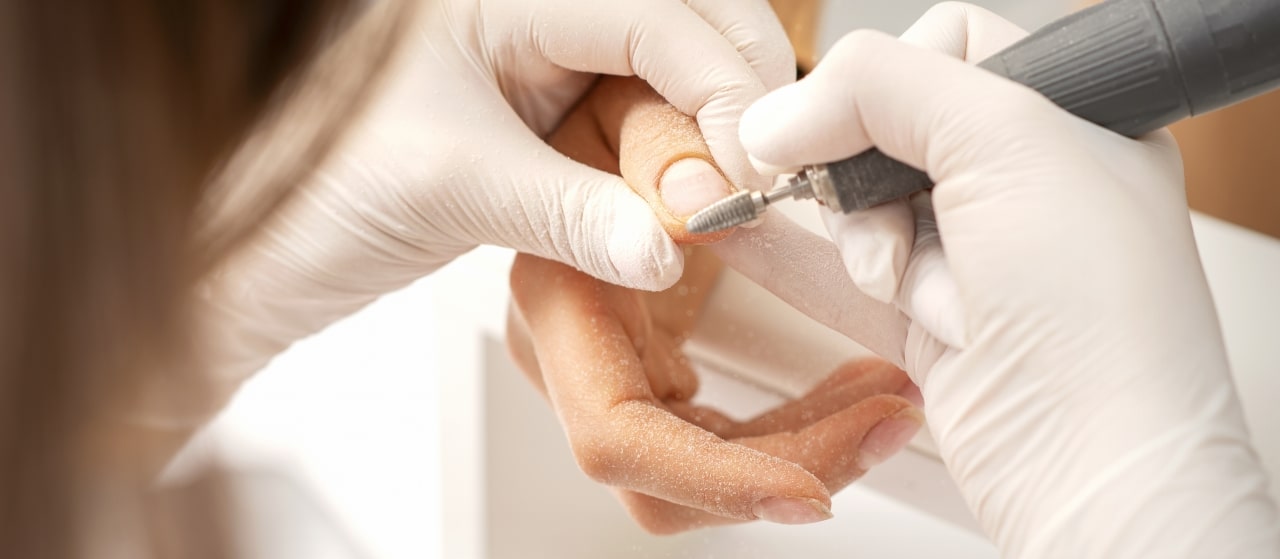
1. Prepare Your Nails
- Clean and shape your nails: Start by shaping your nails to your desired length and style. Short, square nails are great for modern designs, while stiletto or almond shapes give an elegant touch.
- Base coat: Apply a thin layer of gel base coat and cure under a UV or LED lamp for the recommended time. This ensures a smooth, even foundation for your nail art.
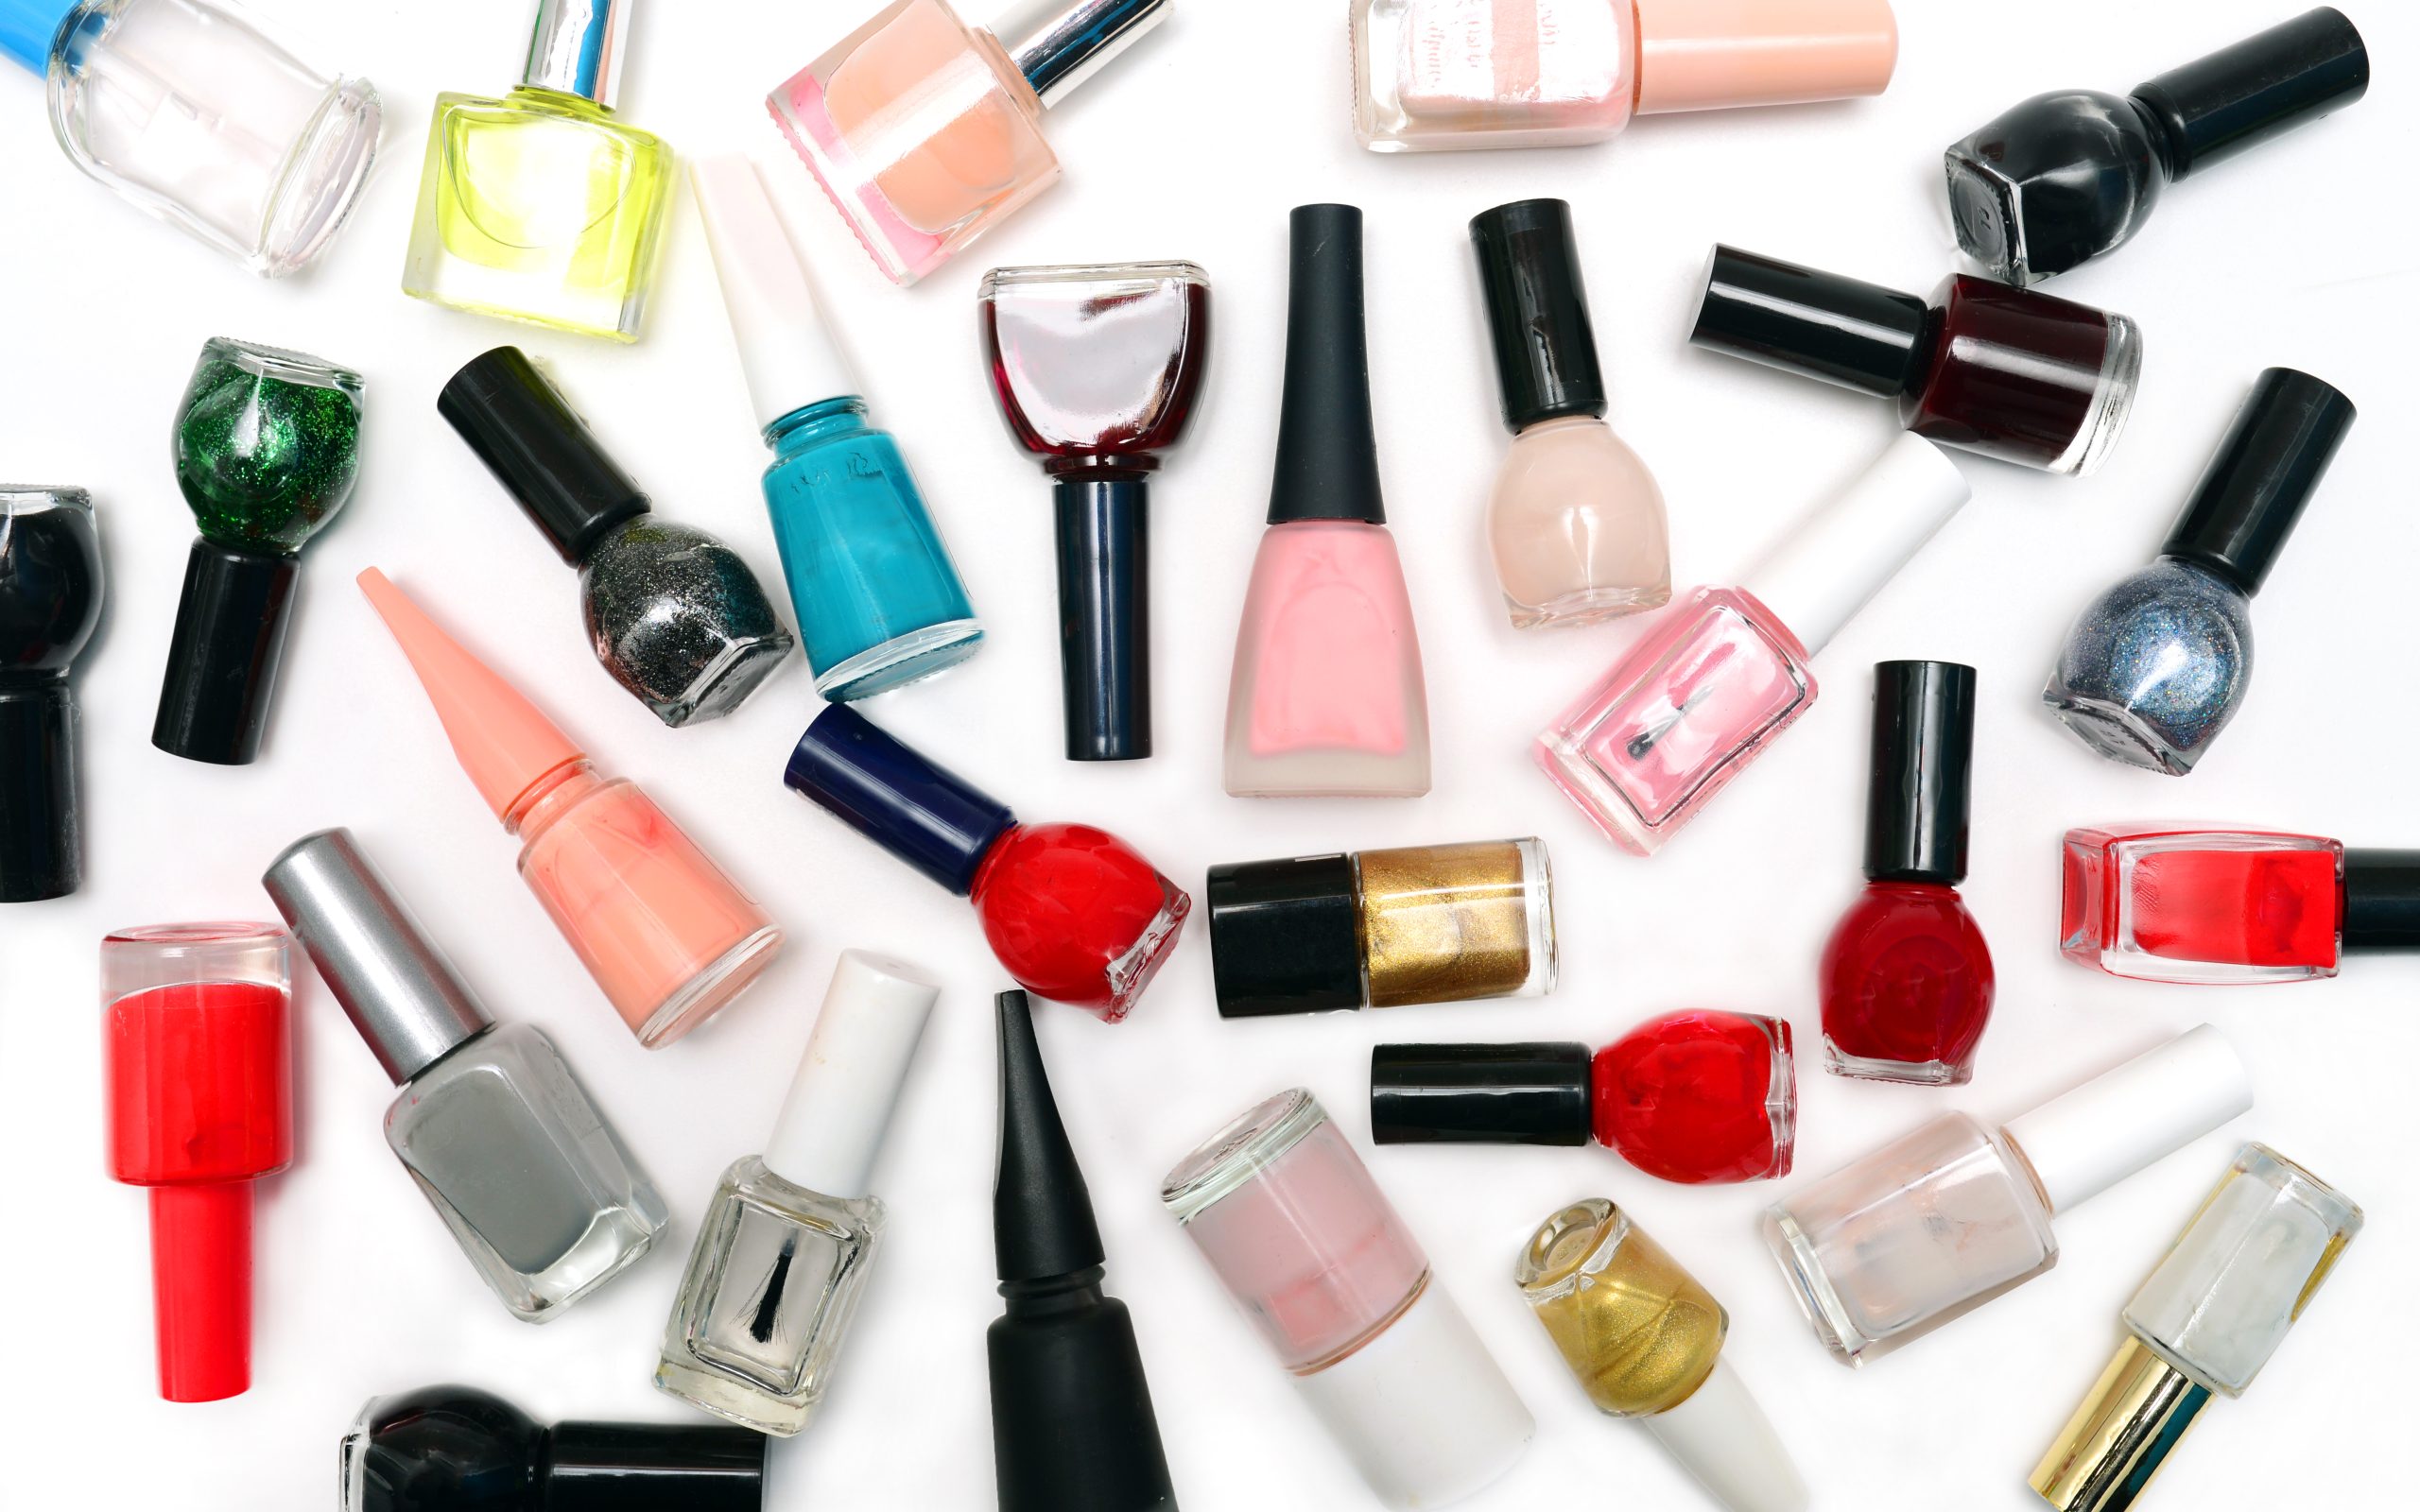
2. Choose Your Gel Polish Colors
- Pick two or three colors that complement your design. For clean lines, opt for contrasting shades—such as black and white, or a bright color against a neutral base.
- Apply your chosen base color in one or two thin coats, curing between each layer.
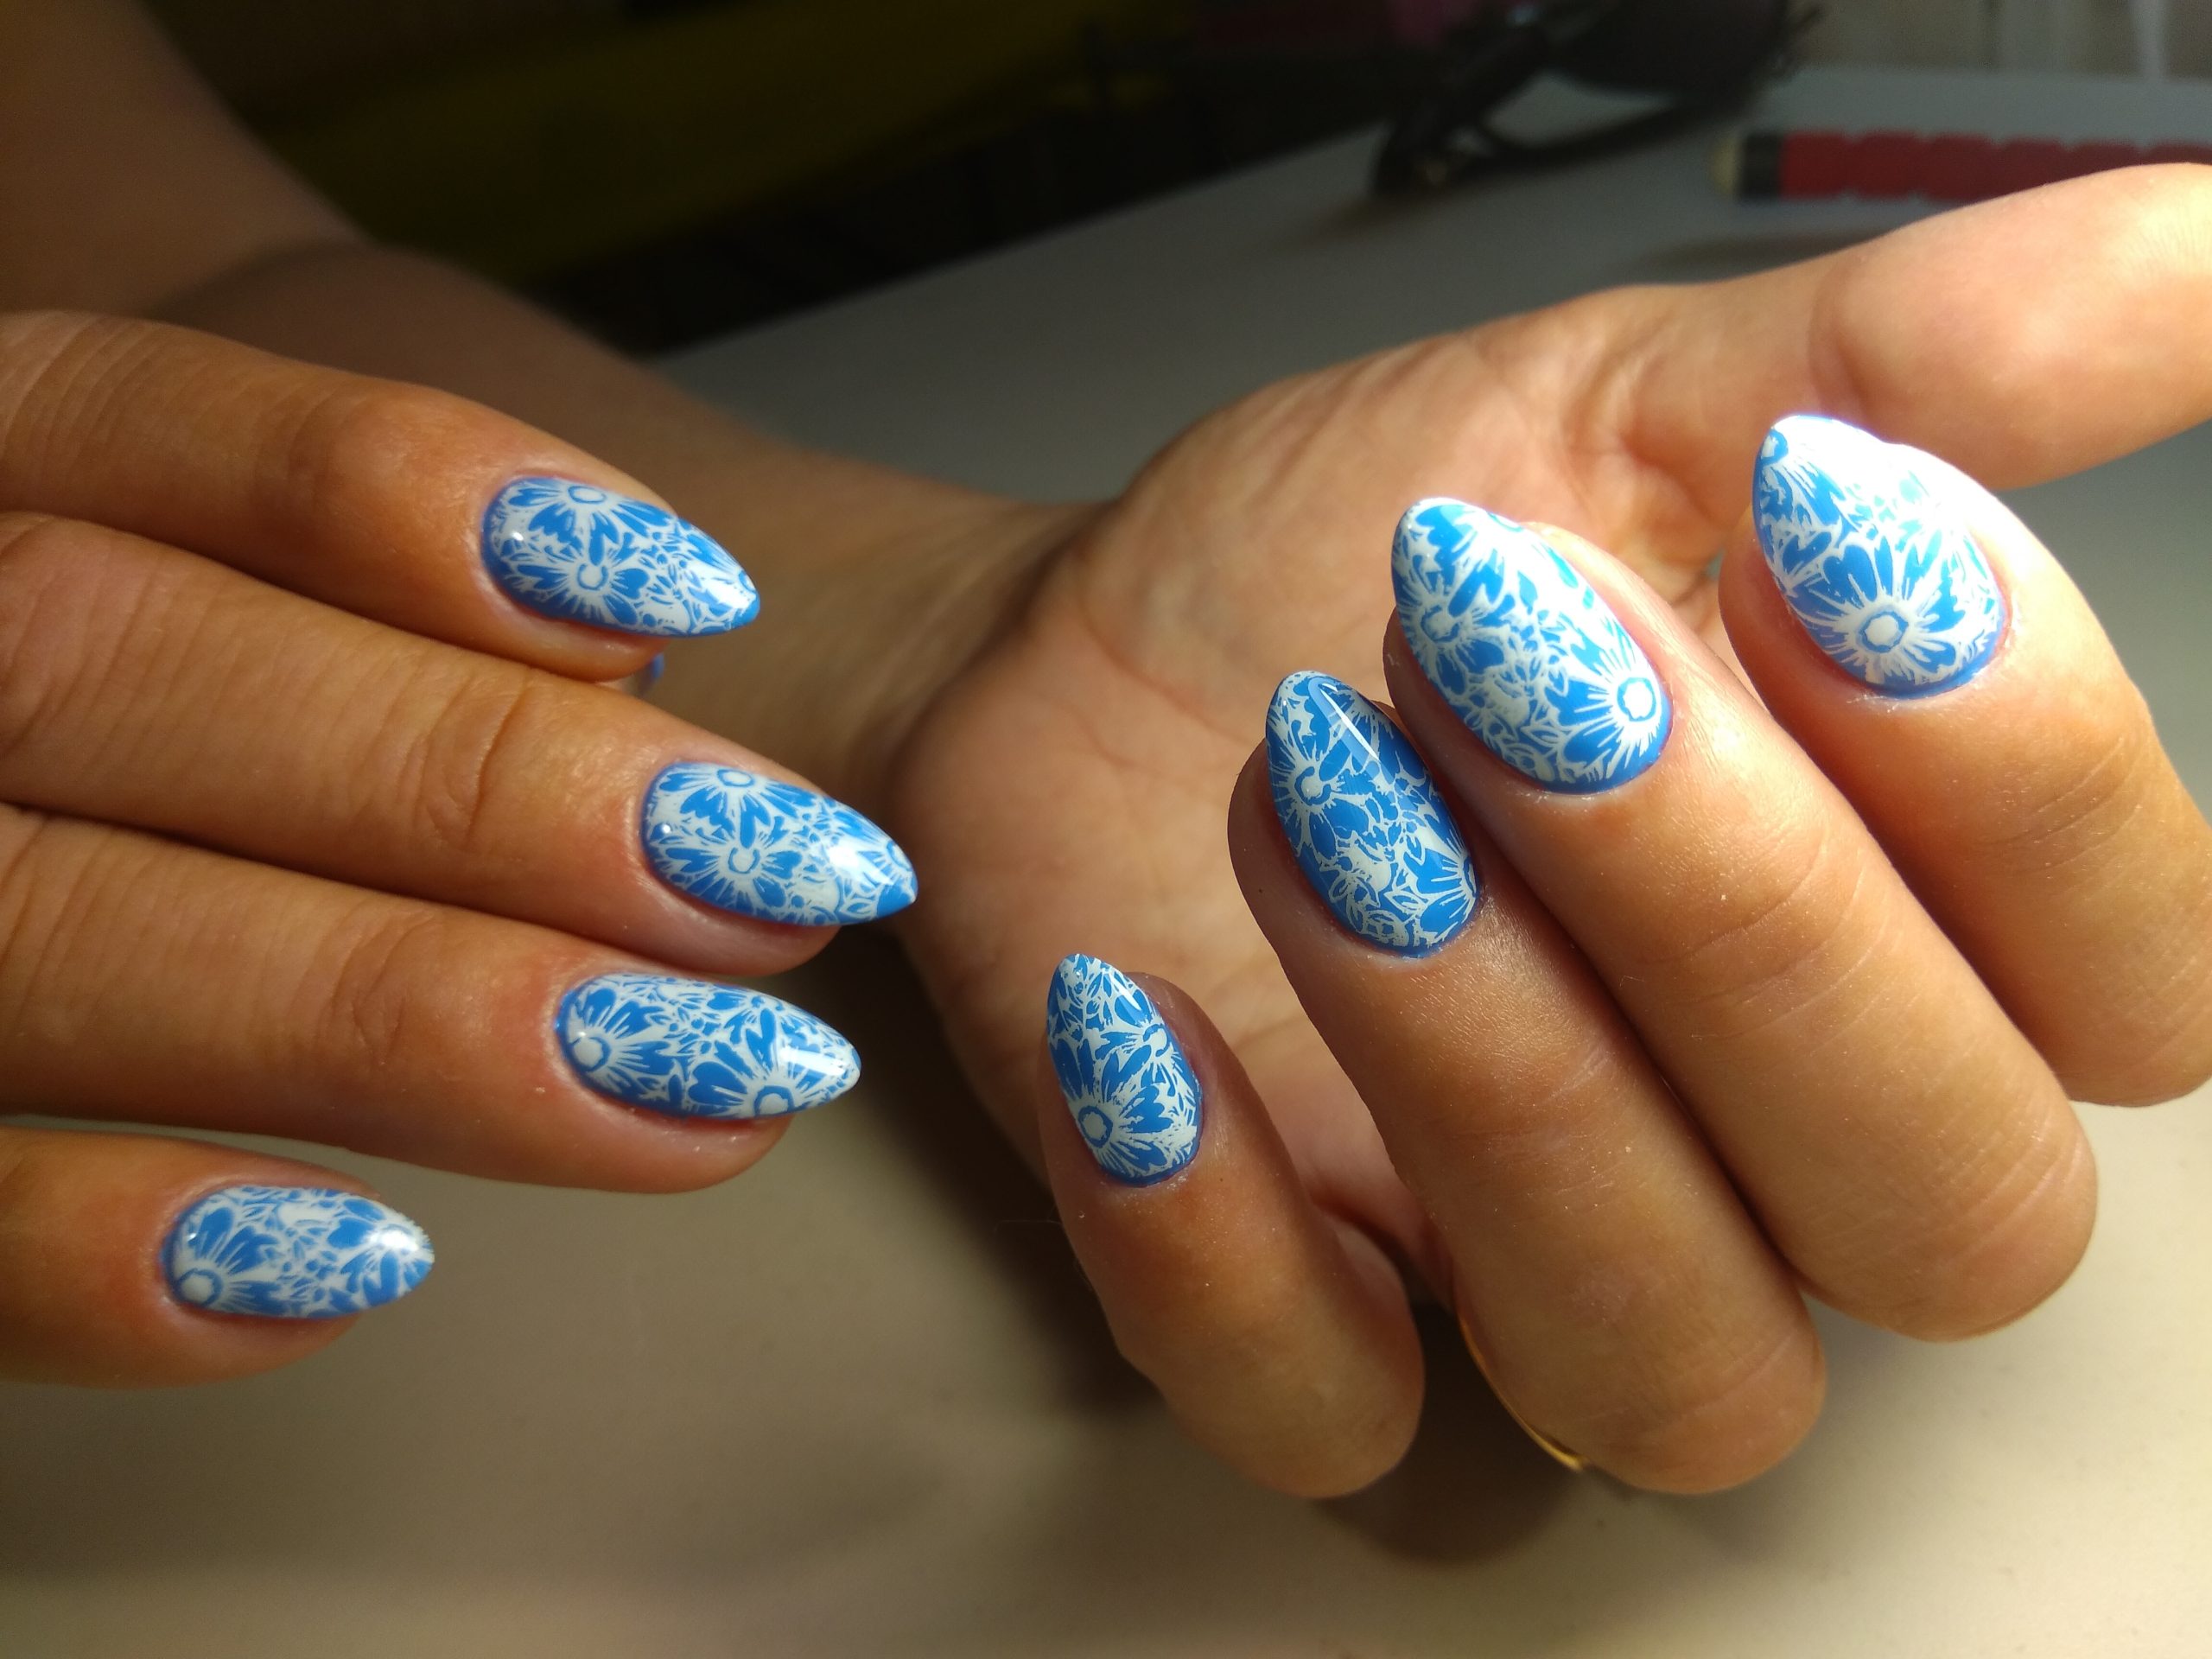
3. Select a Stamping Plate Design
- Choose a stamping plate with clean, sharp designs for better results. Geometric shapes, stripes, and abstract patterns are ideal for crisp, clean lines.
- Scrape the polish across the plate to fill the design, then gently press the stamper onto the plate to pick up the pattern.
4. Stamping the Design onto Your Nails
- Once the design is on the stamper, carefully align it with your nail, ensuring it’s centered or positioned exactly where you want.
- Press the stamper onto your nail in one swift motion. Be mindful not to move the stamper too much, as this can cause smudging.
- If the edges of the design go beyond your nail, use a small brush dipped in acetone to clean up the excess polish around the cuticle area.
5. Refining the Lines
- For extra precision, you can use a fine nail art brush dipped in gel polish to refine any lines or enhance the design.
- Cure the stamped design under the lamp to set the gel polish.
6. Seal the Design with a Top Coat
- Once your design is stamped and cured, apply a layer of no-wipe gel top coat to protect the design and add shine.
- Cure under your UV or LED lamp for the recommended time. A gel top coat helps to prevent smudging and keeps the lines looking clean and crisp.
Tips for Success
- Use quality stamping plates: Plates with well-etched designs ensure clearer, more defined lines.
- Work quickly but carefully: Gel polish can dry fast on the plate, so pick up the design and transfer it without delay.
- Practice makes perfect: Stamp art can take a few tries to master, but with patience, you’ll improve the alignment and clarity of your designs.
- Keep tools clean: Wipe your stamper and plates between uses to prevent excess polish from distorting future designs.
Final Thoughts
Achieving clean lines in nail art can be challenging, but with stamp art and gel polish, the process becomes much more accessible. By following these steps, you’ll create stunning, professional-looking designs with ease. Whether you’re a nail art enthusiast or a professional, mastering this technique will give you the confidence to explore more intricate and creative designs.