Nothing says summer quite like the iconic image of palm trees swaying in a tropical breeze. Bringing that summery vibe to your nails can be a fun and stylish way to celebrate the season. Palm tree nail art is vibrant, playful, and relatively easy to achieve with a bit of practice. Here’s how you can create the perfect summer nails featuring palm tree designs.
1. Gather Your Supplies
To create palm tree nail art, you’ll need the following supplies:
- Base coat and top coat
- Nail polish in summer colors (such as turquoise, coral, sunset orange, and sky blue)
- Black nail polish or nail art pen for the palm tree design
- Thin nail art brush or fine-tipped nail art pen
- Nail polish remover and cotton swabs for cleanup
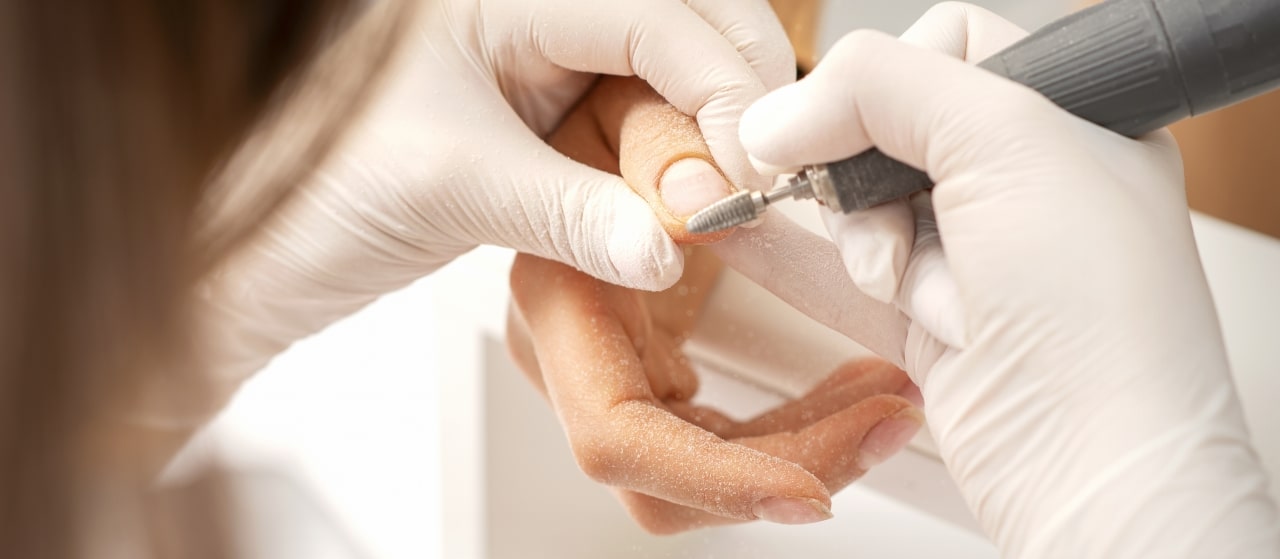
2. Prepare Your Nails
Start by prepping your nails. Clean and shape them as desired. Apply a base coat to protect your nails and ensure a smooth surface for your polish. Let the base coat dry completely.
3. Apply Your Base Colors
Choose a color scheme that reminds you of a tropical paradise. Popular choices include gradient backgrounds that mimic the colors of a sunset or the ocean. To create a gradient effect, apply two or more colors to a makeup sponge and gently dab it onto your nails. For a simpler approach, choose a solid base color that represents the sky or sea.
4. Create the Palm Tree Design
Once your base color is dry, it’s time to add the palm trees. Here’s a step-by-step guide:
- Trunk: Using a thin nail art brush or fine-tipped nail art pen, draw a curved line from the bottom of your nail to about two-thirds of the way up. This will be the trunk of your palm tree.
- Fronds: At the top of the trunk, draw several thin, curved lines extending outward in different directions. These lines will represent the palm fronds.
- Leaves: Add small, short lines along the fronds to create the leaves. For a more detailed look, make sure the leaves are slightly curved and not too uniform.
5. Add Details and Accents
To make your palm tree nails more dynamic, consider adding some additional details. Small dots or lines at the base of the trees can represent sand or beach pebbles. You can also add a tiny sun or birds in the sky for an extra touch of summer.
6. Seal with a Top Coat
Once you’re satisfied with your design, apply a top coat to seal your artwork and add a glossy finish. The top coat will also help protect your design from chipping and keep your nails looking fresh longer.
7. Clean Up
Use a nail polish remover and a cotton swab to clean up any excess polish around your cuticles and nail edges. This will give your manicure a neat and professional appearance.
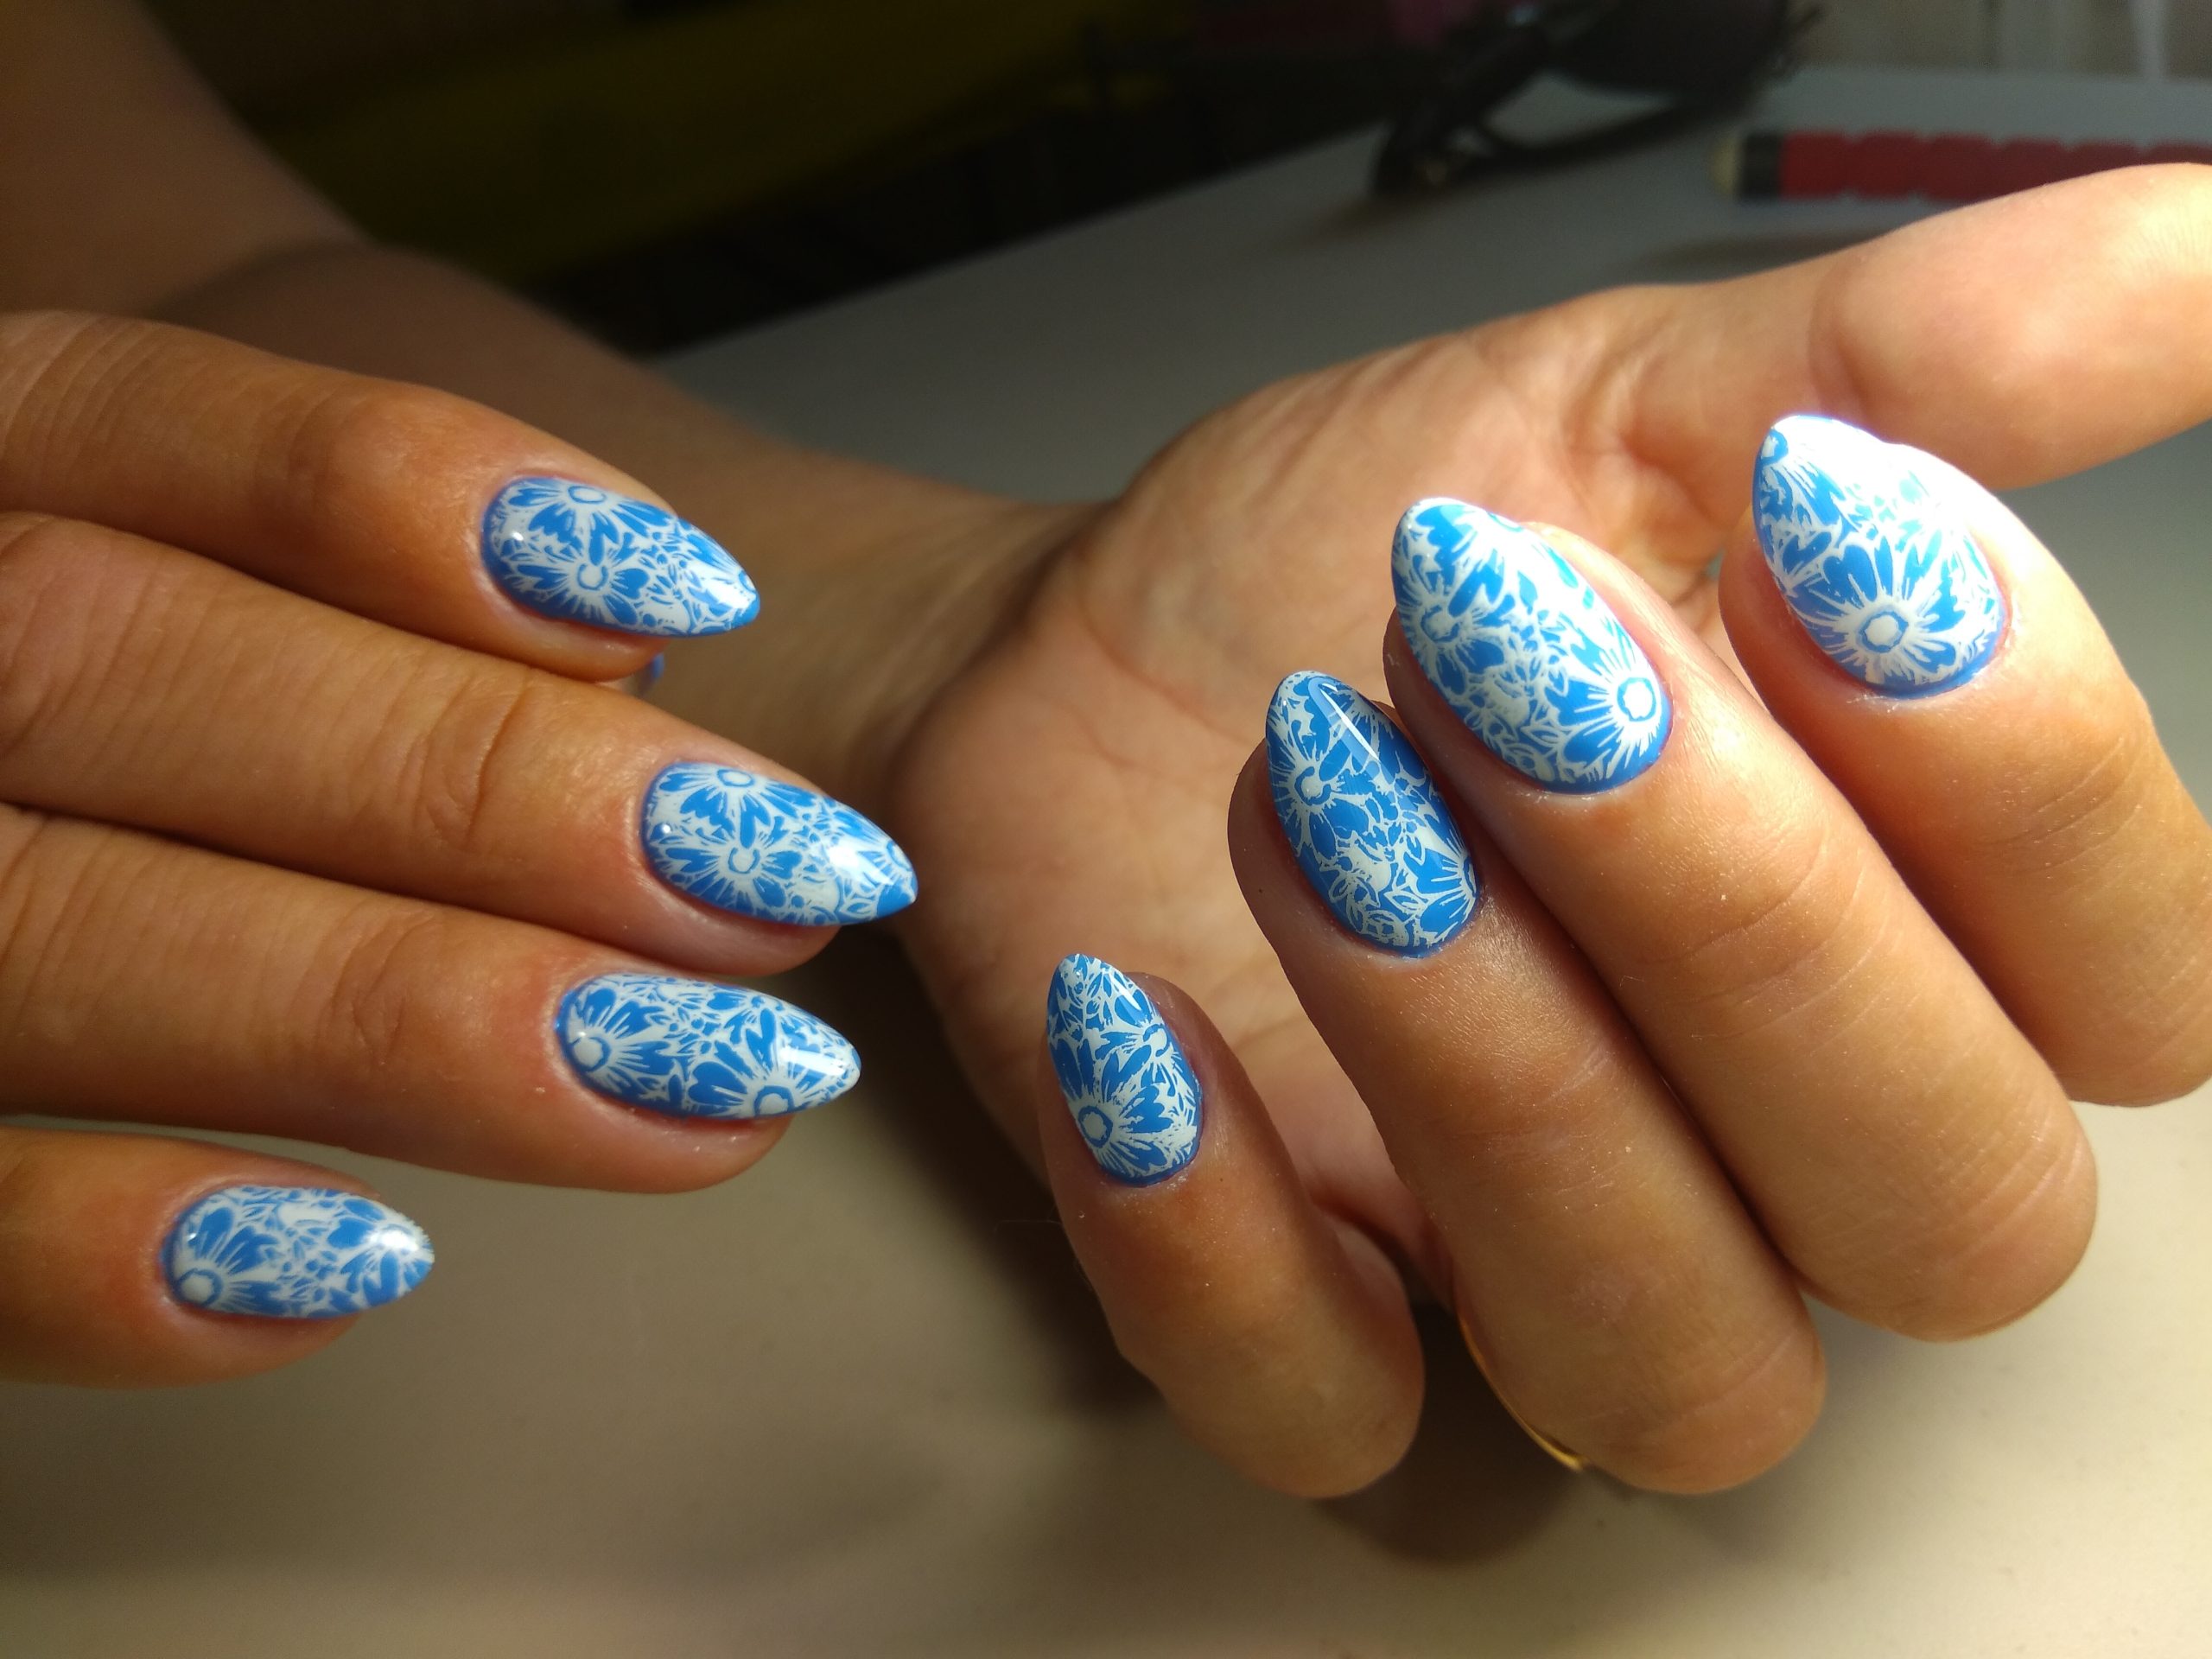
8. Enjoy Your Summer Nails
Now that your palm tree nail art is complete, you’re ready to show off your perfect summer nails. This fun and stylish design is perfect for beach vacations, pool parties, or simply adding a touch of tropical flair to your everyday look.
Palm tree nail art captures the essence of summer and is a wonderful way to express your love for the season. With a bit of practice and creativity, you can achieve a stunning and unique manicure that will have you dreaming of sandy beaches and sunny skies. Enjoy your summer-inspired nails and the compliments that are sure to come your way!