Floral designs are a timeless and elegant way to enhance your nails, and hibiscus flowers, with their vibrant colors and intricate details, make for a particularly striking choice. Whether you’re a seasoned nail artist or a beginner looking to try something new, creating a hibiscus floral design can add a tropical and sophisticated flair to your manicure. Here’s a step-by-step guide on how to achieve this beautiful look.
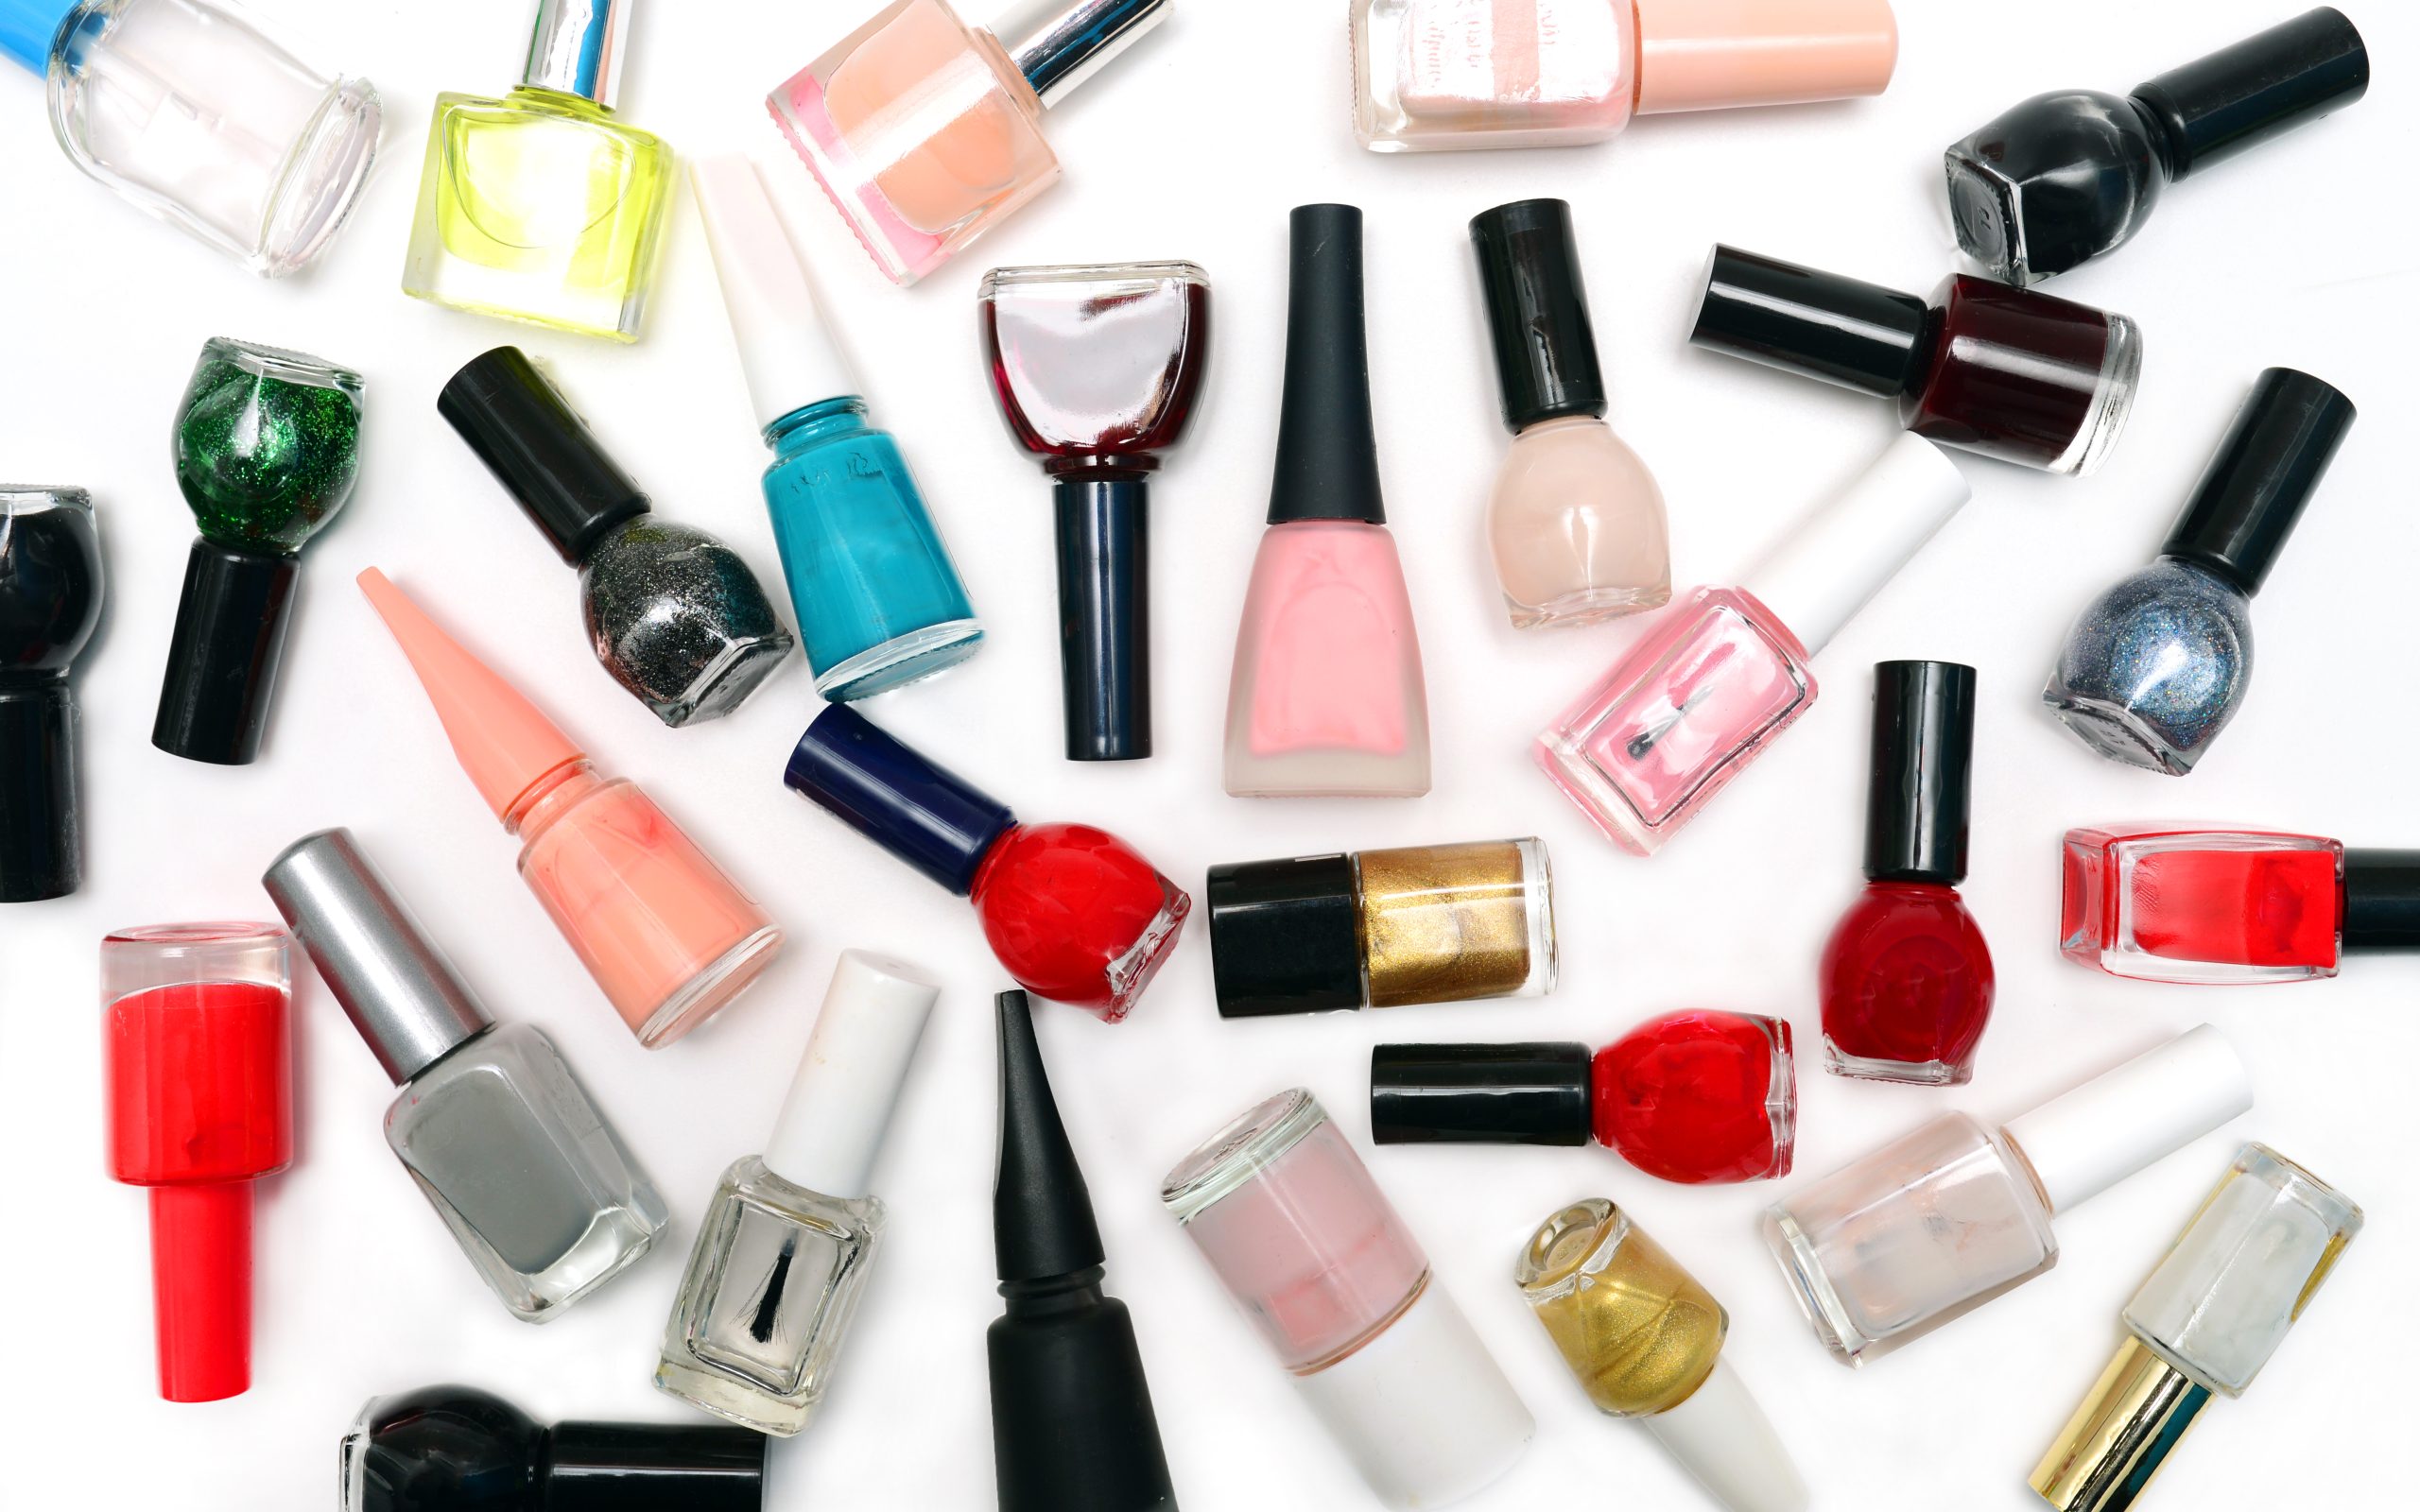
1. Gather Your Supplies
- Base coat
- Nail polish in white, yellow, red, pink, and green
- Fine detail brushes or nail art brushes
- Dotting tool
- Top coat
- Nail polish remover and cotton swabs for cleanup
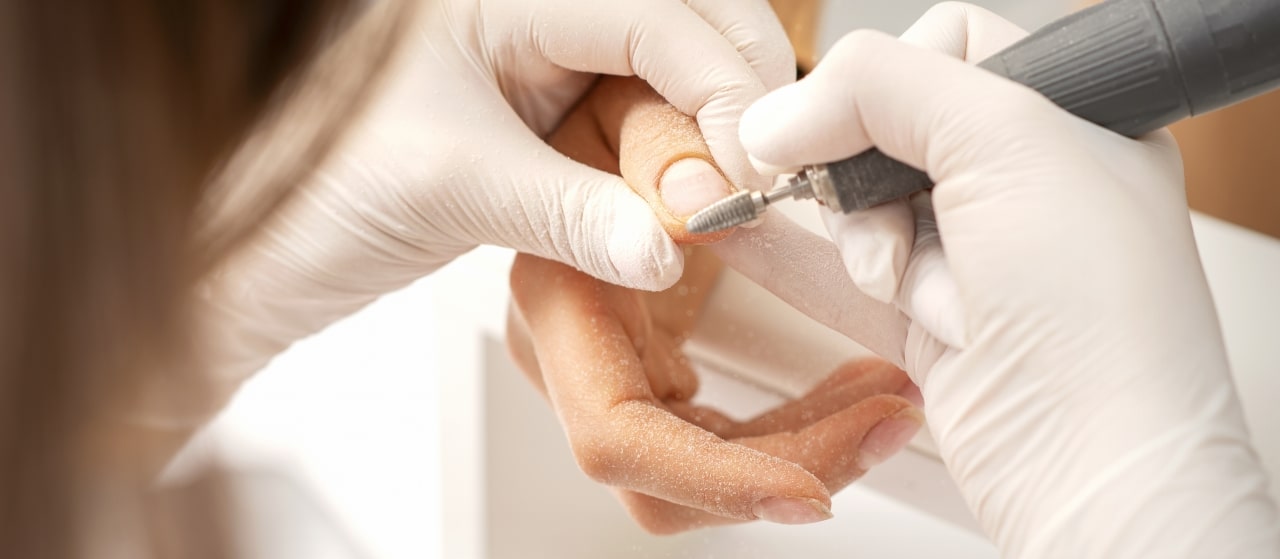
2. Prepare Your Nails
Start with clean, shaped nails. Push back your cuticles and file your nails to your desired shape. Apply a base coat to protect your nails and ensure a smooth application of polish. Let the base coat dry completely.
3. Apply the Base Color
Choose a background color that will make your hibiscus design pop. White or a light pastel shade works well to highlight the vibrant colors of the flowers. Apply two coats of your chosen base color, allowing each coat to dry thoroughly.
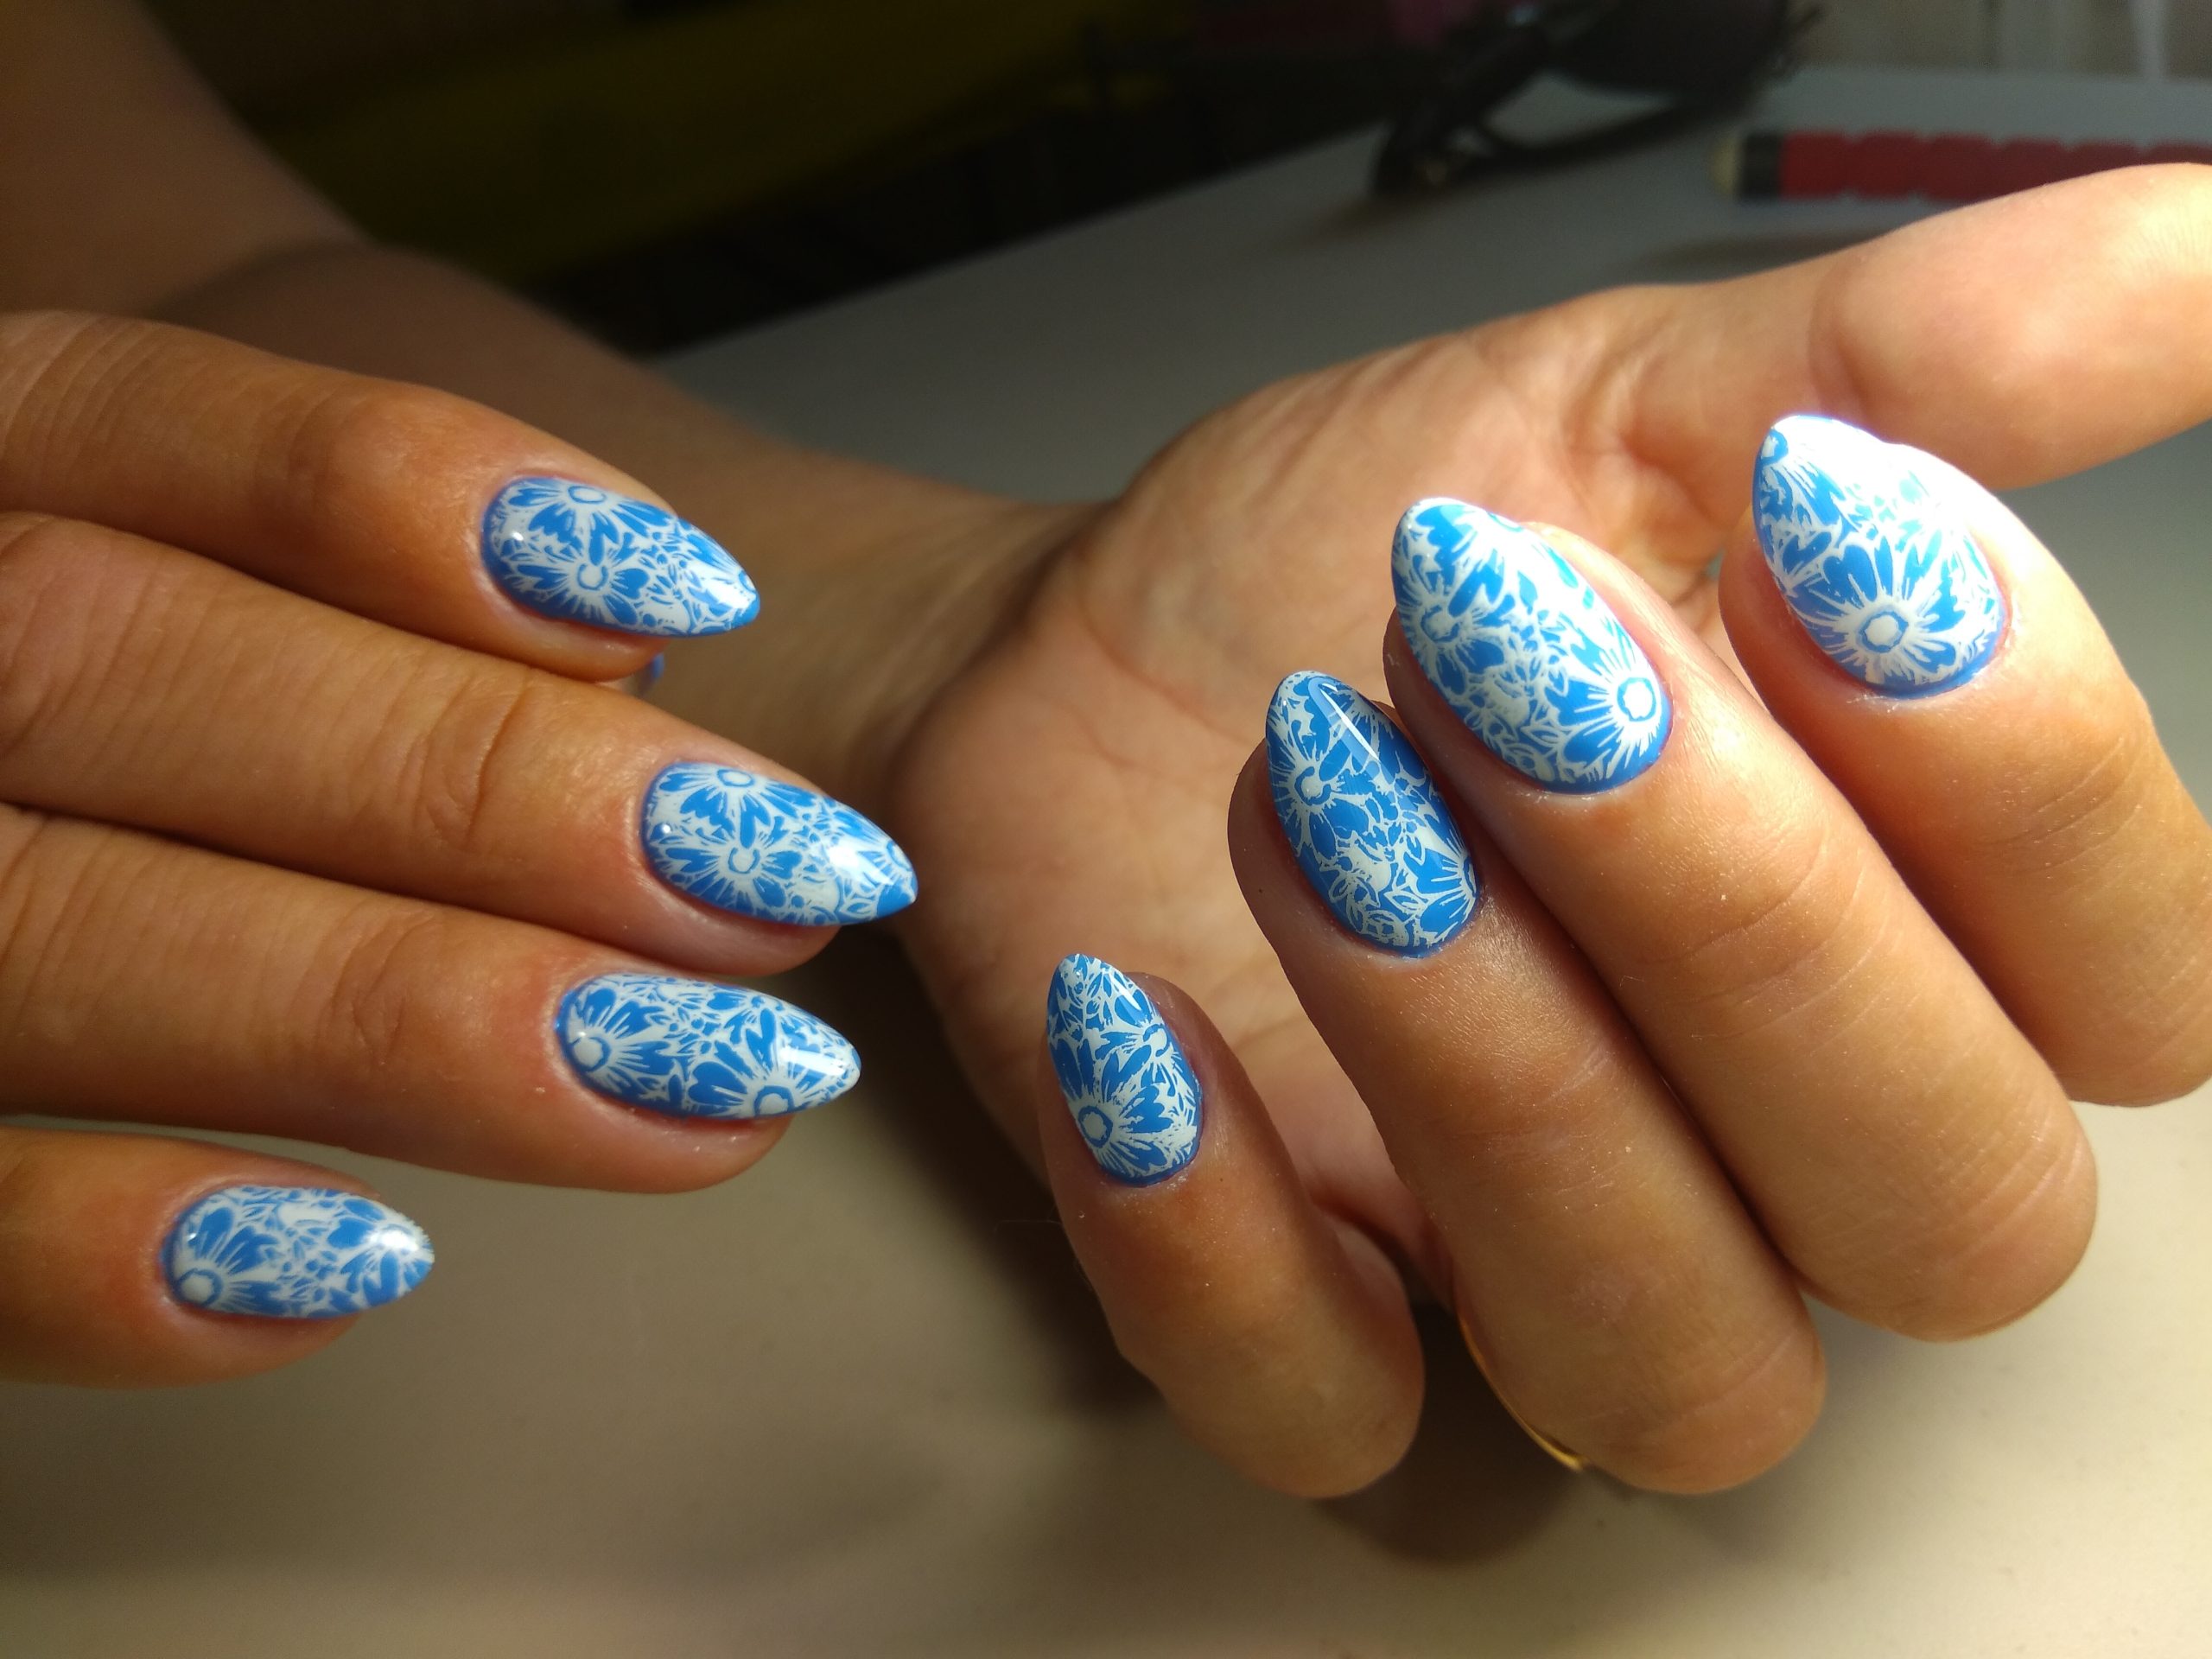
4. Paint the Hibiscus Flower
- Petals: Using a fine detail brush, dip it into the red or pink polish to start creating the petals of the hibiscus. Paint five oval-shaped petals in a circular arrangement, leaving a small gap in the center for the stamen. For a more realistic look, vary the size and shape of the petals slightly. Allow the petals to dry before moving on to the next step.
- Shading and Detailing: To add depth and dimension, use a slightly darker shade of the petal color to paint thin lines from the center of each petal outwards. You can use a dotting tool or a thin brush for this. Blend the lines lightly to create a natural gradient effect.
- Stamen: Dip a fine brush into yellow polish to draw a thin line extending from the center gap of the flower. Add tiny dots at the end of the line to represent the anthers. For added detail, you can use a white polish to highlight the dots.
5. Add the Leaves
Using green polish and a fine brush, paint elongated, slightly curved leaves around the hibiscus flower. Add small veins within the leaves for a more realistic look. You can place the leaves randomly or in a balanced pattern around the flower.
6. Finishing Touches
- Clean Up: Use a cotton swab dipped in nail polish remover to clean up any excess polish around your nails.
- Seal the Design: Once your design is completely dry, apply a generous layer of top coat to seal in the design and add a glossy finish. This will also help protect your nail art and make it last longer.
7. Maintenance Tips
To keep your hibiscus floral design looking fresh, avoid exposing your nails to harsh chemicals and be gentle with your hands. Reapply a top coat every few days to maintain the shine and protection of your nail art.
Creating a hibiscus floral design on your nails is a fun and creative way to bring a touch of the tropics to your look. With its bold colors and intricate details, this design is sure to turn heads and add a unique flair to your manicure. So gather your supplies, follow these steps, and enjoy the process of creating your own beautiful hibiscus nail art!